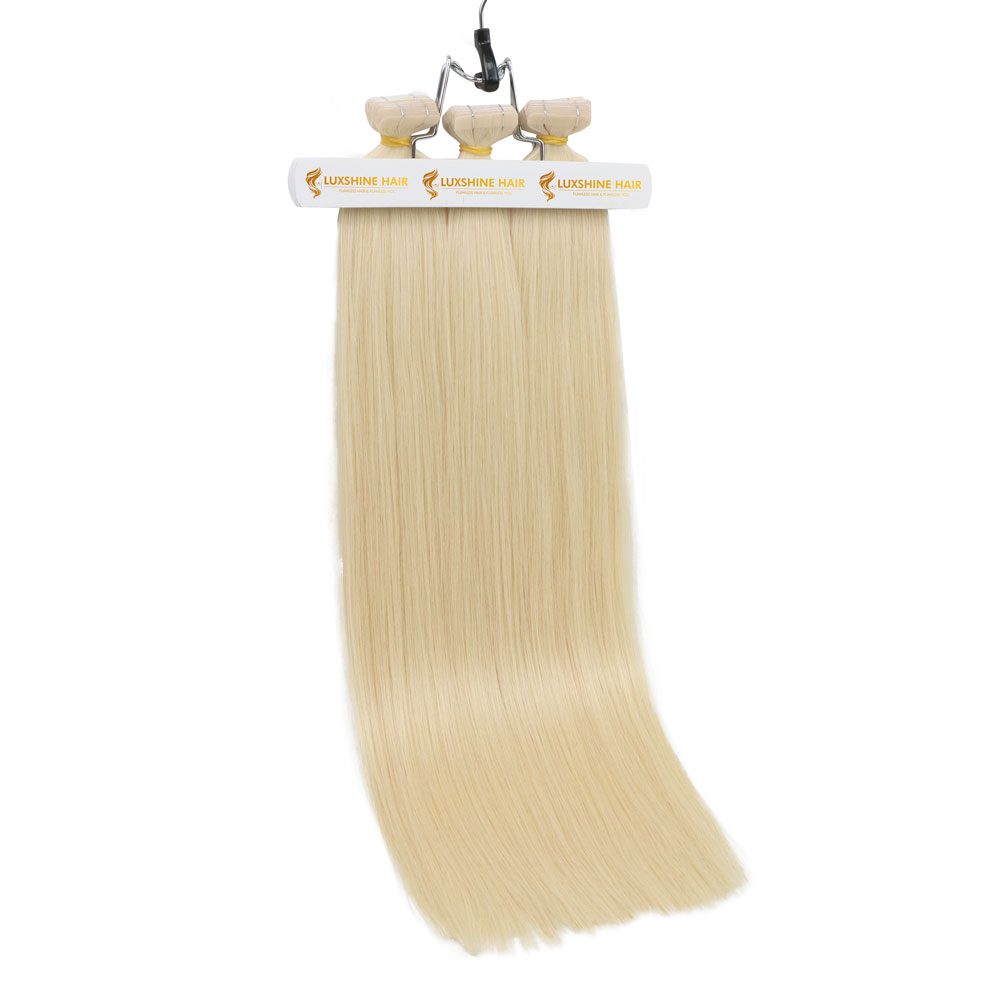
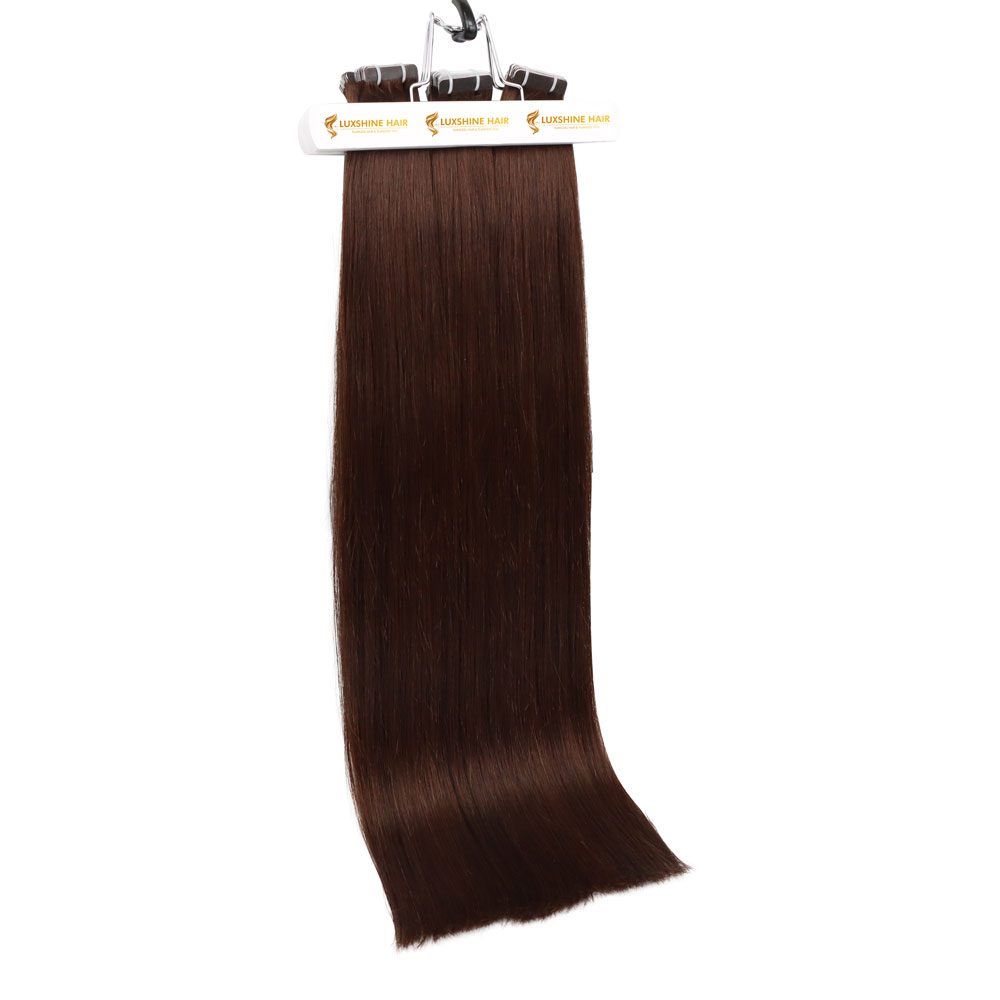
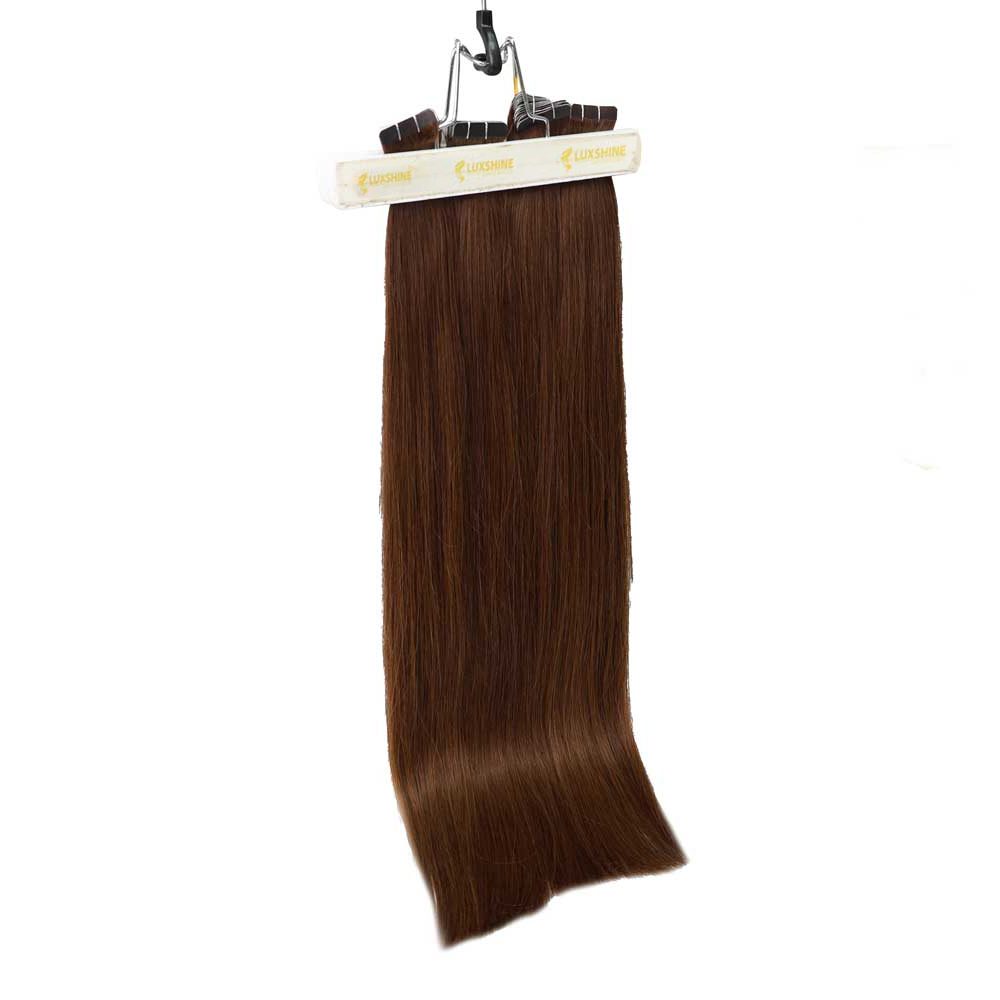
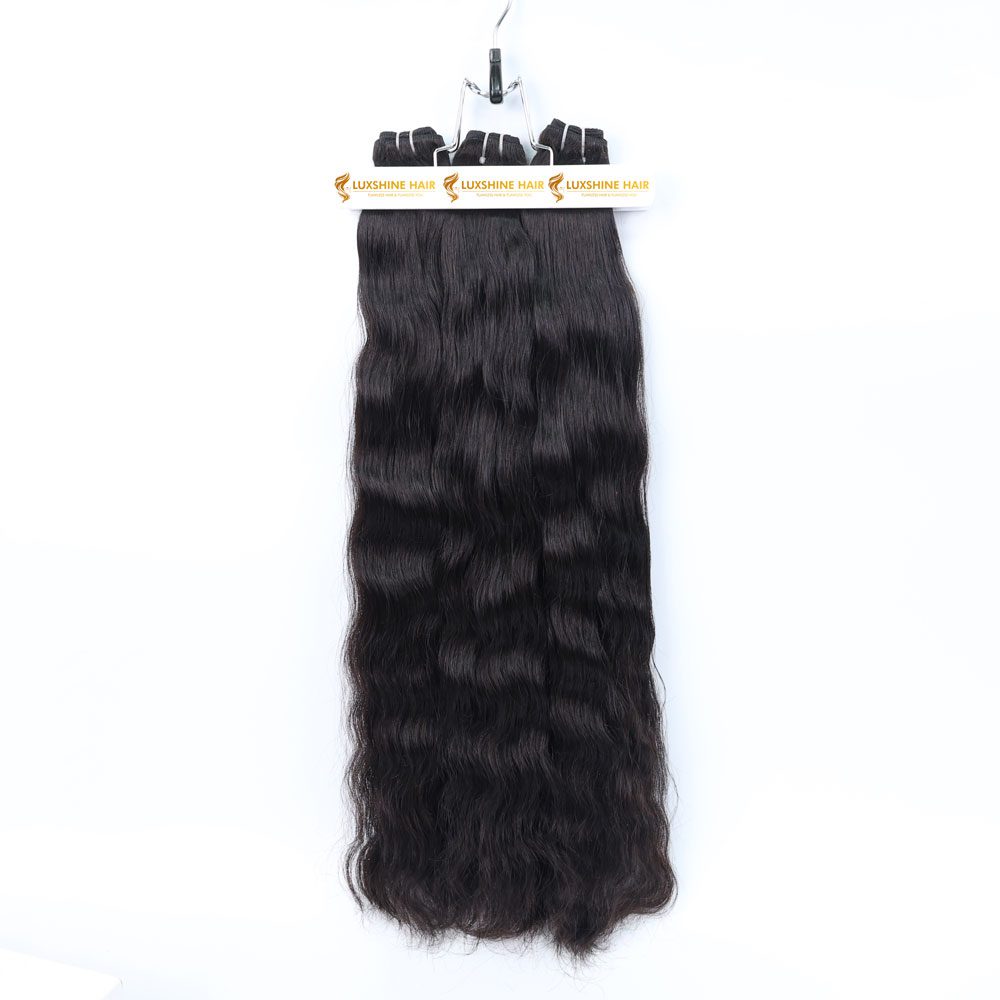
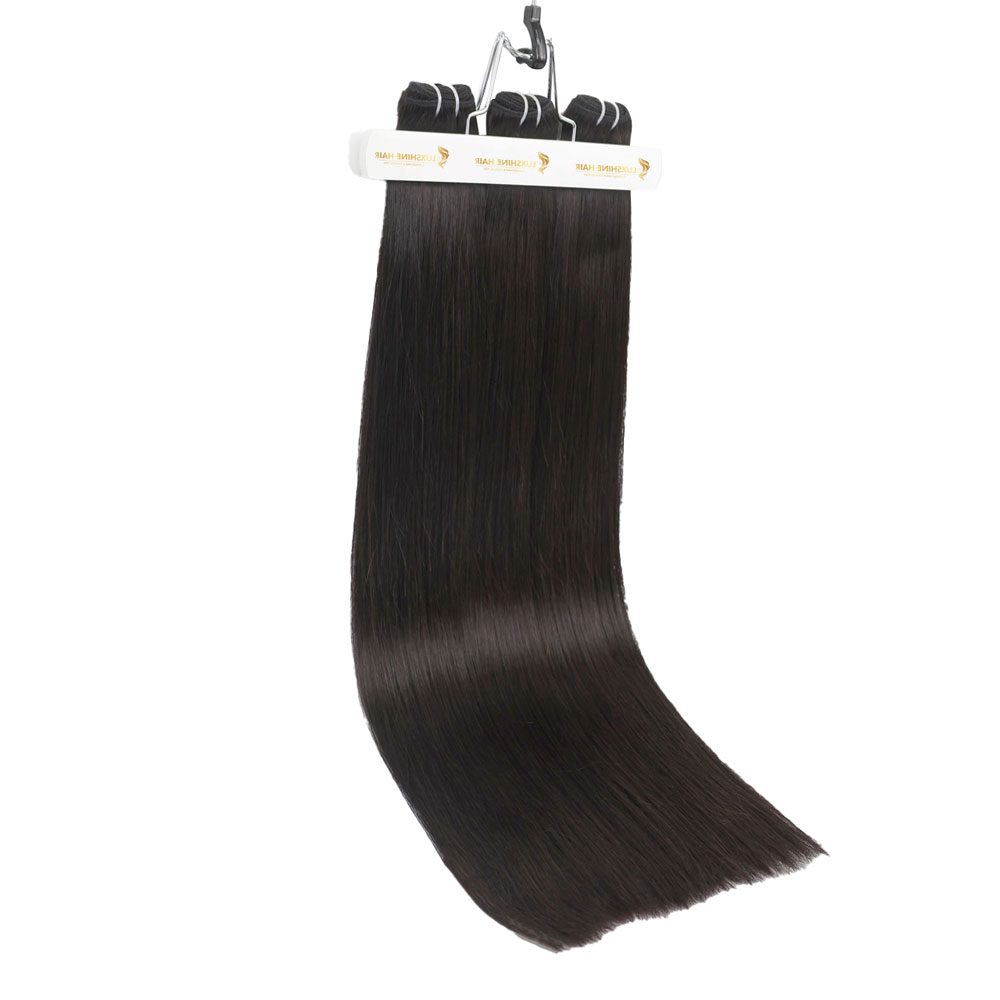
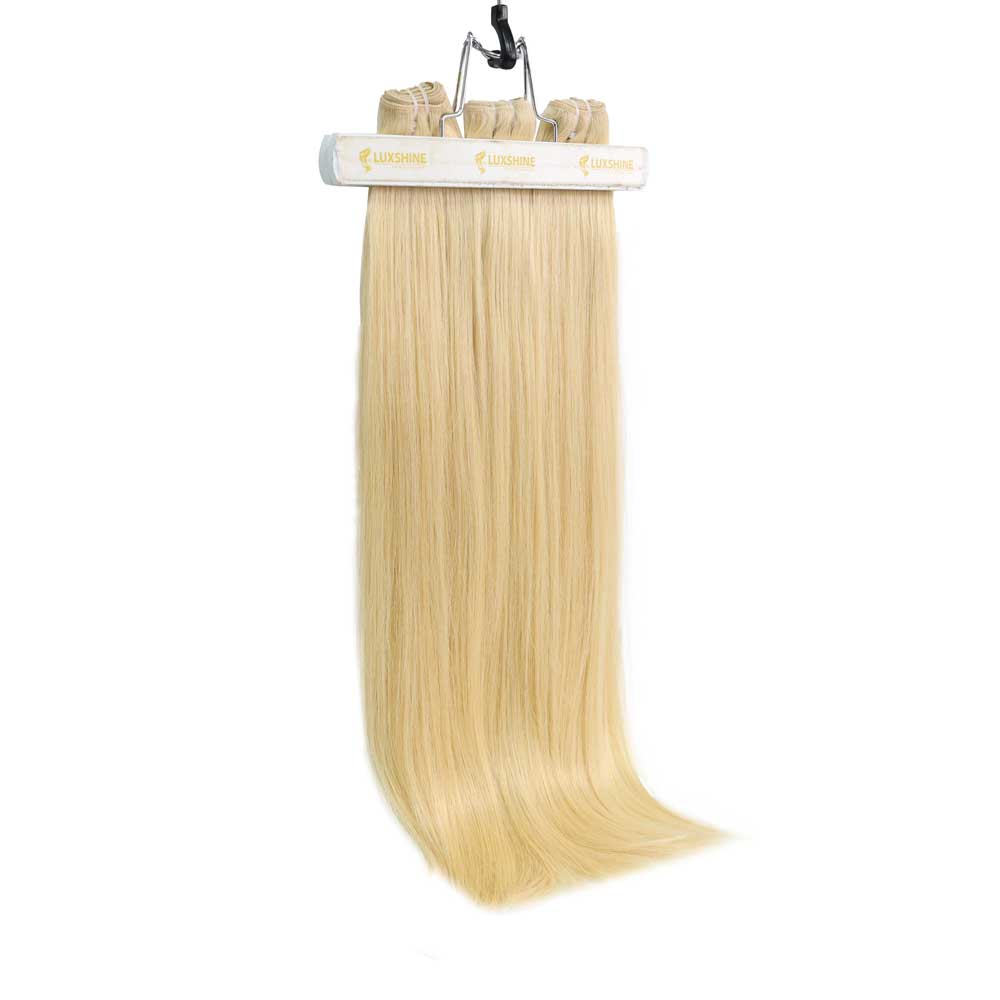
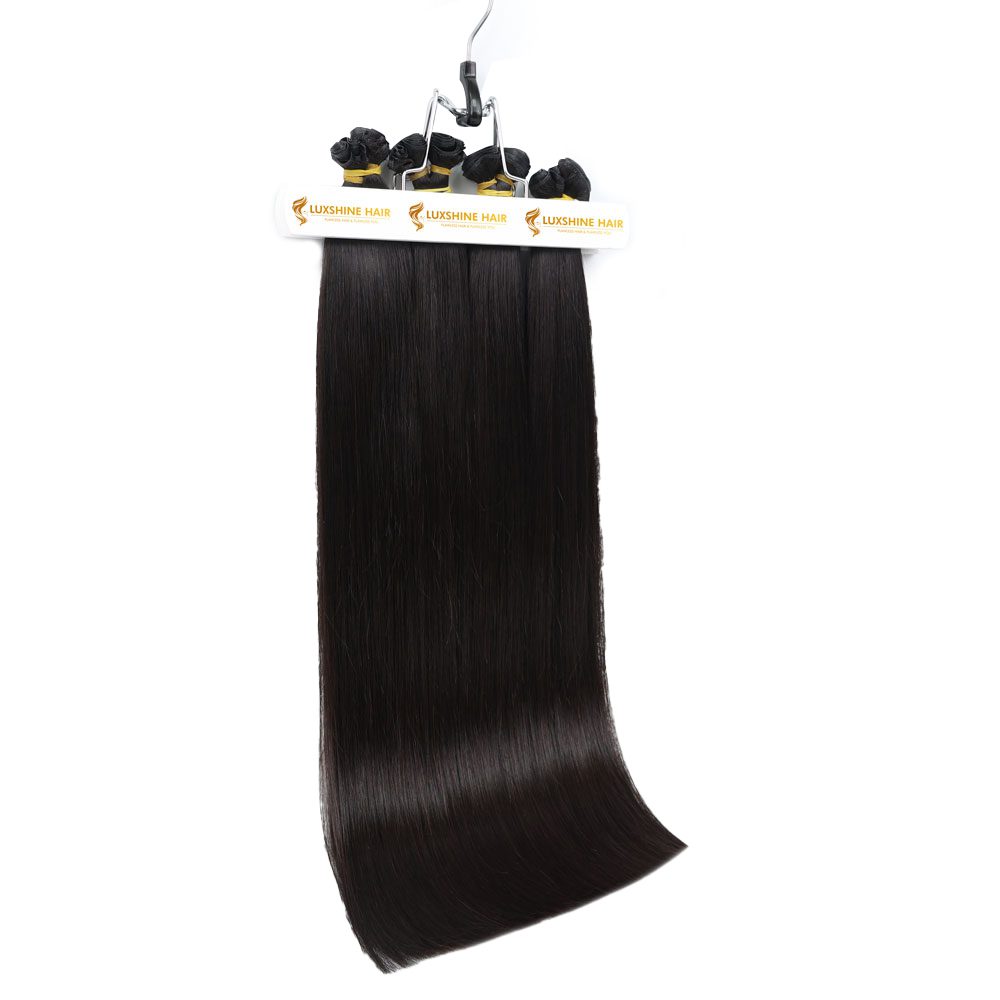
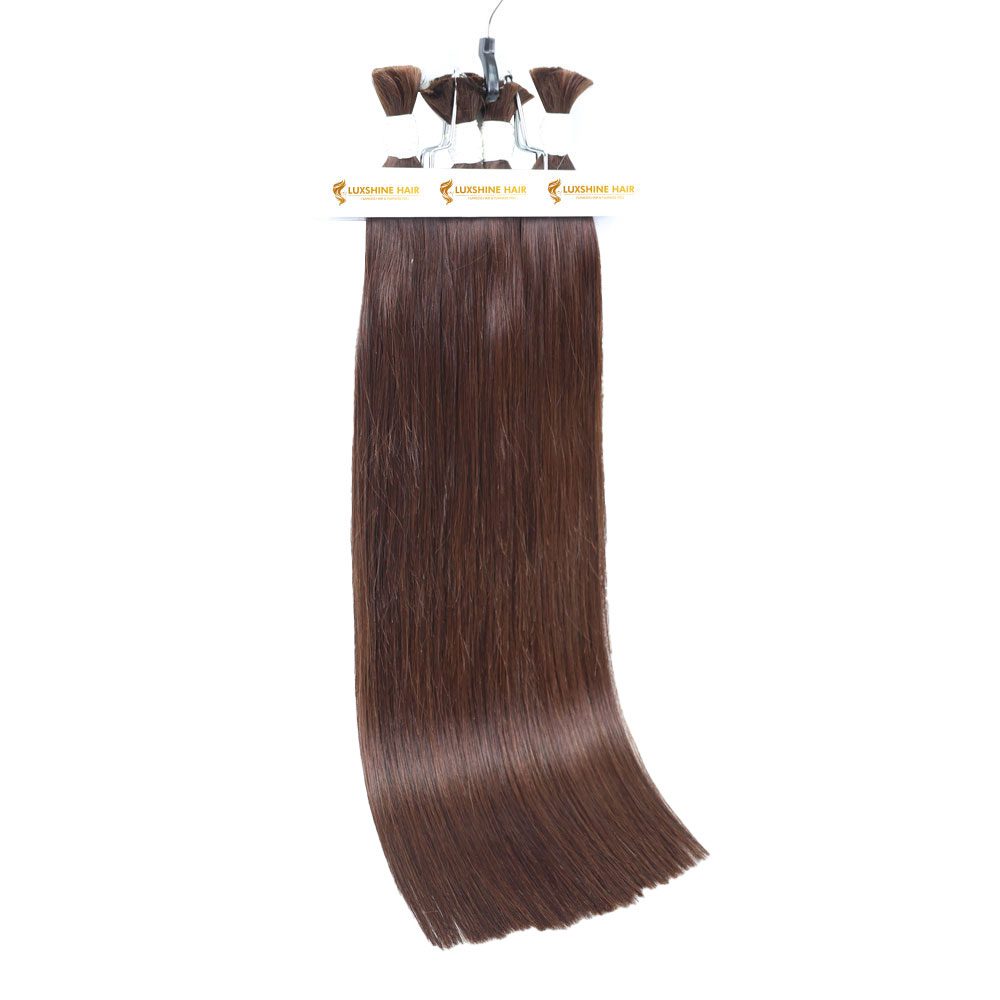
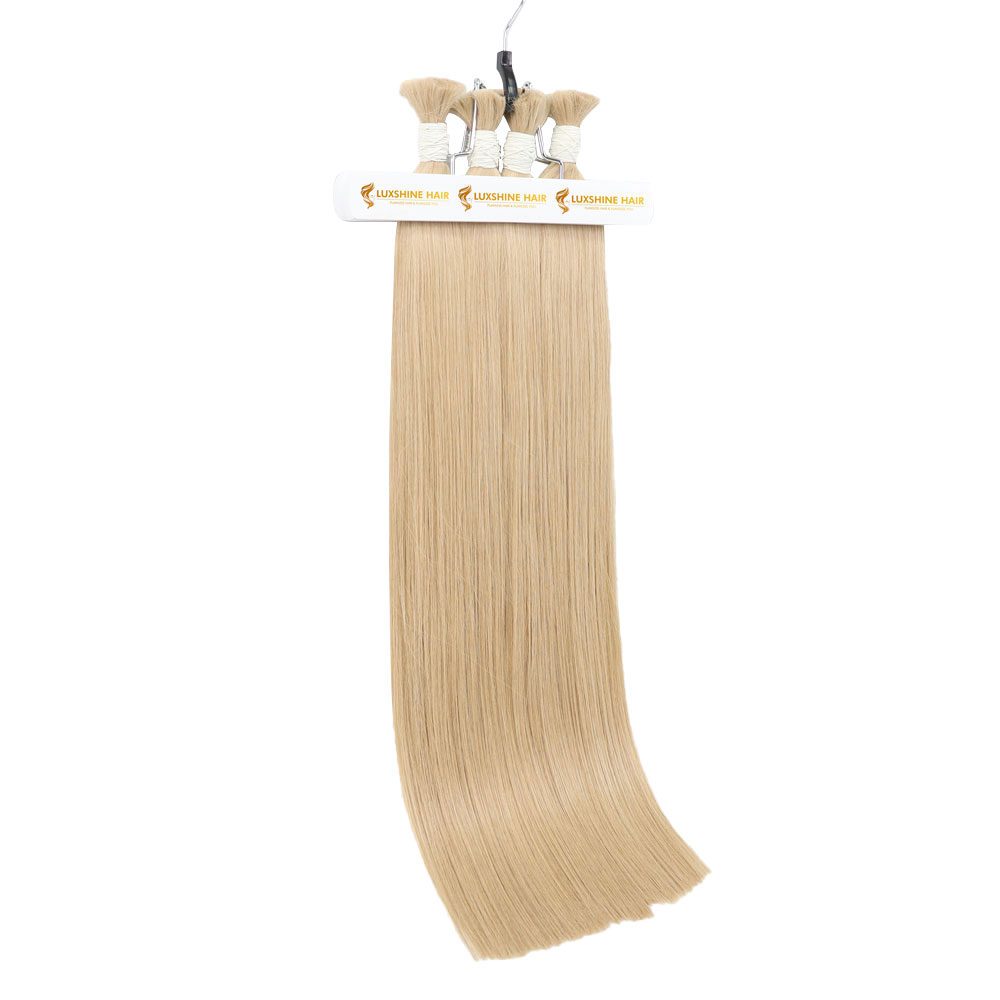
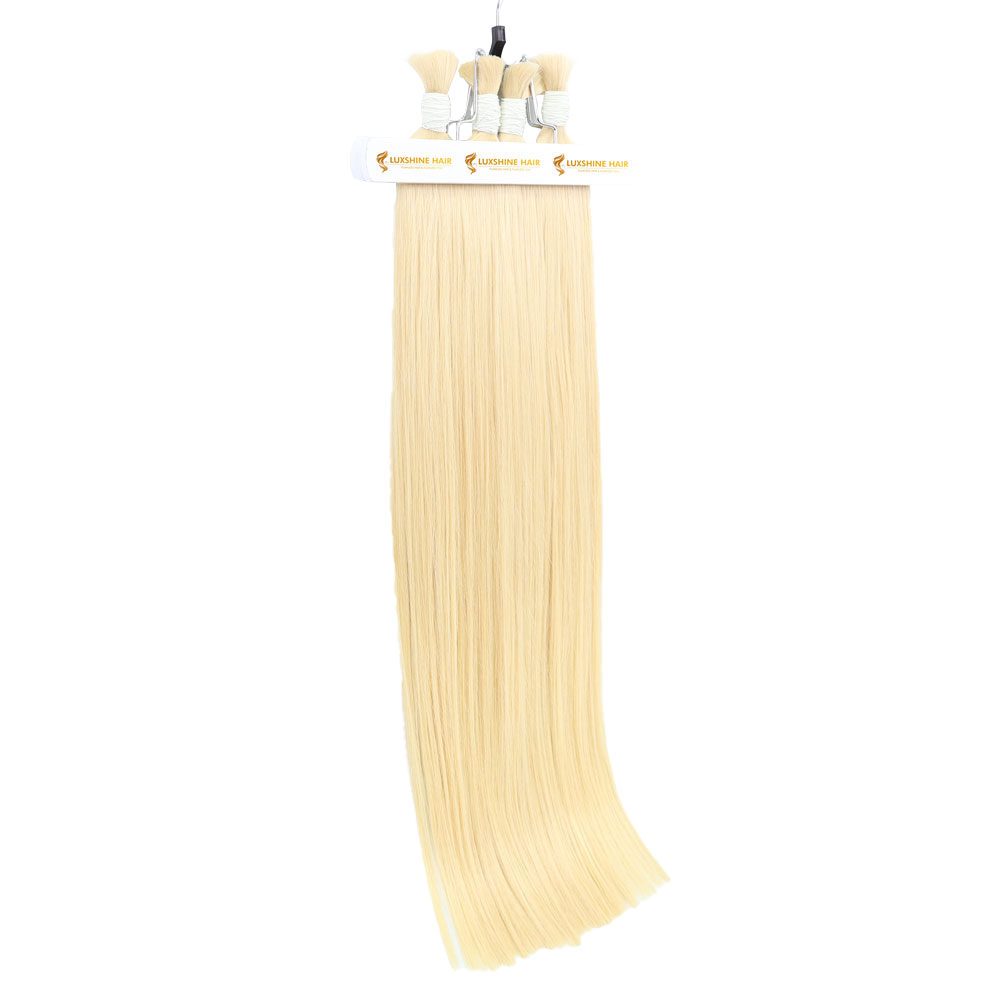
Are you struggling with thin hair and lacking confidence? Are you searching for the best solution to enhance your hair’s volume? Why not consider adding extensions for a fuller look? A middle part sew in could be the perfect solution for you. The middle part sew in has become a timeless choice for anyone seeking a chic, natural-looking hairstyle. Whether you’re a beginner or someone familiar with hair extensions, this Middle Part Sew In tutorial will guide you step by step to achieve a flawless look. Plus, explore versatile middle part sew in hairstyles to suit any occasion.
What is a Middle Part Sew In?
A middle part sew in is a hair installation technique where hair extensions are sewn into braided natural hair, leaving a distinct parting down the center of the head. This style is favored for its sleek, symmetrical appearance that mimics the look of naturally parted hair. By using high-quality extensions, like those from Luxshine Hair, you can achieve a polished finish that blends seamlessly with your natural hair.
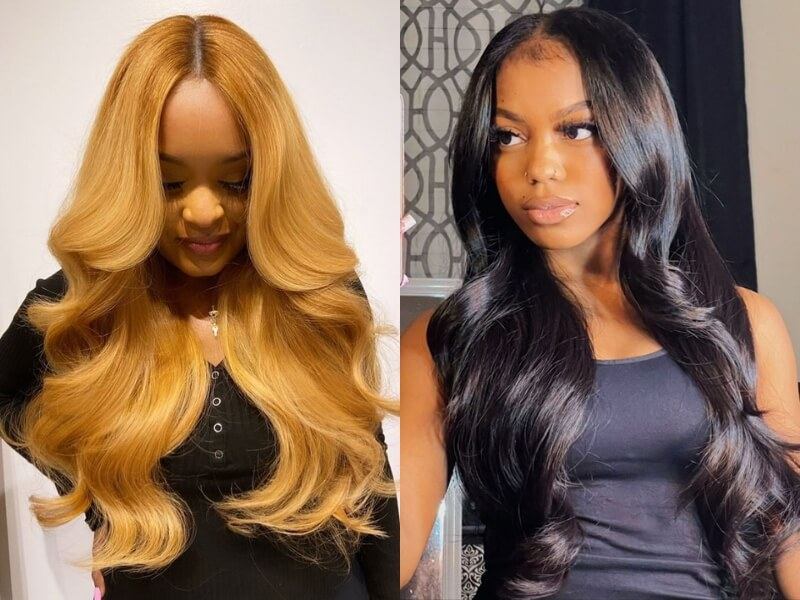
Middle Part Sew In Tutorial – How to Use a Middle Part Sew In
Achieving a flawless middle part sew in requires precision and professional expertise. It’s always recommended to visit a trusted stylist for optimal results. However, if you’re confident in your skills or simply curious, follow this guide to create your own middle part sew in at home.
Step 1: Prepare Your Hair
Start by washing your hair thoroughly with a clarifying shampoo to remove any buildup. Follow up with a deep conditioner to hydrate and soften your strands. Clean, moisturized hair ensures the braids will last longer and lay flatter under the extensions.
Once your hair is dry, detangle it gently using a wide-tooth comb or detangling brush. Apply a leave-in conditioner and a lightweight oil for added moisture.

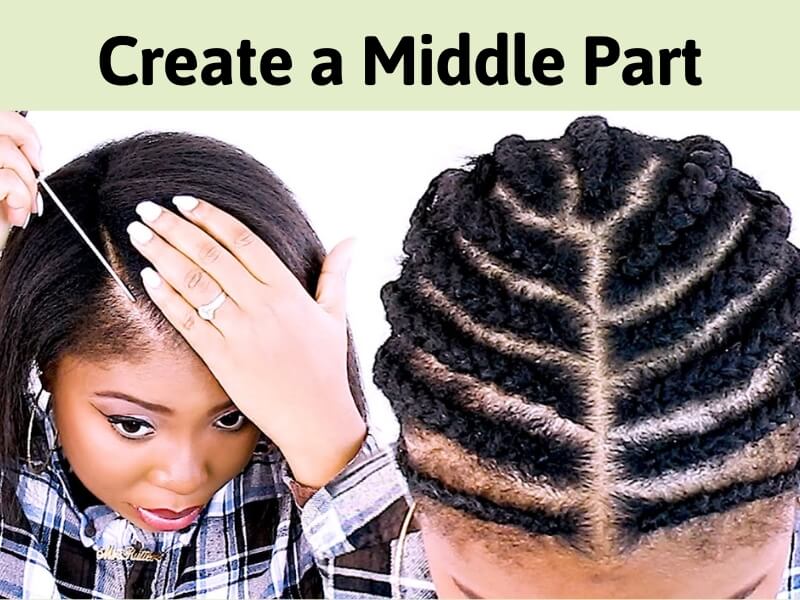
Step 2: Create a Middle Part
Use a rat-tail comb to section your hair with a clean and precise line down the center of your head. Start at your forehead and work your way to the crown, ensuring the part is straight. Secure the rest of your hair with clips to avoid interference.
Step 3: Braid Your Hair
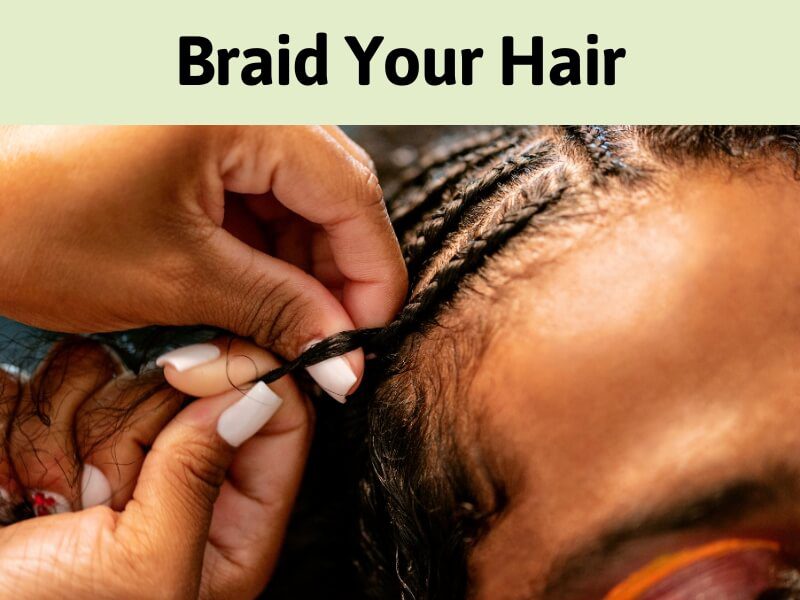
Begin braiding your hair into cornrows. The braiding pattern should prioritize neatness and even tension. Traditional cornrows starting from the front to the nape are ideal for a middle part sew in.
Pro Tip: If you have fine or thin hair, you can add braiding hair for extra volume and a sturdier base for the extensions.
Step 4: Install a Protective Cap (Optional)
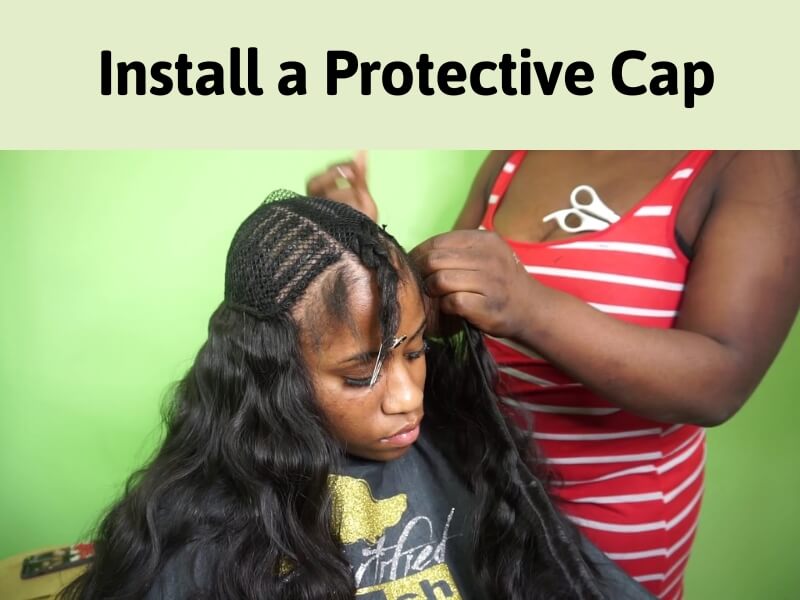
For added protection, especially if your hair is sensitive to the thread or needle, place a breathable mesh cap over the braided hair. This cap creates a barrier while still allowing the stylist to sew the wefts securely.
Step 5: Sew in the Extensions
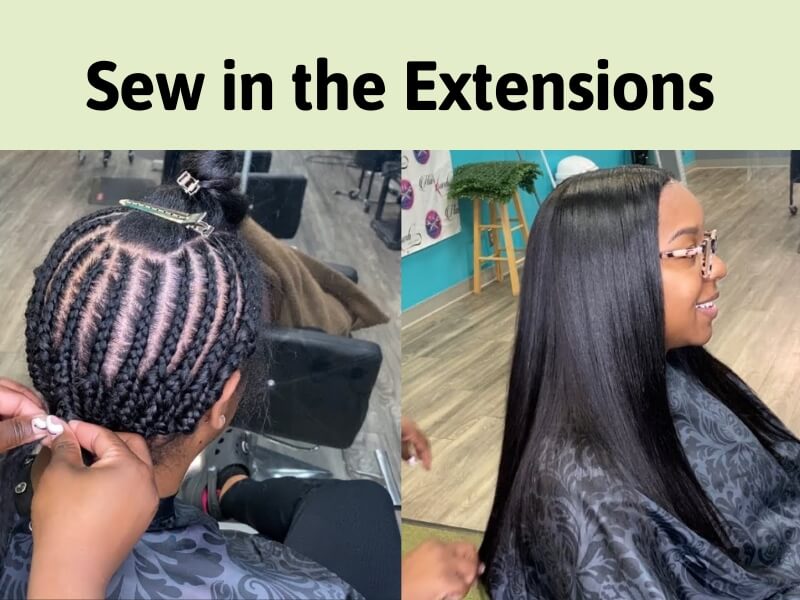
Begin sewing the hair wefts at the nape of your neck. Use a curved needle and strong weaving thread to attach the extensions to the braids. Be sure to knot the thread securely at each starting point.
As you move toward the crown, carefully sew the wefts in layers to maintain a natural flow. Ensure the wefts lay flat against your scalp and avoid overlapping to prevent bulkiness.
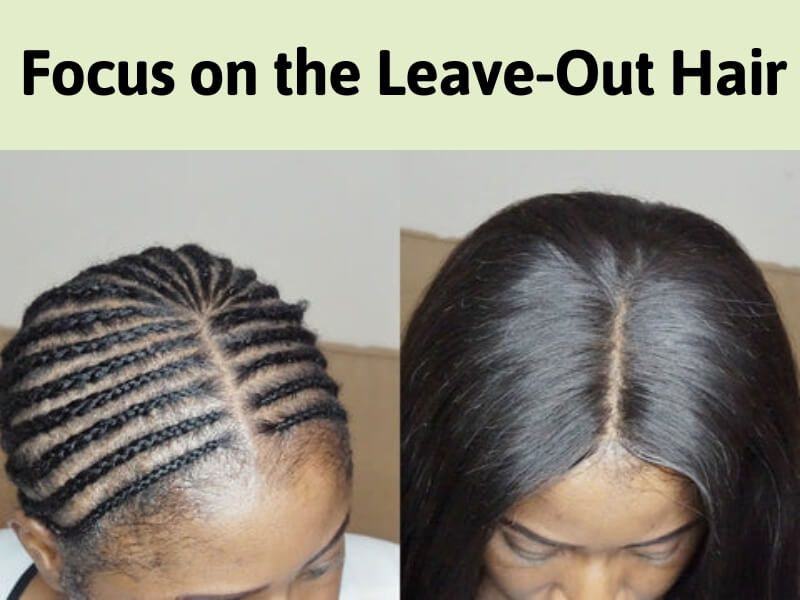
Step 6: Focus on the Leave-Out Hair
The leave-out hair along the middle part is crucial for achieving a natural look. Flat iron or blow-dry this section to match the texture of your extensions. For seamless blending, consider using a small amount of hair wax or edge control gel.
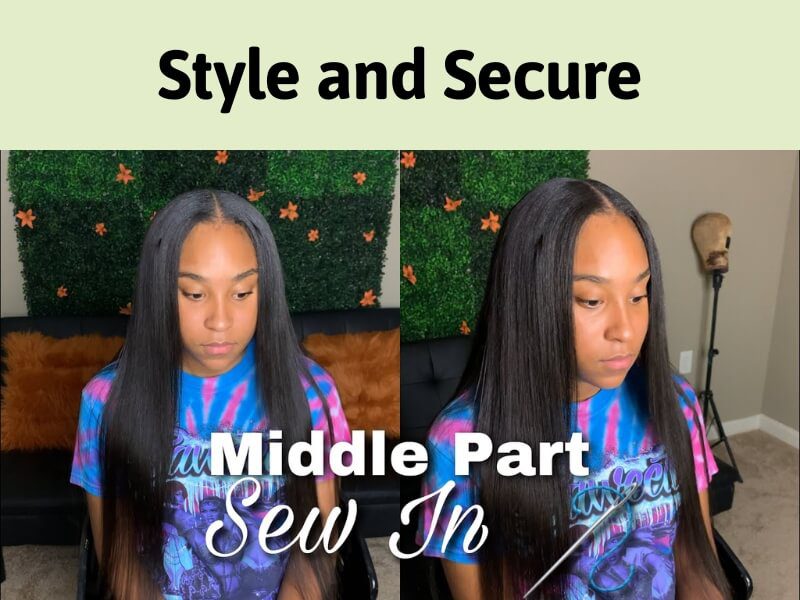
Step 7: Style and Secure
Once all the extensions are installed and the leave-out is styled, complete your look with finishing touches. Trim the ends of the extensions for uniformity and shape. Finally, apply a heat protectant spray and style your hair as desired.
Hairstyle Ideas with Middle Part Sew In Hairstyles
The middle part sew in is not only versatile but also an excellent base for a variety of hairstyles. Here are detailed descriptions of seven popular styles you can try:
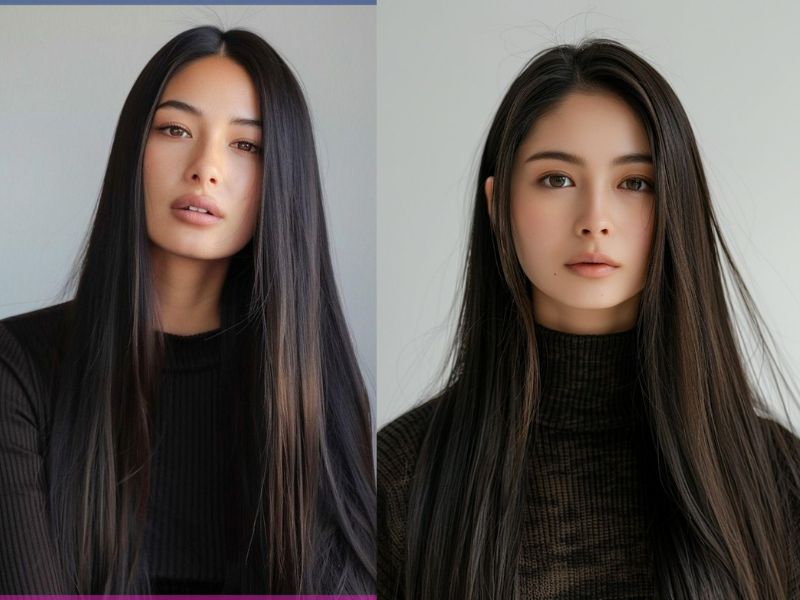
Sleek and Straight
This style exudes simplicity and elegance. To achieve this look, straighten the extensions using a flat iron, ensuring they are pin-straight and glossy. Add a light serum for shine and control flyaways. This style works well for both professional settings and casual outings.
Use a wrap strip or silk scarf overnight to keep the middle part sharp and your hair looking fresh.
Beachy Waves
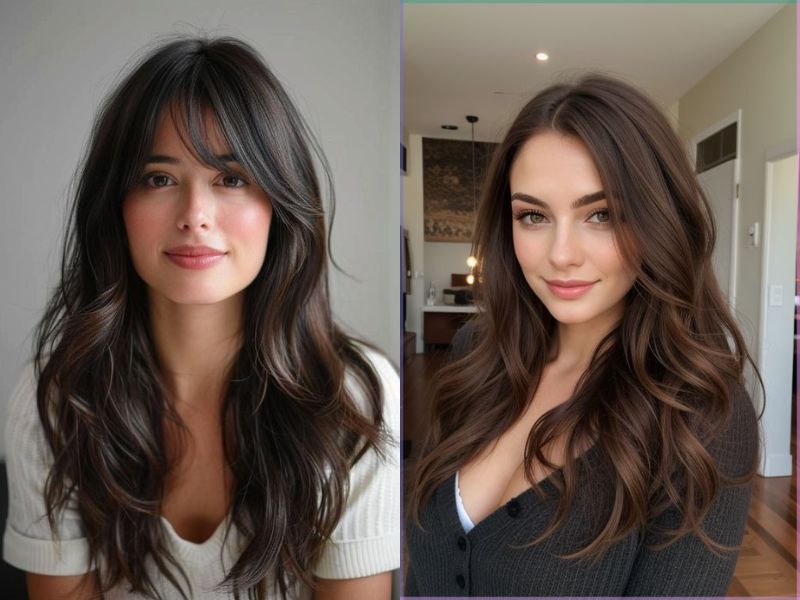
Beachy waves are perfect for creating a soft, romantic vibe. Use a curling wand with a large barrel to create loose waves, alternating the direction of each curl for a natural, textured finish. Finish with a sea salt spray to enhance the tousled effect.
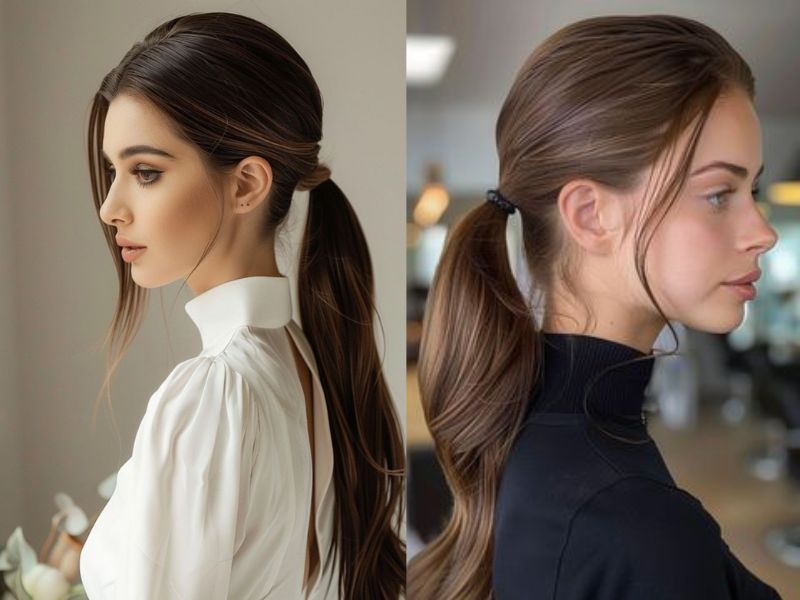
Middle Part with a Low Ponytail
This minimalist hairstyle is both chic and functional. Gather the extensions into a low ponytail at the nape of your neck, ensuring the middle part remains defined. Secure the ponytail with a sleek hair tie and wrap a small section of hair around the base for a polished look.
Use a bit of edge control gel to smooth down the hairline for a sleek finish.
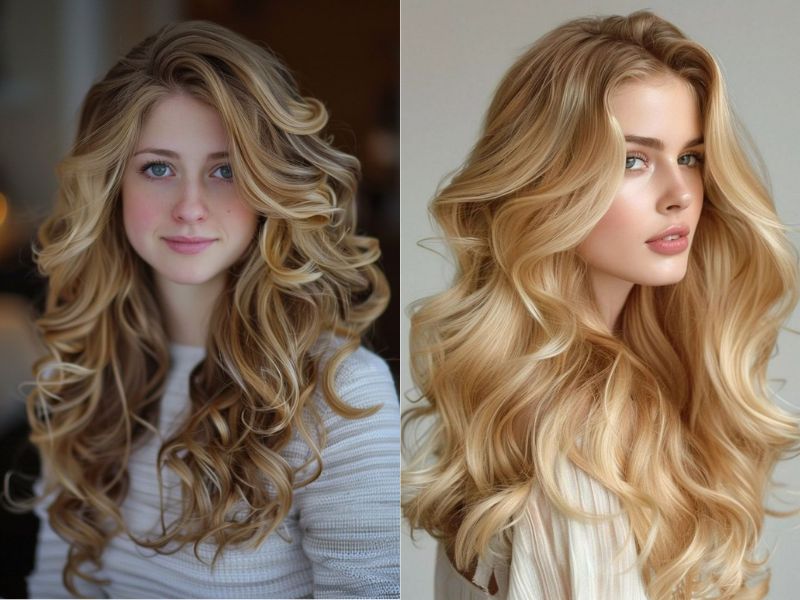
Bouncy Curls
Bouncy curls add volume and glamour to any look. Use a medium-barrel curling iron to create tight curls, then gently separate them with your fingers for a fuller appearance. This style works beautifully for weddings, parties, and other formal events.
Use lightweight curl creams or mousse to maintain bounce without weighing the hair down.
Middle Part Bob
A middle part bob sew in is trendy and timeless. For this style, trim the extensions to shoulder length and keep them straight or slightly curled inward. The middle part adds symmetry, making this style ideal for framing your face.
Experiment with color, like ombre or highlights, to give your bob a modern twist.

Half-Up, Half-Down
This playful style is a favorite for casual and semi-formal occasions. Gather the top section of your hair and secure it in a bun or ponytail, leaving the rest to flow naturally. You can also add accessories like decorative pins or scrunchies for extra flair. Create a braided top knot for a bohemian-inspired look.
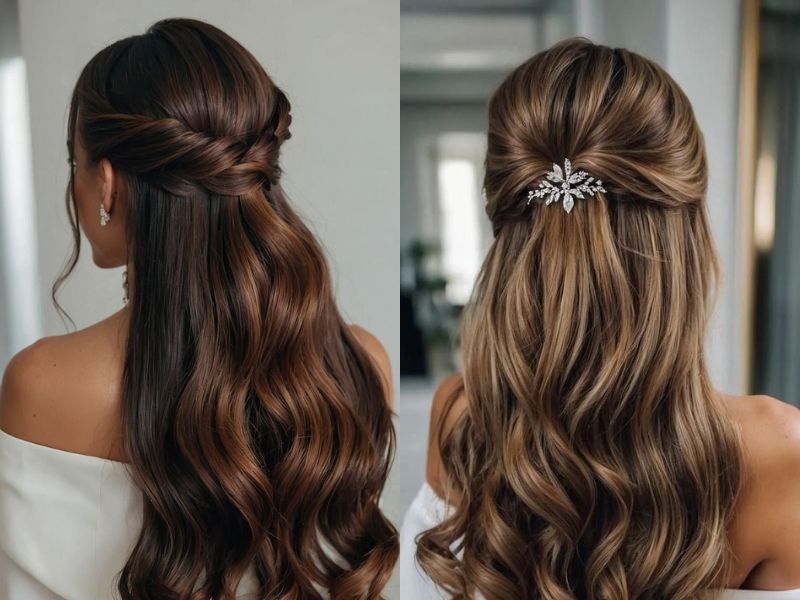
View more Half-Up, Half-Down hairstyle here: Prom Hairstyles for Long Hair Half Up Half Down
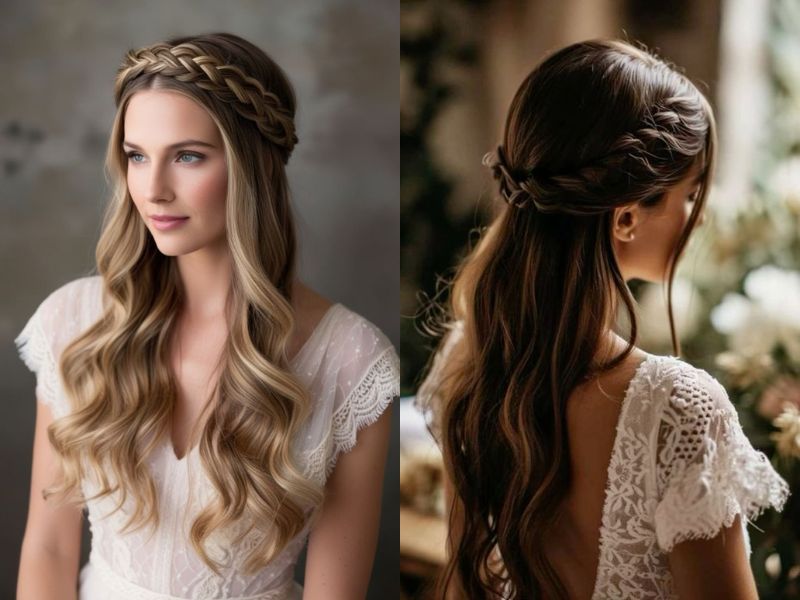
Braided Crown with Middle Part
For a romantic and intricate style, create two small braids on either side of the middle part and wrap them around the crown of your head. This creates a halo effect that pairs beautifully with middle part sew ins.
Conclusion
The middle part sew in tutorial is a versatile and stylish choice for anyone looking to enhance their hair with extensions. Whether you’re aiming for a sleek straight look or playful curls, the possibilities are endless. For the best results, trust high-quality hair extensions from Luxshine Hair, your go-to source for premium Vietnamese hair extensions, ethically sourced products.
Ready to transform your hair game? Explore Luxshine Hair’s collection today and bring your middle part sew in vision to life!


