Sewing in weft hair extensions is a popular choice among beauty enthusiasts, but the time and cost involved in salon applications can be time-consuming and costly.” The urgent question is, ‘’Can we attain the same results at home?’’. If you answered yes, the following question is, ‘How to sew-on weft hair extensions at home?‘ In this blog, we will present step-by-step instructions as well as helpful hints to help you with this attempt. It is possible to transform your hair into abundant locks that draw attention.
Discover the secrets of producing stunning hair at home as we make the procedure simple and accessible.
Preparing Tools
Before you go into the fascinating world of weft hair extensions, you’ll need to gather the necessary instruments. There are many ways to attach hair extensions but I will guide you the most popular method by beads -‘’how to apply weft hair extensions with beads’’. Here are some tools you need to get started:
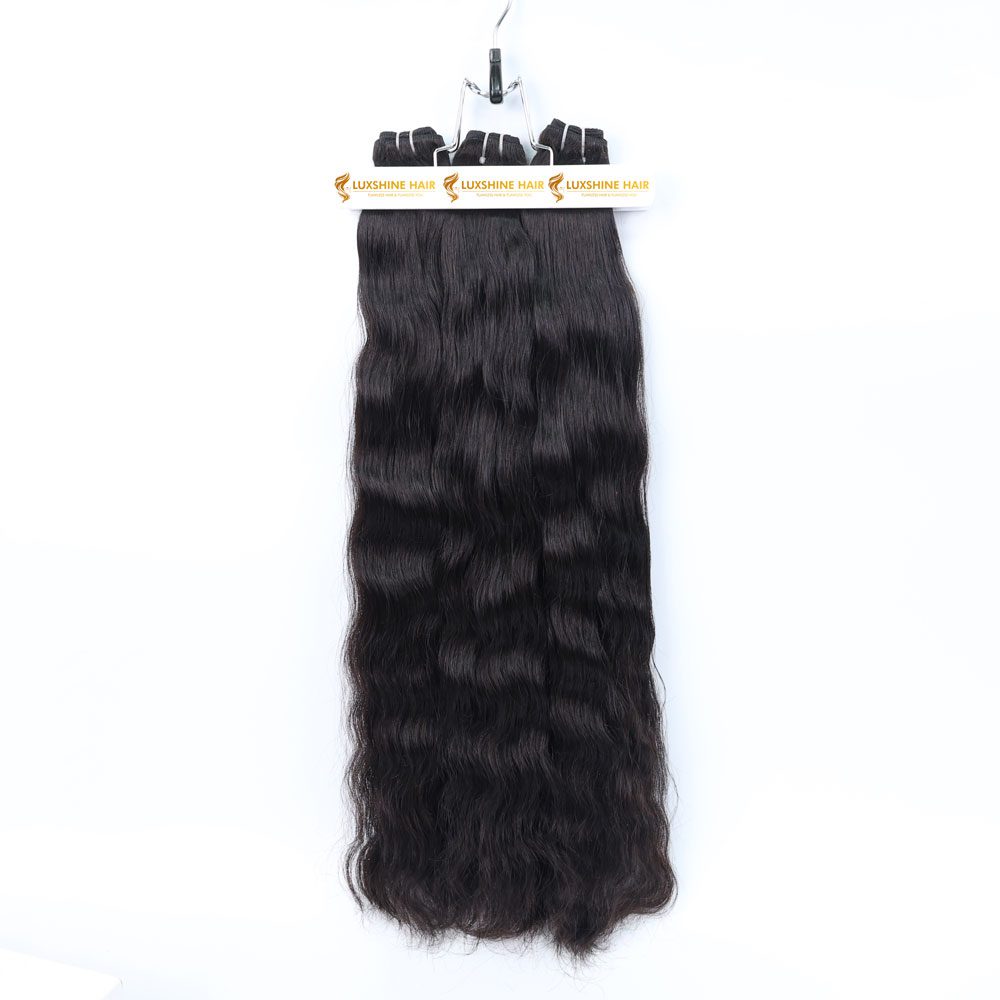
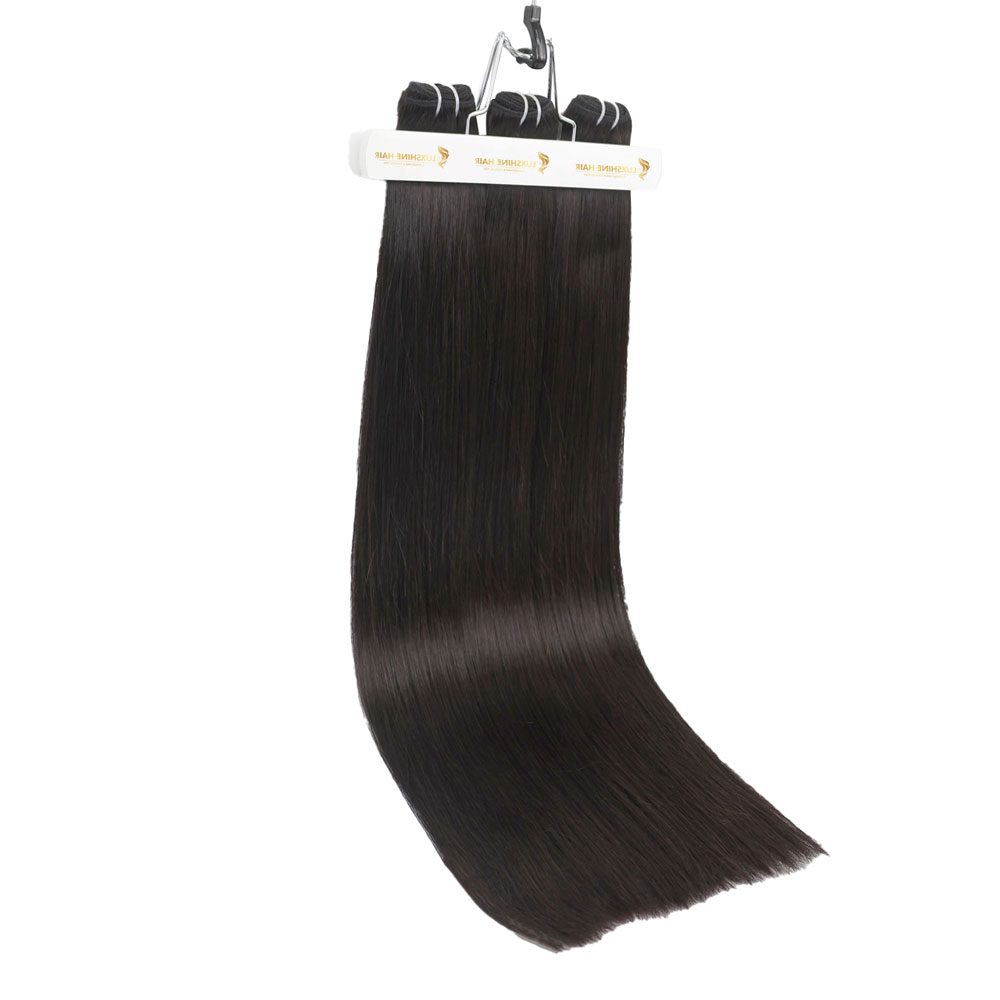
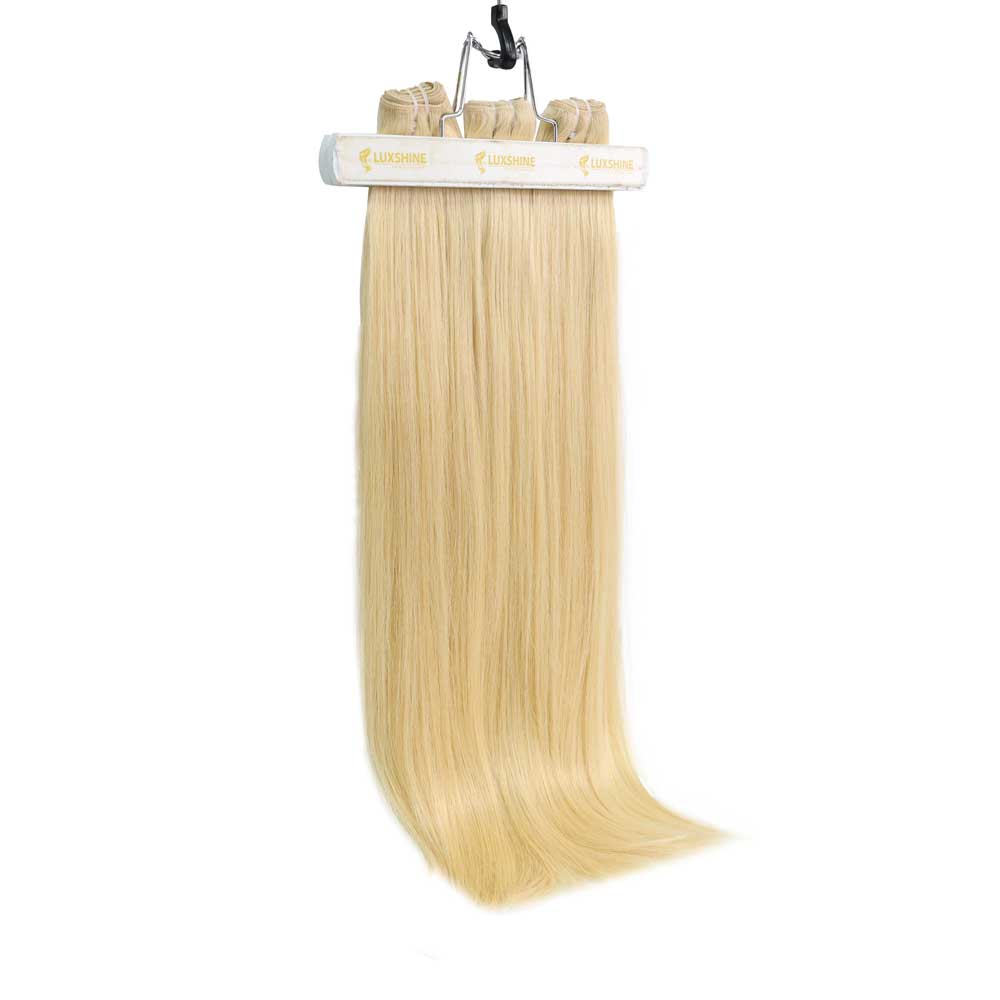
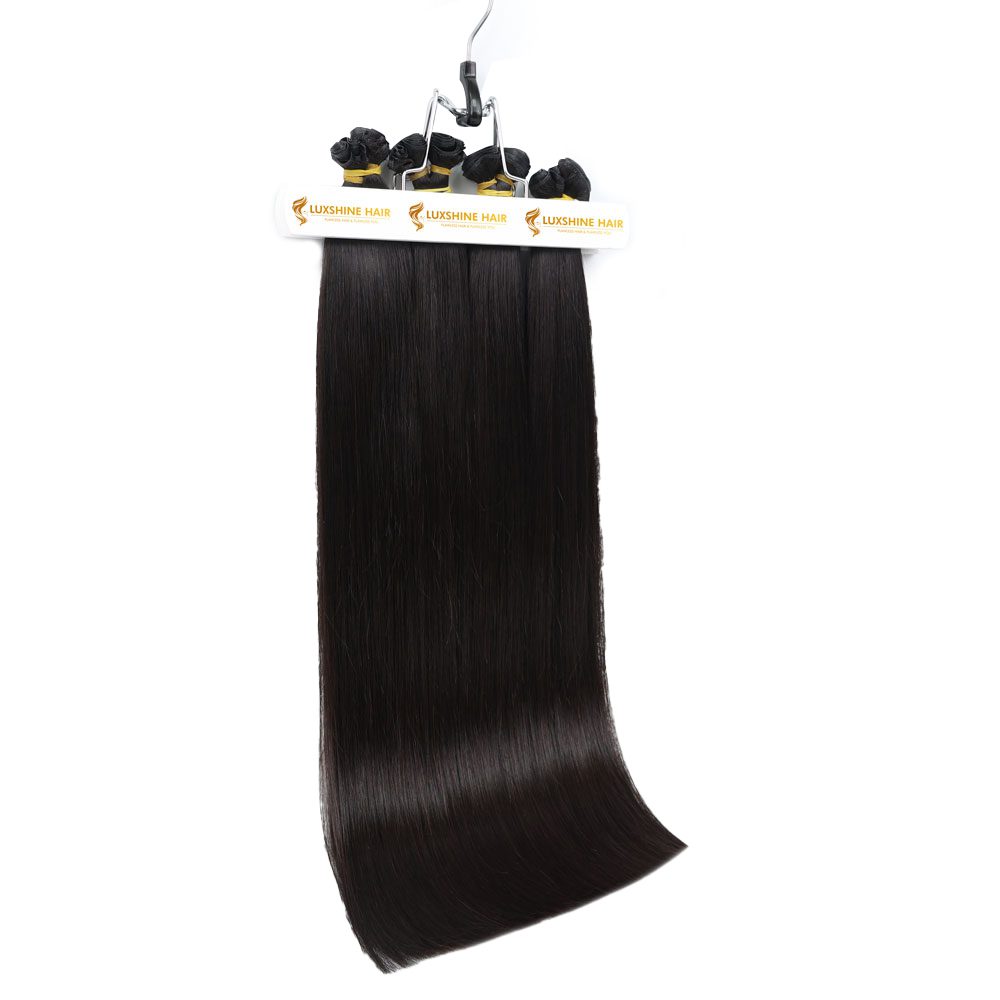
- Weft hair extensions
- Needle and thread
- Micro Beads
- Hair extensions piler
- Clips to section off your natural hair
- Comb for detangling
- Hair ties
- Scissors

See products here: The necessary tools
How to Sew in Weft Hair Extensions: Step-by-Step
Now that you’ve gathered everything you need, let’s get started on sewing in weft hair extensions for a lovely and natural look. How to install machine weft hair extensions
Step 1: Prepare Your Natural Hair
First and foremost, you need to select the location for the weft hair extension. Create a horizontal section with a tail comb in the desired region for attaching the initial weft. To keep a clear workstation, secure the leftover hair by clipping or tying it back. Make sure the split section is smooth and free of tangles. To ensure adequate covering from surrounding hair, the attachment process usually begins around the middle of the head.
Selecting the location for the weft hair extension is the next task in this step. Firstly, you need to create a horizontal section with a tail comb in the desired region for attaching the initial weft. To keep a clear workstation, secure the leftover hair by clipping. Make sure the split section is smooth and free of tangles. To ensure adequate covering from surrounding hair, the attachment process usually begins around the middle of the head.
Step 2: Set the microbead
Begin the technique by gathering the desired amount of hair and putting the bead securely in place. Apply gentle pressure to the microbeads with the hair extension pliers to ensure a solid and secure adhesion. Rep this step to make a row of microbeads, laying the groundwork for sewing in the weft hair extensions.
Check for symmetry and alignment as you proceed along the row to achieve a uniform and finished look after sewing the weft hair extensions. Continue this painstaking process until the entire weft is fully blended with the natural hair, resulting in a flawless and long-lasting extension.

Step 3: Position the Weft
Measure the weft against the parted section and cut it to fit. Now that the weft has been trimmed to fit, you may begin the attaching process. Begin by threading the needle precisely, ensuring that it is tightly fixed at the end. The weft is then sewn along the divided piece, beginning at one end and working your way to the other. This meticulous approach ensures that the weft is distributed evenly for a polished finish.
Remember to take your time and pay attention to the tension and spacing of your stitches. It not only prolongs the life of your weave, but it also contributes to a stable and pleasant fit. The interlaced design will resist daily activities and movement thanks to this stitching technique, giving you a confident and natural appearance.

Step 4: Repeat the process
Continue dividing, fastening, and sewing in the wefts until the required fullness is achieved.
Don’t rush through this task; precision and patience will be your best friends in constructing a faultless weave. Remember that everything takes time to perfect. Patience is essential, whether it’s the painstaking separation of your hair or the secure sewing of each weft.
Step 5: Blend and Style
After you’ve finished meticulously sewing in the wefts, the next step is to achieve a smooth blend of your natural and extension hair. Gently run a wide-tooth comb through both your normal hair and the newly attached extensions. This meticulous combing helps to blend the two textures, resulting in a unified and natural appearance.
Blending is essential for obtaining a beautiful finish. Pay special attention to any places that may require extra attention, and make sure there are no visible lines between your original hair and the extensions. The goal is to achieve a seamless and imperceptible shift.

That’s the end of the sewing process. If you need to see more detail, click on this video:
Tips and Tricks
Now, you know how to install machine weft hair extensions through step-by-step. It takes skill to achieve a faultless look with sewn-in weft extensions. Consider the following suggestions for a professional finish:
1. Color Matching
To begin, choose extensions that closely match your natural hair color to obtain a seamlessly blended appearance. This matching color match offers a seamless and natural transition between your natural hair and the extensions. Consider selections that closely reflect the color of your hair, allowing for a seamless incorporation.
Consider going a step further for those who value confidence and distinctiveness. Experiment with different shades of extensions to expand your creative horizons. This approach adds complexity to your design by creating a more nuanced and textured feel.

2. Texture Matters
Match the texture of the extensions to the texture of your natural hair, which might be straight, wavy, or curly. When the texture of the weft extension is similar to that of natural hair, it is simple to blend and difficult to detect.
3. Proper Maintenance
To have the greatest longevity, everything must be taken care of. A constant and thorough maintenance program is required to ensure the longevity of your hair, both natural and prolonged. You may keep your locks vibrant and healthy for an extended length of time by adopting good practices in your hair care regimen.
Begin by using sulfate-free products that are gentler on your hair. Sulfates can strip your hair of its natural oils, leaving it dry and prone to damage. Choose shampoos and conditioners that are specifically formulated to maintain the health of your natural hair and extensions.
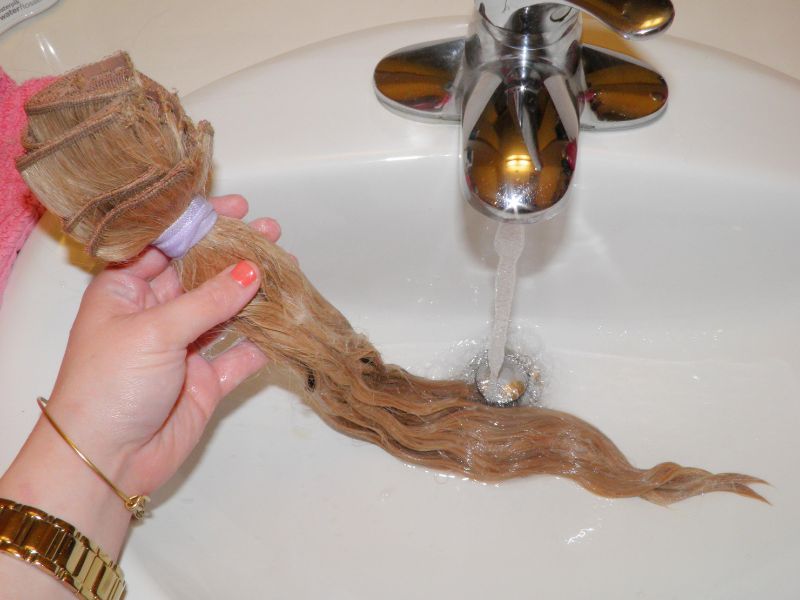
Excessive heat might damage your hair’s lifespan. Limit the use of heat styling equipment on your natural strands or extensions. When heat is inevitable, use a heat protectant spray to form a barrier that protects your hair from harm. Air drying is a fantastic alternative to excessive heat when styling your hair. Give your hair a break from the heat, allowing it to dry naturally whenever possible.
4. Require the help
While attempting to stitch it at home is an option, doing so on your own proves difficult. It is best to seek assistance from family or friends. If you are unsure, it is best to visit a professional stylist for the initial application, as they can provide placement advice as well as vital maintenance instructions.
In a nutshell
Following these steps and implementing the supplied recommendations will help you become an expert at flawlessly sewing in weft hair extensions, resulting in a magnificent and confidence-boosting appearance. Luxshine Hair hope that this guide has given you the knowledge you need to effectively complete the “How to sew in weft hair extensions at home” at home. If you require any other information or want to purchase superb weft hair extensions, please contact us right away. Wishing you a pleasant and enjoyable experience with vietnam hair extensions.
View more here: How To Remove Weft Hair Extensions At Home


2 thoughts on “How To Sew In Weft Hair Extensions At Home”
This tutorial on sewing in weft hair extensions is fantastic! I’ve been considering trying it out at home, and your step-by-step guide makes it seem so much more manageable. Do you have any additional tips for first-timers like me?
Thank you very much for your support. I will continuously update the latest knowledge to bring the best experience.