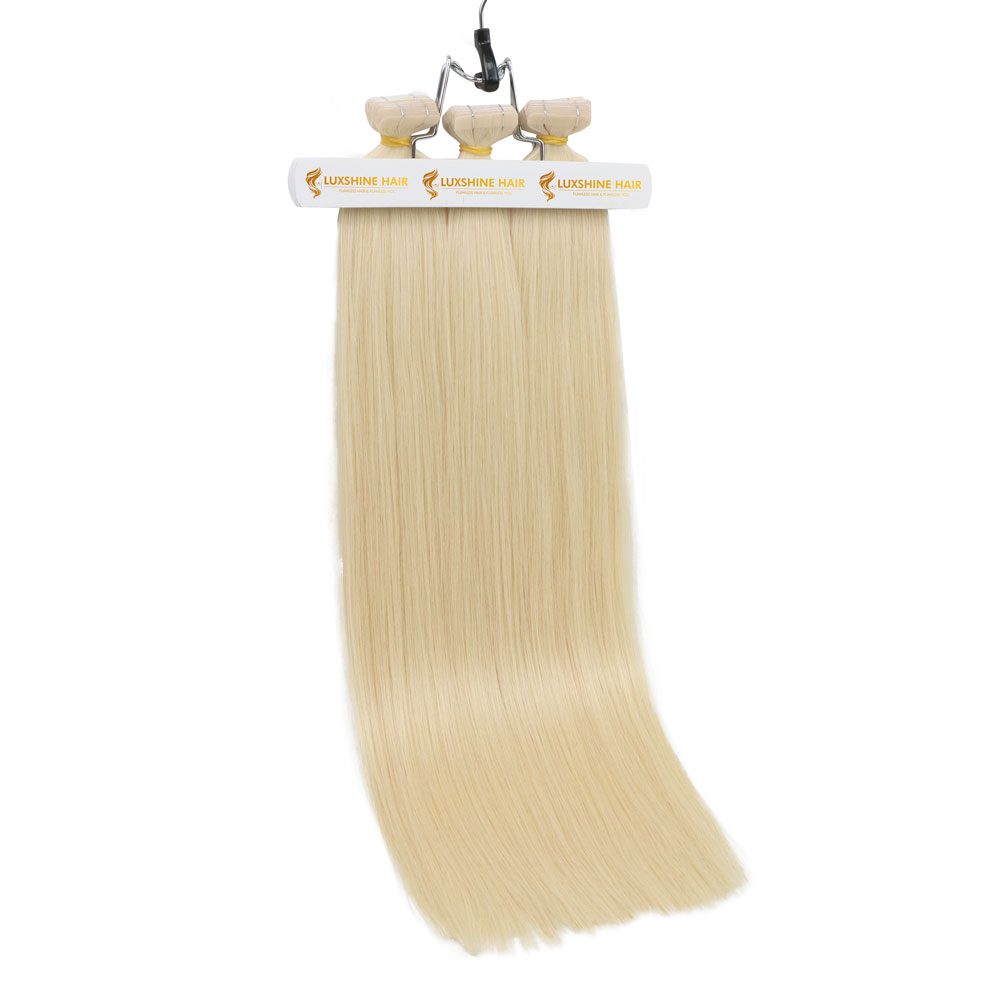
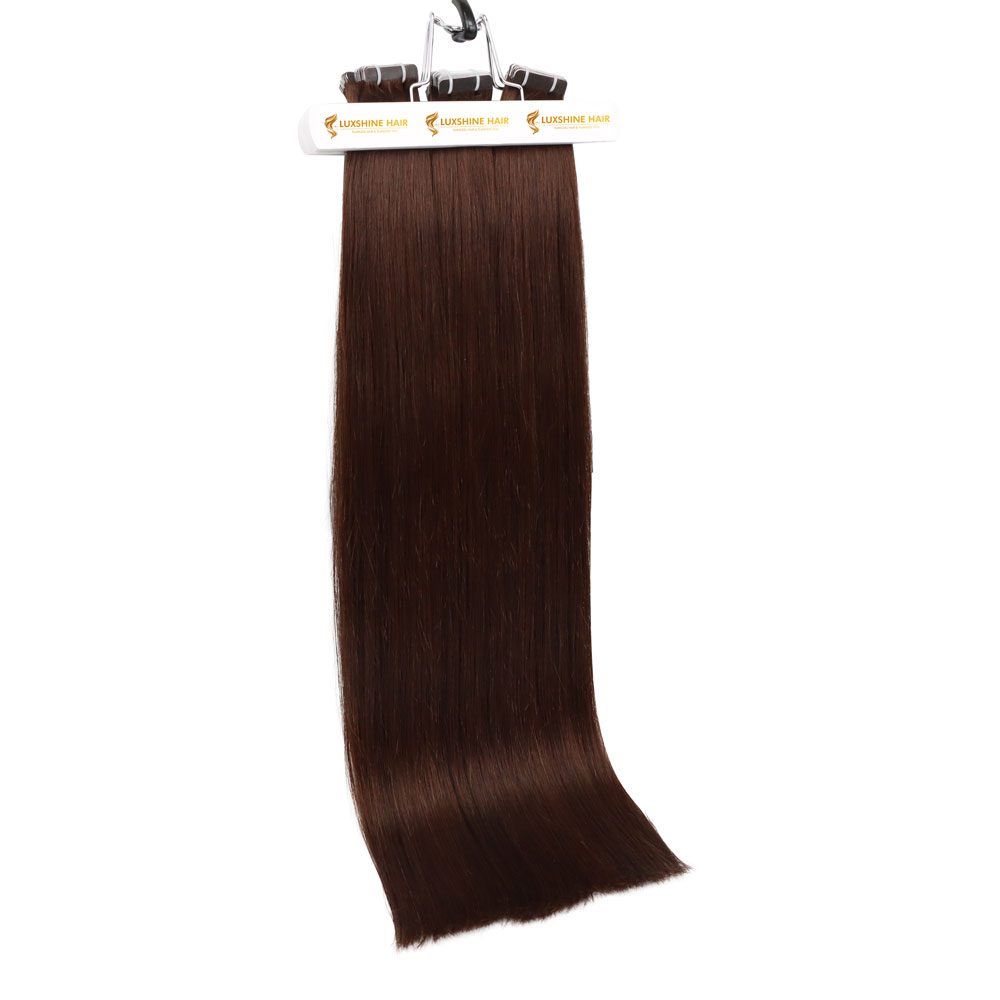
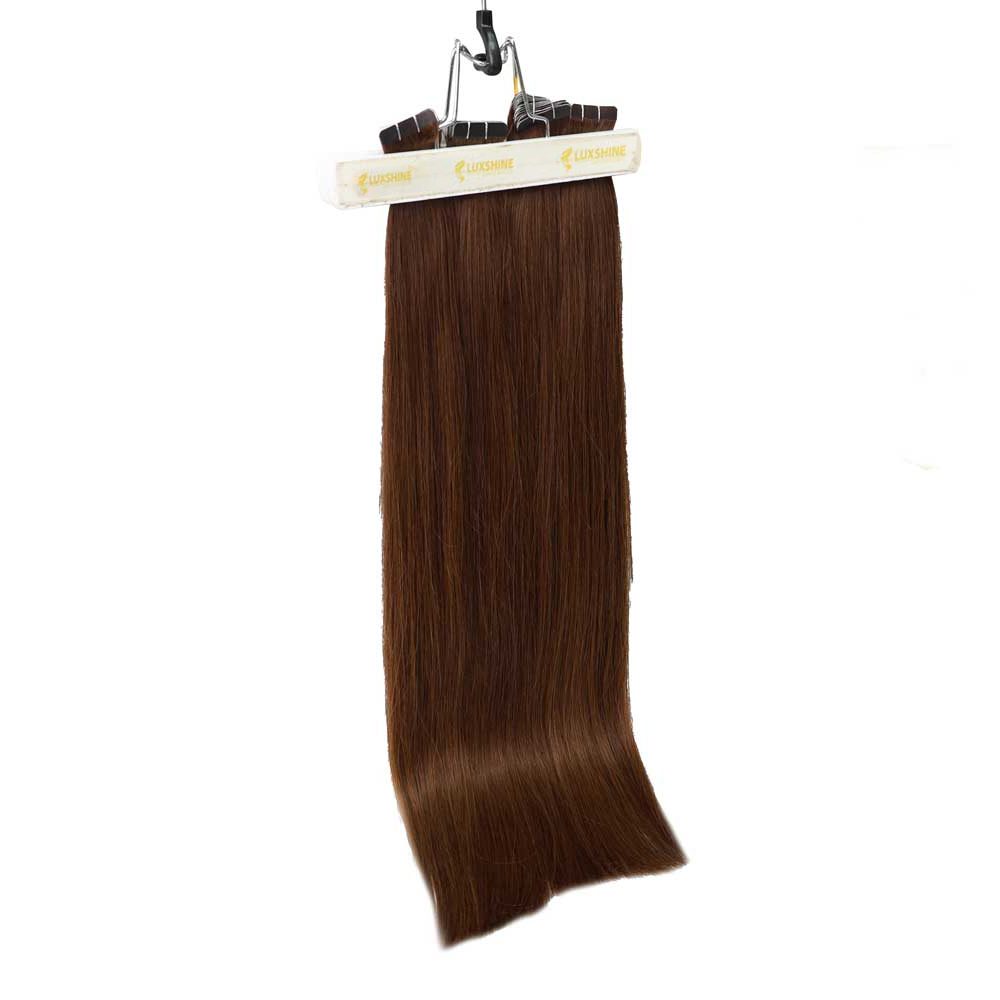
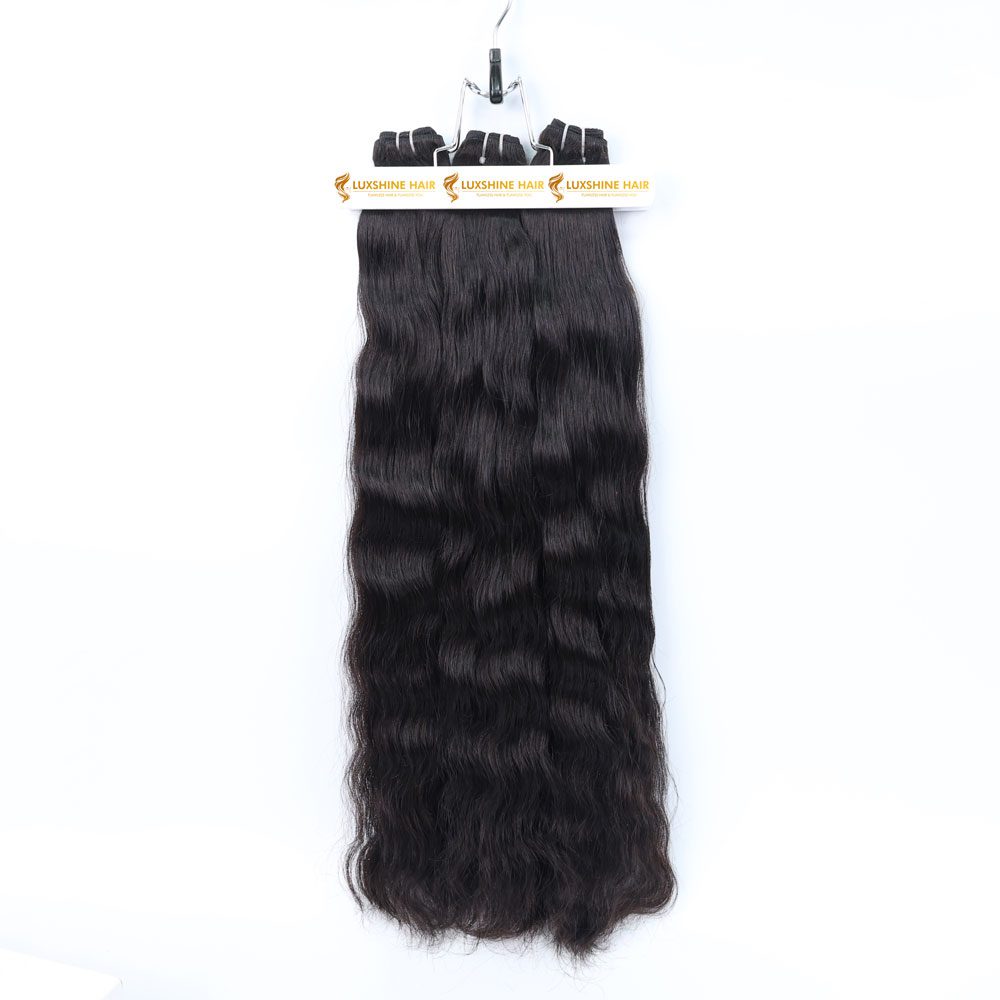
When it comes to enhancing your natural hair, finding a method that combines style, comfort, and versatility is key. Microlink hair extensions offer a modern solution for adding volume and length without causing damage to your natural strands. Read on to explore everything about what are microlink hair extensions, from installation to maintenance.
What Are Microlink Hair Extensions?
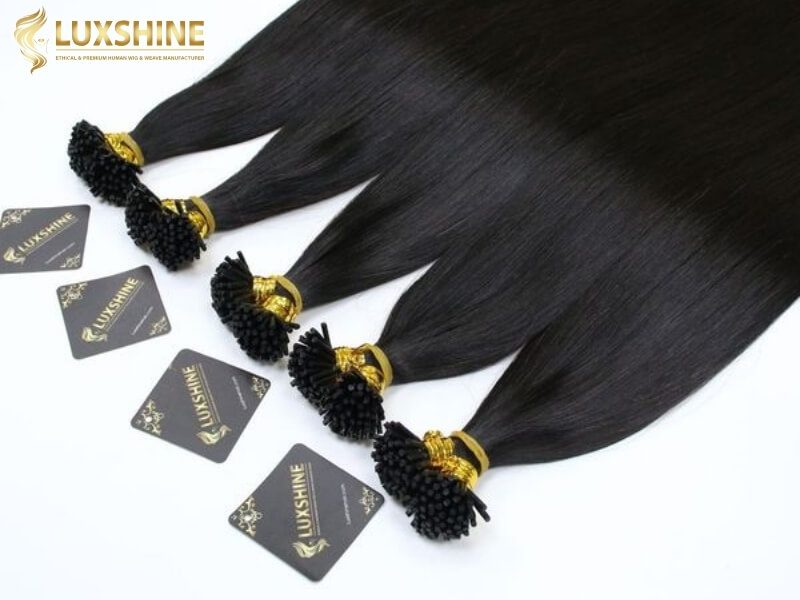
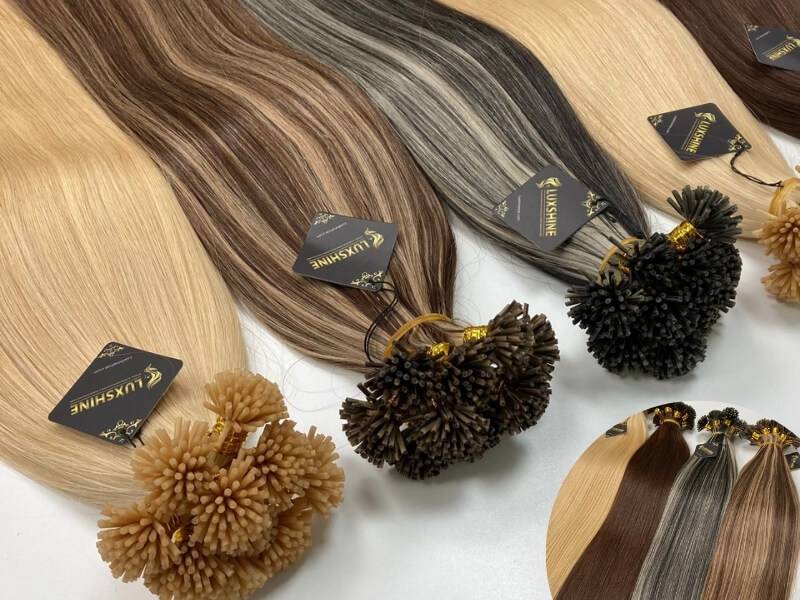
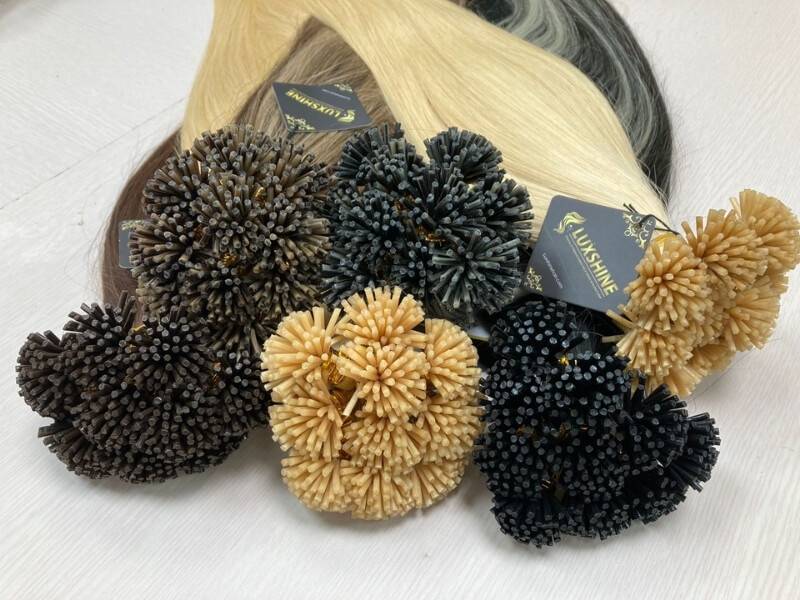
Microlink hair extensions are a permanent hair extension method that uses small silicone or metal beads to attach the extensions to your natural hair. This method is also called microbead or I-tip extensions. Unlike glue-based or sewn-in techniques, microlinks rely on the beads to hold the extensions in place, making them a healthier option for your scalp and hair.
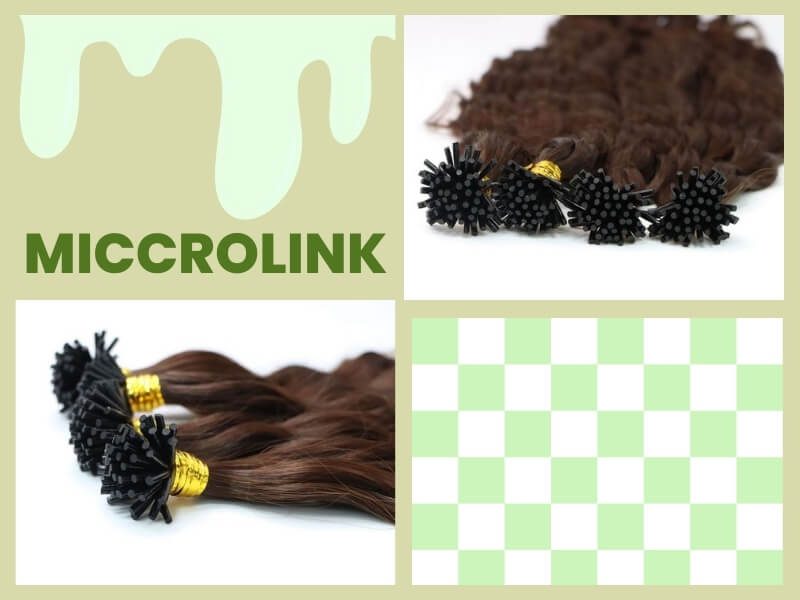
With microlink extensions, you can achieve a natural, seamless look. They blend effortlessly with your hair, making them nearly undetectable. Perfect for anyone looking to add length, volume, or a pop of color, microlink extensions are a popular choice among women who value versatility and hair health.
Advantages and Disadvantages of Microlink Hair Extensions
Advantages
- Non-Damaging Application: Microlink extensions do not involve glue, heat, or harsh chemicals, which reduces the risk of damage to your natural hair.
- Natural Look and Feel: Since the beads are small and the extensions are strategically placed, microlinks blend seamlessly with your natural hair.
- Reusability: High-quality microlink extensions can be reused after proper cleaning and reinstallation, making them cost-effective in the long run.
- Styling Versatility: You can straighten, curl, and style microlink extensions just as you would your natural hair.
Disadvantages
- Time-Consuming Installation: The installation process can take 2–4 hours, depending on the stylist and the volume of extensions.
- Requires Professional Expertise: While the technique is safe, improper installation or adjustment can lead to hair breakage or discomfort.
- Maintenance-Intensive: Regular upkeep is necessary to prevent tangling and bead slippage, which might involve salon visits every 6–8 weeks.
- Not Ideal for Thin Hair: People with very fine or thin hair may struggle with microlinks, as the beads require enough hair to secure them properly.
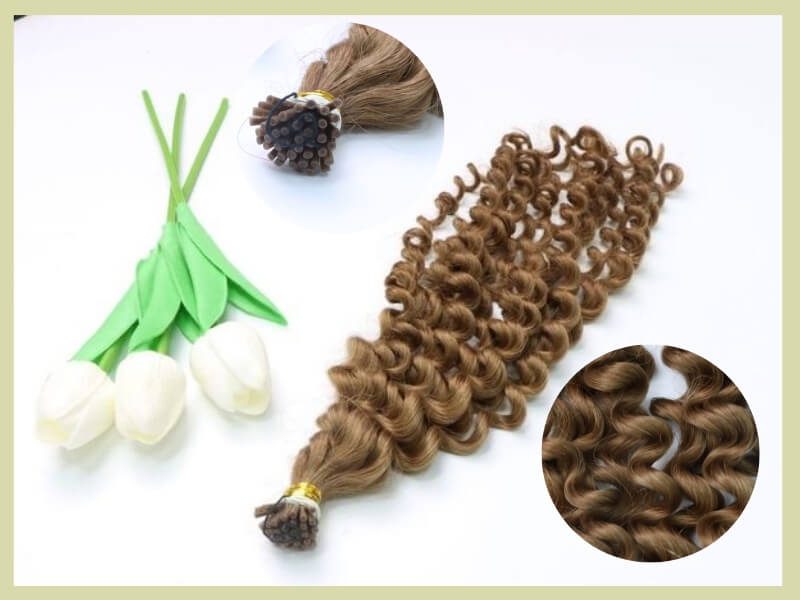
See more information about micro hair extensions compared to other types of hair extensions here: I-Tips Vs Microlinks Hair Extensions
How to Install Microlink Hair Extensions
Proper installation of microlink hair extensions is essential to ensure comfort, durability, and a natural appearance. Here’s how the process works:
Step 1: Preparation
Before beginning the installation, your hair must be prepped thoroughly.
- Cleanse and Dry Hair: Wash your natural hair with a sulfate-free shampoo and conditioner to remove any buildup. Dry your hair completely, as damp strands can make the beads slip more easily.
- Detangle Hair: Use a detangling brush to remove any knots or tangles. Smooth, tangle-free hair ensures the beads can be installed without snagging or pulling.
- Gather Tools:
The stylist will need specific tools, including:- Microbeads (silicone-lined for extra grip and protection)
- Pulling loop or hook tool
- Pliers for clamping the beads
- I-tip hair extensions
- Sectioning clips

Step 2: Sectioning the Hair
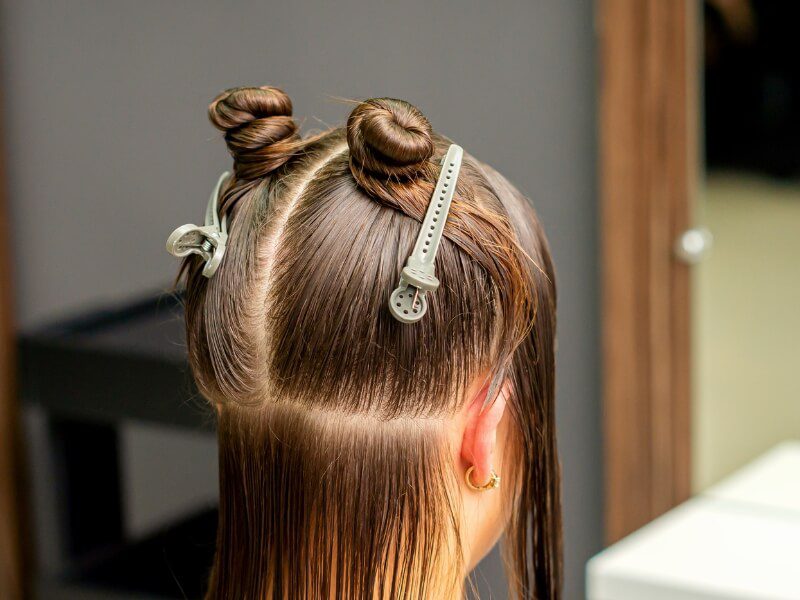
- Divide the Hair: Using a comb, divide your hair into horizontal sections, starting from the nape of the neck and working upward. Secure the sections with clips to keep the hair manageable.
- Create Subsections: In each horizontal section, create small, even subsections about the width of a microbead. Consistent sizing is important for a uniform look.
Step 3: Attaching the Beads
Now, the actual process of attaching the extensions begins.
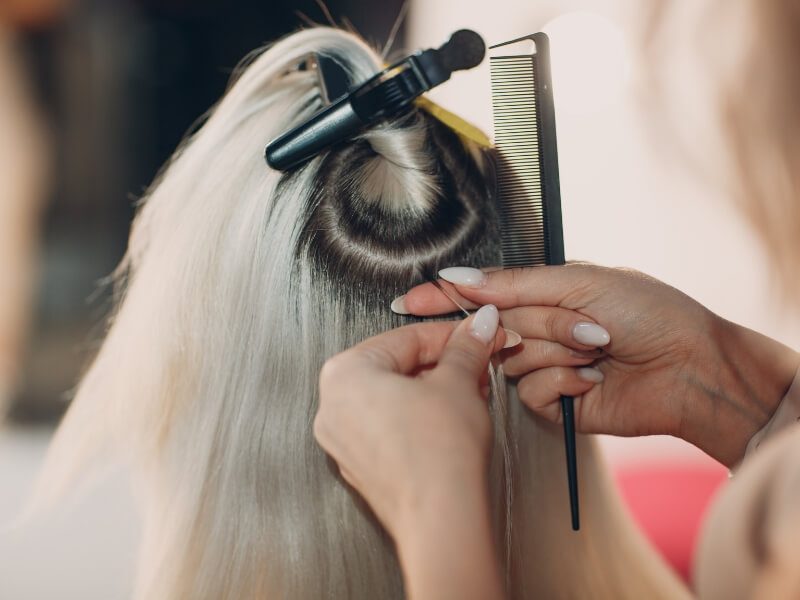
- Insert the Bead: Slide a microbead onto the loop or hook tool. Take a small strand of natural hair and thread it through the tool’s loop. Pull the strand through, allowing the bead to slide onto the hair.
- Position the Bead: Place the bead about 1–1.5 cm (half an inch) away from the scalp. This distance prevents tension and discomfort while allowing the hair to move freely.
Step 4: Adding the Extension Strand
This step secures the I-tip extension to the natural hair strand.
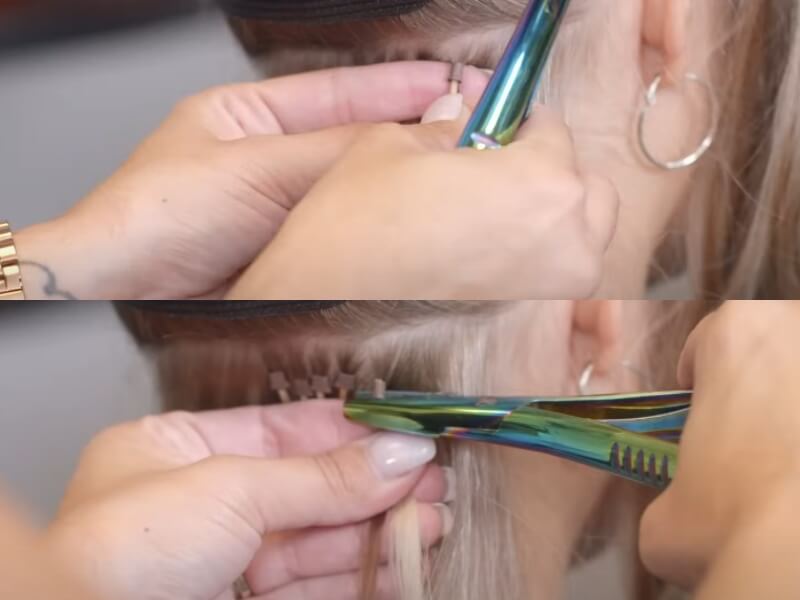
- Insert the I-Tip Extension: Slide the pre-bonded I-tip extension strand into the bead alongside your natural hair. Ensure the extension aligns perfectly with the natural strand.
- Clamp the Bead: Using pliers, firmly clamp the bead to secure the extension in place. The bead should hold both the natural hair and the extension strand tightly without slipping.
Step 5: Repeating the Process
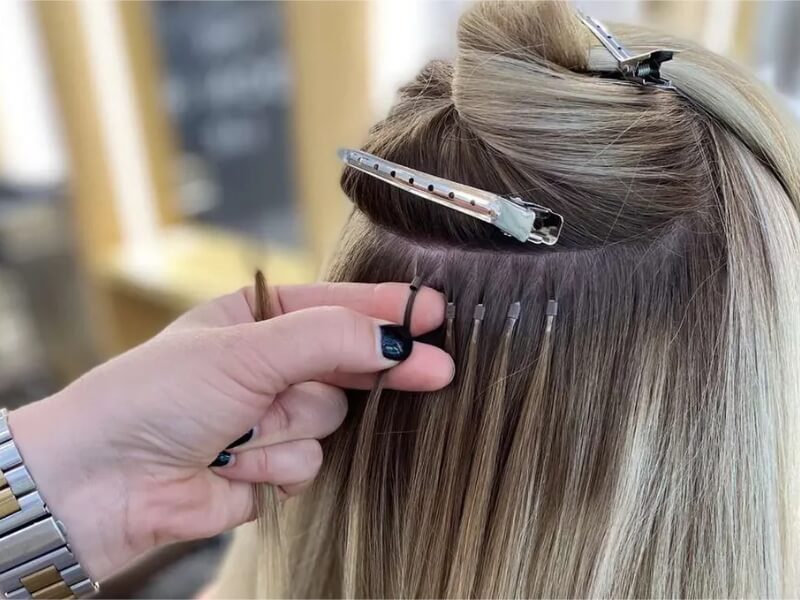
- Work in Sections: Move systematically from the nape of the neck to the crown, ensuring even spacing between beads and extensions.
- Check Alignment: Periodically check that the extensions are lying flat against your natural hair and are not pulling or creating tension.
Step 6: Final Blending and Styling
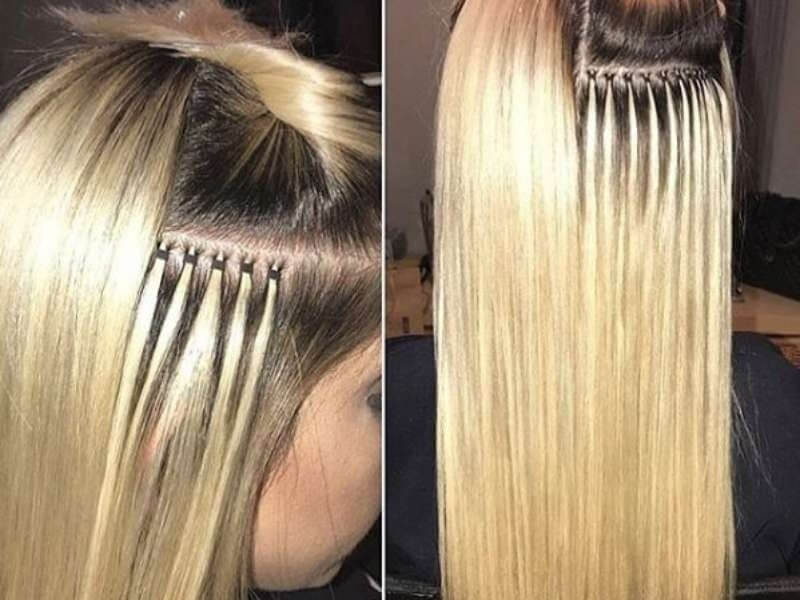
- Trim Extensions: The stylist trims the extensions to blend seamlessly with your natural hair. This step ensures that the added length and volume look cohesive.
- Style Your Hair: The final styling enhances the natural look of the extensions. Whether you opt for curls, straightening, or a specific hairstyle, this step ensures the extensions complement your look perfectly.
How Long Does Microlinks Last
The lifespan of microlink hair extensions depends on the quality of the hair used, the installation process, and how well you maintain them. Typically, microlink extensions last between 8 to 12 weeks.
For those using high-quality, 100% human hair extensions, you can reuse the extensions multiple times. Regular tightening appointments (every 6–8 weeks) are necessary to adjust the beads and prevent matting or slippage.
How to Care for Microlink Hair Extensions
To keep your microlink hair extensions looking their best, proper care is crucial. Follow these tips:
- Gentle Washing: Use sulfate-free shampoos and conditioners to cleanse your scalp and hair without causing buildup around the beads.
- Detangle with Care: Always brush your hair gently using a wide-tooth comb or a loop brush designed for extensions. Start from the ends and work your way up to avoid tugging on the beads.
- Avoid Heavy Products: Refrain from using heavy oils or serums near the beads, as they can cause slippage.
- Styling Precautions: Use heat styling tools on a low to medium setting to prevent damage to both the extensions and your natural hair.
- Regular Maintenance: Visit your stylist for regular tightening and adjustment sessions to ensure the extensions stay secure and your natural hair remains healthy.

FAQs About What are Microlink Hair Extensions
1. Are Microlink Hair Extensions Suitable For All Hair Types?
Microlinks work best for medium to thick hair types. Individuals with thin or fragile hair may need to explore other options to avoid stress on their natural strands.
2. Can I Wash My Hair With Microlink Extensions?
Yes, you can wash your hair, but use sulfate-free products and avoid excessive scrubbing near the beads.
3. Do Microlink Extensions Damage Natural Hair?
When installed and maintained correctly, microlinks are non-damaging. Improper application or neglect can lead to tangling or breakage.
4. How Much Do Microlinks Cost?
The cost varies based on the quality of hair and the stylist’s expertise but typically ranges from $300 to $1,000 for the installation.
5. Can I Dye Microlink Extensions?
If you’re using 100% human hair extensions, they can be dyed. However, it’s best to consult your stylist for professional coloring.
Conclusion
Above are all the answers about “what are microlink hair extensions?”. Microlink hair extensions are an excellent way to enhance your look without compromising hair health. Whether you want extra volume, added length, or a touch of color, microlinks deliver unmatched versatility.
Ready to transform your hair with microlink hair extensions? At Luxshine Hair, we provide top-quality, ethically sourced Vietnamese hair extensions to meet all your styling needs. Visit our website to explore our premium microlink collection today! Please contact us via whatsapp: (+84) 862 552 088 for more information.


