Every woman desires luscious and full hair. Tape-in hair extensions have become a popular choice for a temporary, affordable, and convenient method to achieve this look. While they offer a fantastic way to experiment with length and volume, the removal process can be challenging, especially for newbies. Improper removal methods can damage your hair or scalp. Although removing the tape isn’t tough, it requires some techniques to ensure a smooth process. Here are five steps to remove tape-in extensions without causing any damage.
Preparation Before Removing Tape
To make the removal process smooth, gather the necessary tools and take some initial steps for your hair.
Gather Your Tools
Here are the essential tools you’ll need for the removal process:
- Remover solution (available at beauty supply stores, e-commerce platforms, or Luxshine Hair)
- Wide-tooth comb
- Rat tail comb
- Sectioning clips
- Shampoo and conditioner
- Gloves (optional)
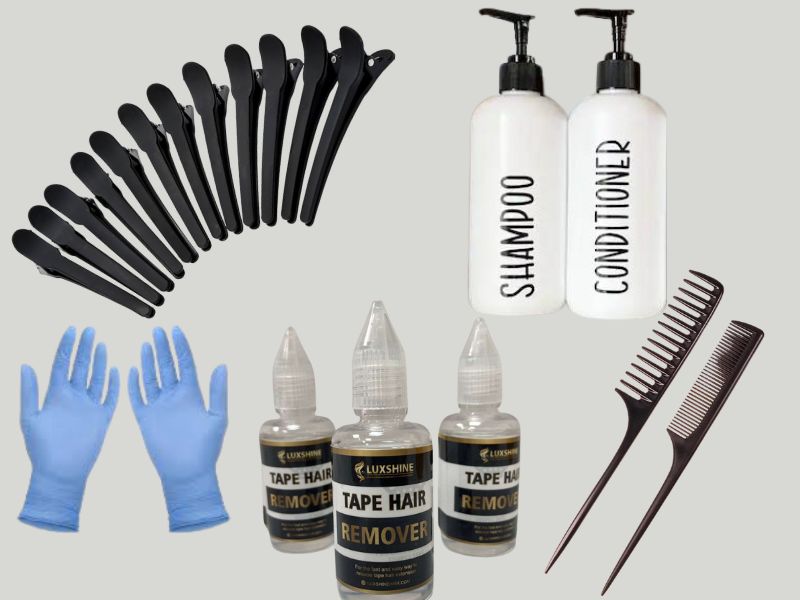
Section Your Hair
Gently detangle your hair before starting the removal process to minimize stress on your natural hair. Divide your hair into manageable sections and secure them with clips. These sections should follow the previous tape lines to ease the removal process. Once done, you are ready to begin removing your tape-in extensions.
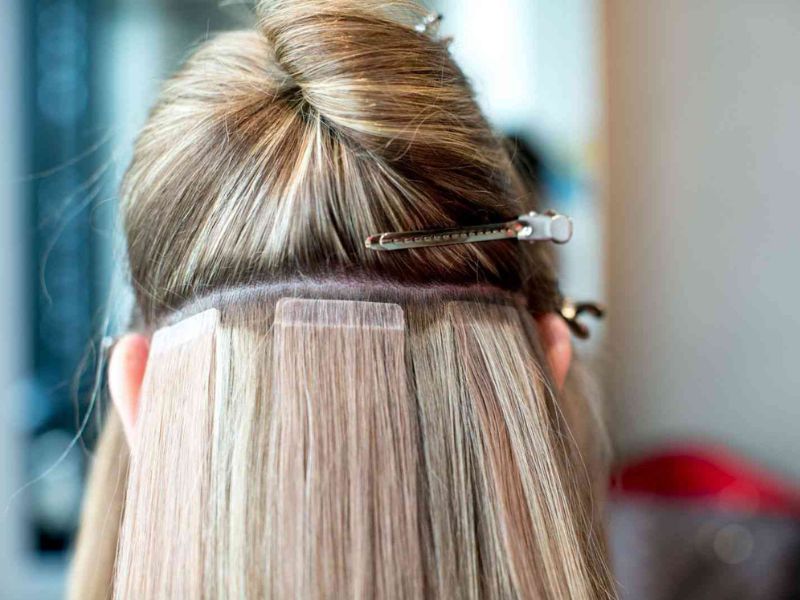
How To Remove Tape-In Extensions With No Damage: 5 Steps
Step 1: Apply Adhesive Remover
Apply adhesive remover directly to the tape bonds. Follow the product directions for the precise amount and application method. A small amount is usually sufficient to break down the adhesive properties of the tape, allowing for a smoother and more efficient removal process.
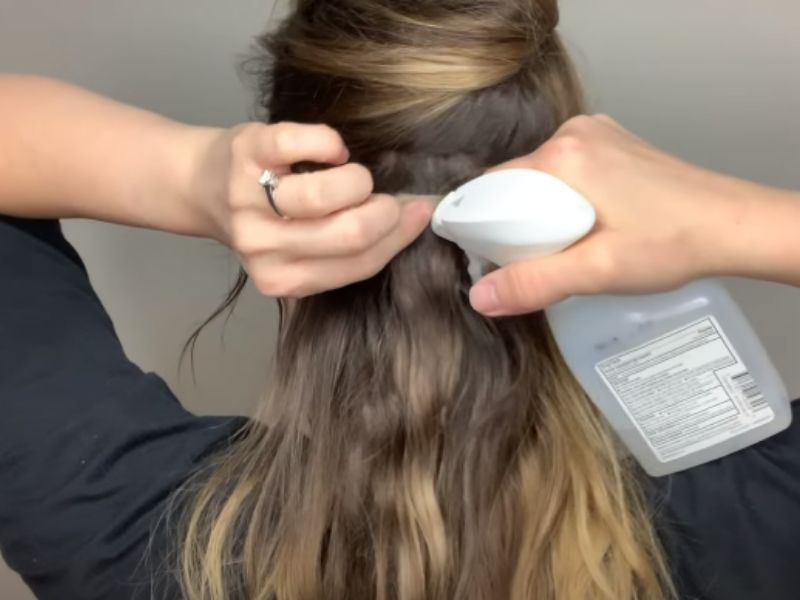
Step 2: Let It Sit
Allow the adhesive remover to work on the tape bonds for a few minutes. The exact duration will vary based on the product used, but it typically takes 5-10 minutes. Patience is key during this step to ensure that the adhesive is sufficiently weakened, making it easier to peel the tape without causing damage.
Step 3: Gently Separate the Extensions
Once the adhesive is weakened, use a rat tail comb or your fingers to separate the tape-in extensions from your natural hair. Start at the bottom and work your way up, peeling back the tape with steady, gentle pressure. If some areas are stubborn, apply more adhesive remover and wait a few more minutes.
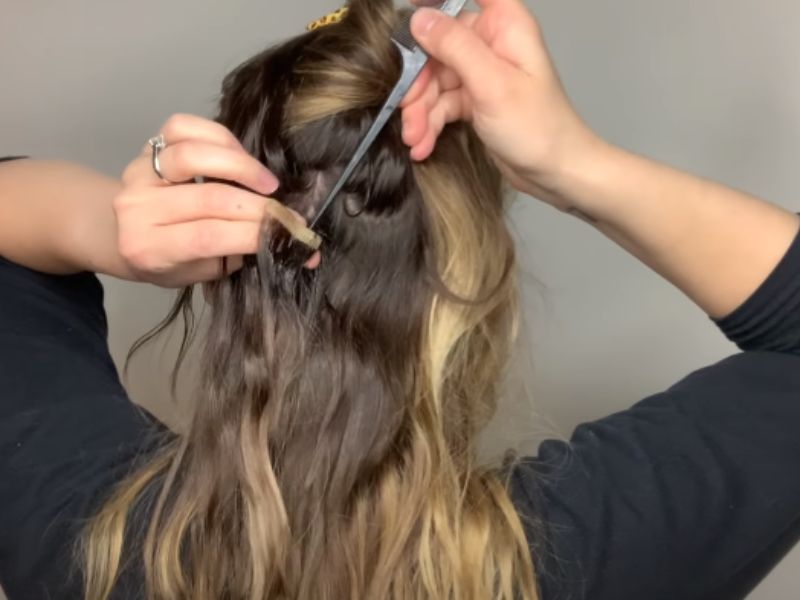
Step 4: Comb Through
After removing the extensions, comb through your natural hair to remove any adhesive residue. Inspect the hair regularly and apply more adhesive remover if needed to tackle any remaining stubborn areas.
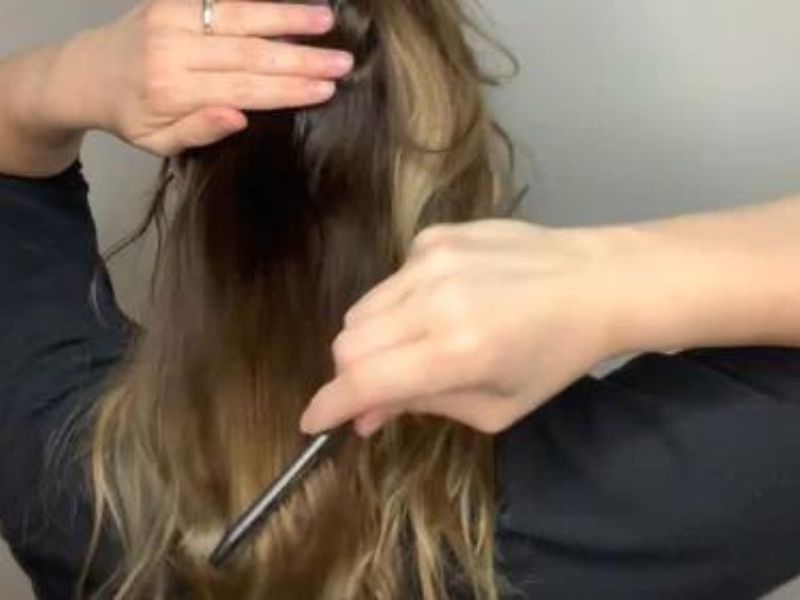
Step 5: Clean Your Hair
Wash your natural hair thoroughly to remove any remaining adhesive residue. Use a high-quality, sulfate-free shampoo and conditioner to restore moisture to your hair. If you plan to reuse the tape in hair extensions, wash them as well and let them air dry before storing them carefully.
Taking Care of Your Hair After Removing Extensions
After removing the tape-in extensions, it’s crucial to take good care of your natural hair. Here are some tips:
Shampoo and Condition
Use high-quality products to remove any extension adhesive residue. Opt for a moisturizing, sulfate-free shampoo and conditioner to cleanse and nourish your hair. Follow up with a deep conditioning treatment to replenish moisture and strengthen your hair. Look for natural ingredients like green tea, oats, coconut oil, or argan oil, and avoid chemicals such as alcohol, sulfates, parabens, and triclosan.
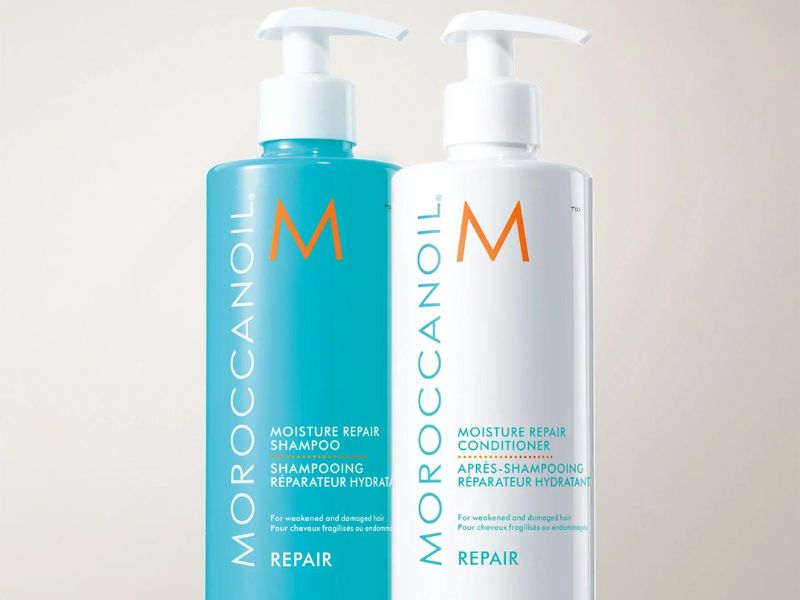
View more related post here: Best Shampoo For Tape In Hair Extensions
Deep Conditioning Treatment
A deep conditioning treatment helps restore moisture and nurture your hair. Choose products with natural ingredients to avoid long-term damage from harsh chemicals.
Avoid Heat Styling
Minimize the use of heat styling tools like flat irons and curling wands, which can further damage your hair. If you must use them, always apply a heat protectant spray to shield your hair from damage.
Regular Trims
Schedule regular trims to keep your hair healthy and prevent split ends. Regular maintenance ensures your hair stays in good condition, even after using extensions.
Maintenance Tips
Detangling: Use a wide-tooth comb for detangling brush regularly to gently remove any knots or tangles. Start at the tips and work your way up to the roots to avoid breakage.
Trimming: Consider getting a trim to remove any split ends that may have formed while wearing the extensions. Consult a professional stylist if you notice any damage. They can assess your hair’s condition and recommend a clipping schedule to keep it healthy.

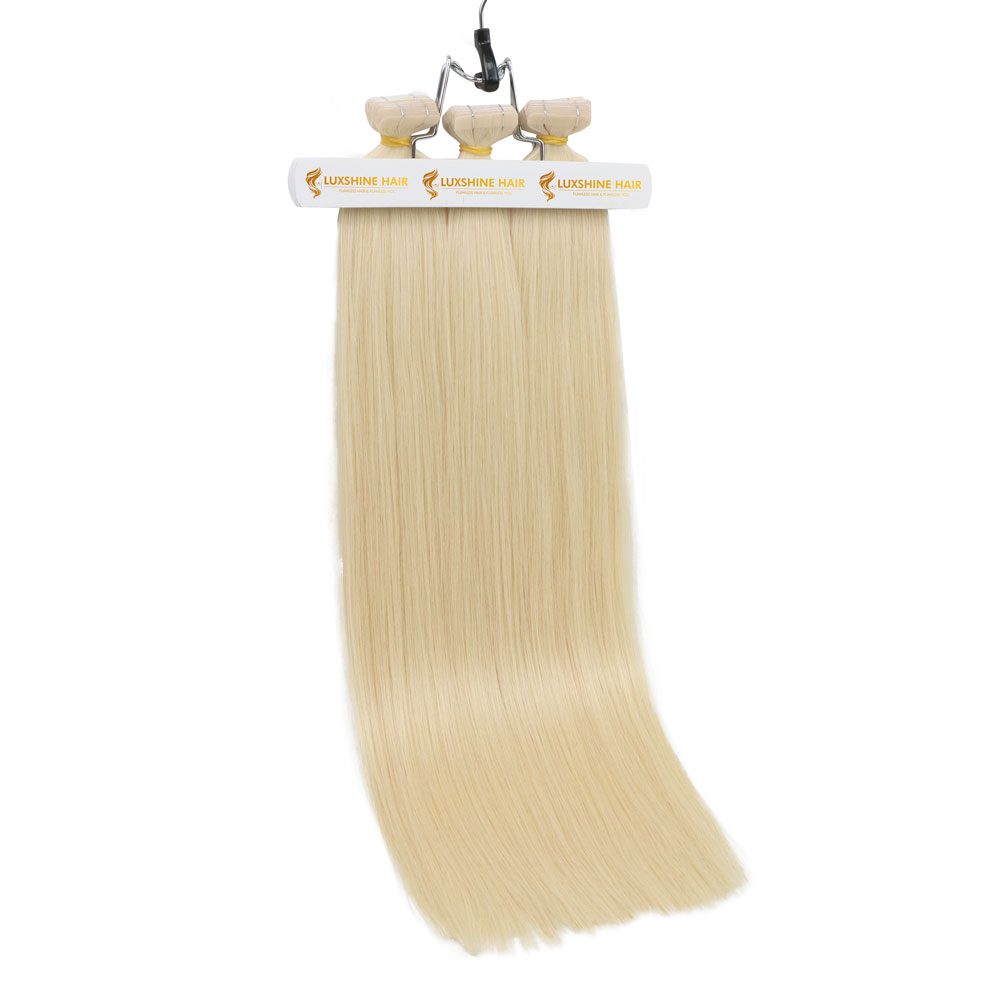
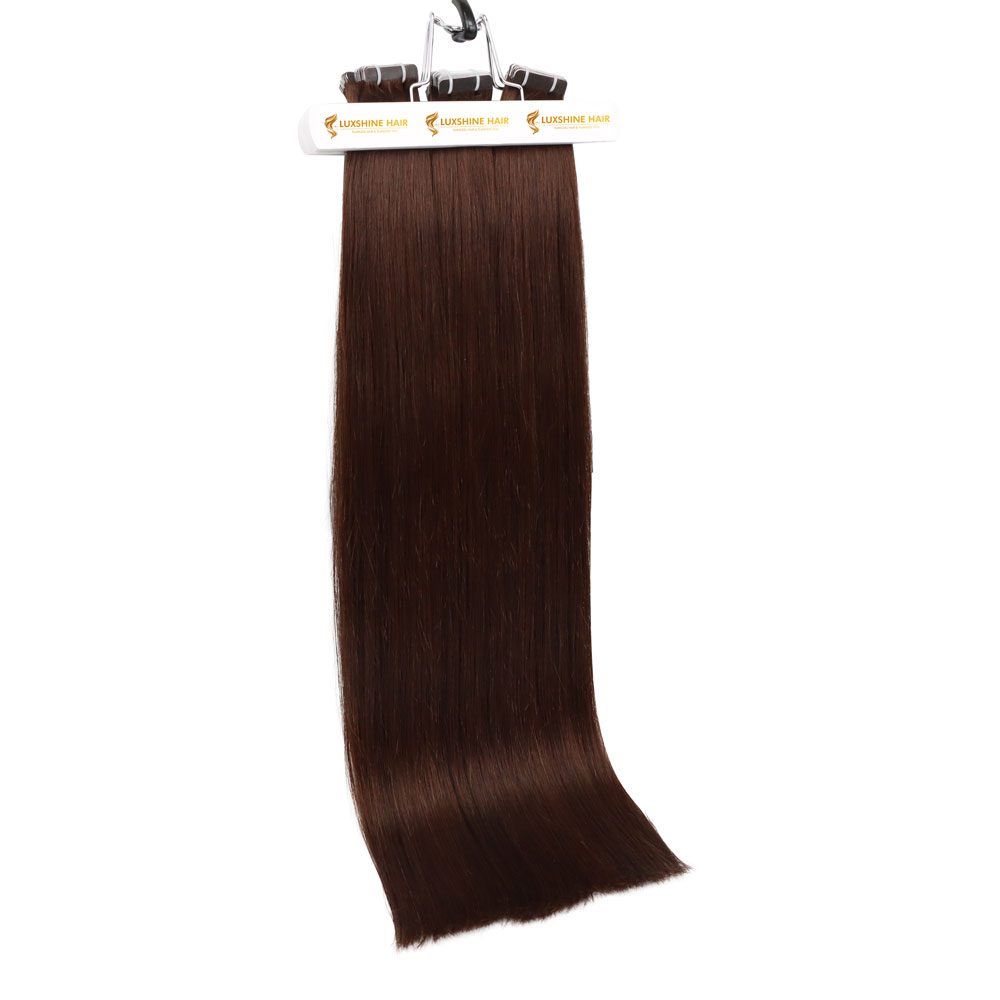
By following these steps, you can safely remove your tape-in extensions at home. Hair extensions are a fantastic way to experiment with different hairstyles. For high-quality extensions, visit Luxshine Hair, one of the leading Vietnamese hair vendors. If you need assistance, feel free to contact us. Enjoy your removal process and your journey with Luxshine Hair extensions!


2 thoughts on “How To Remove Tape In Extensions With No Damage in 5 Steps”
Wow, this list is exactly what I needed! I’ve been considering getting hair extensions for a while now, and your detailed reviews have made it so much easier to decide. I’m particularly interested in the tape-in extensions you mentioned – they seem perfect for a natural look. Thanks for sharing such comprehensive information.
Thanks for your compliment. If you find our information helpful, could you share this post for us, please?