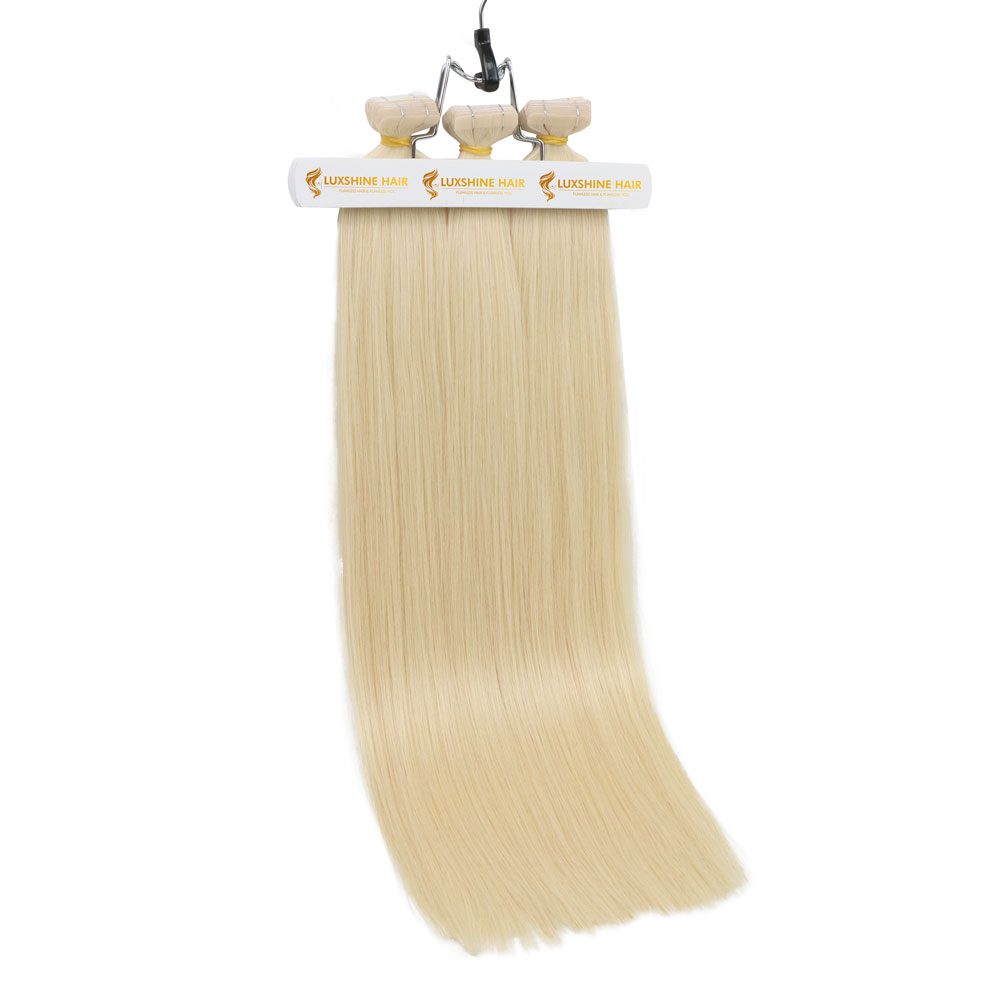
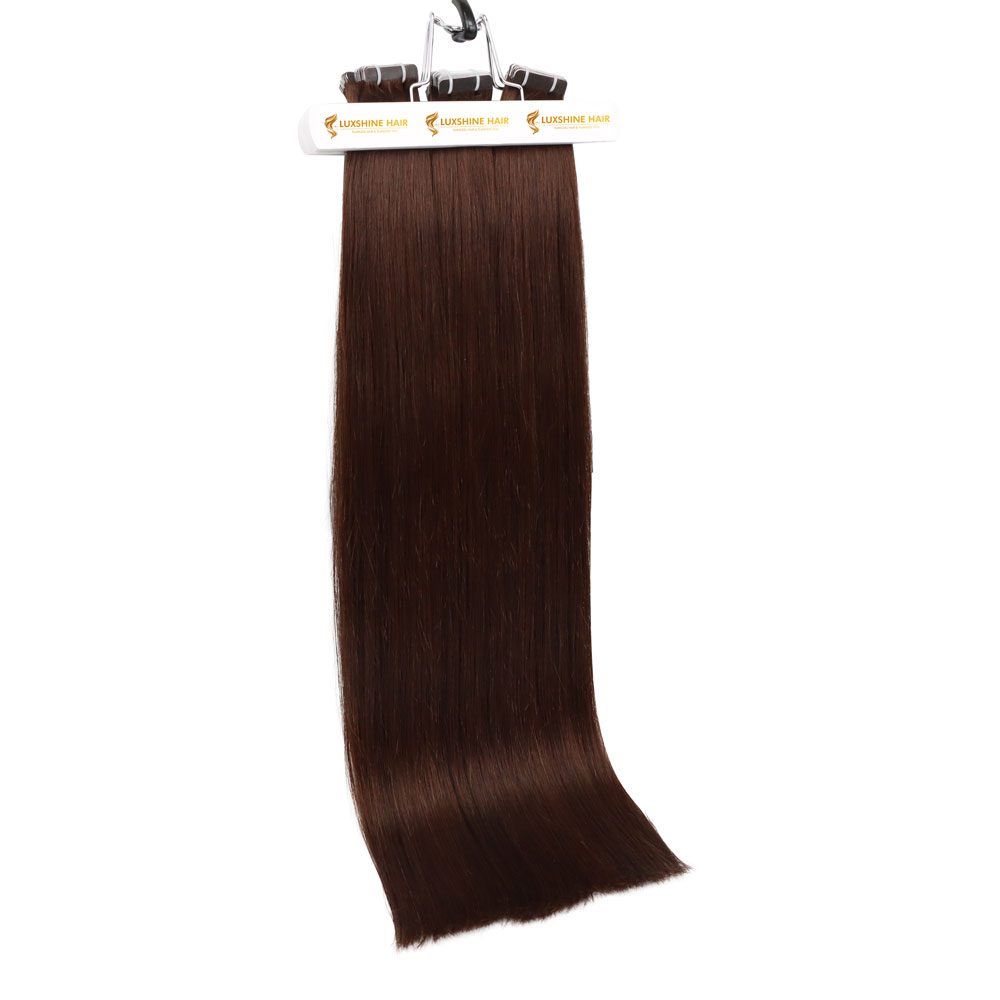
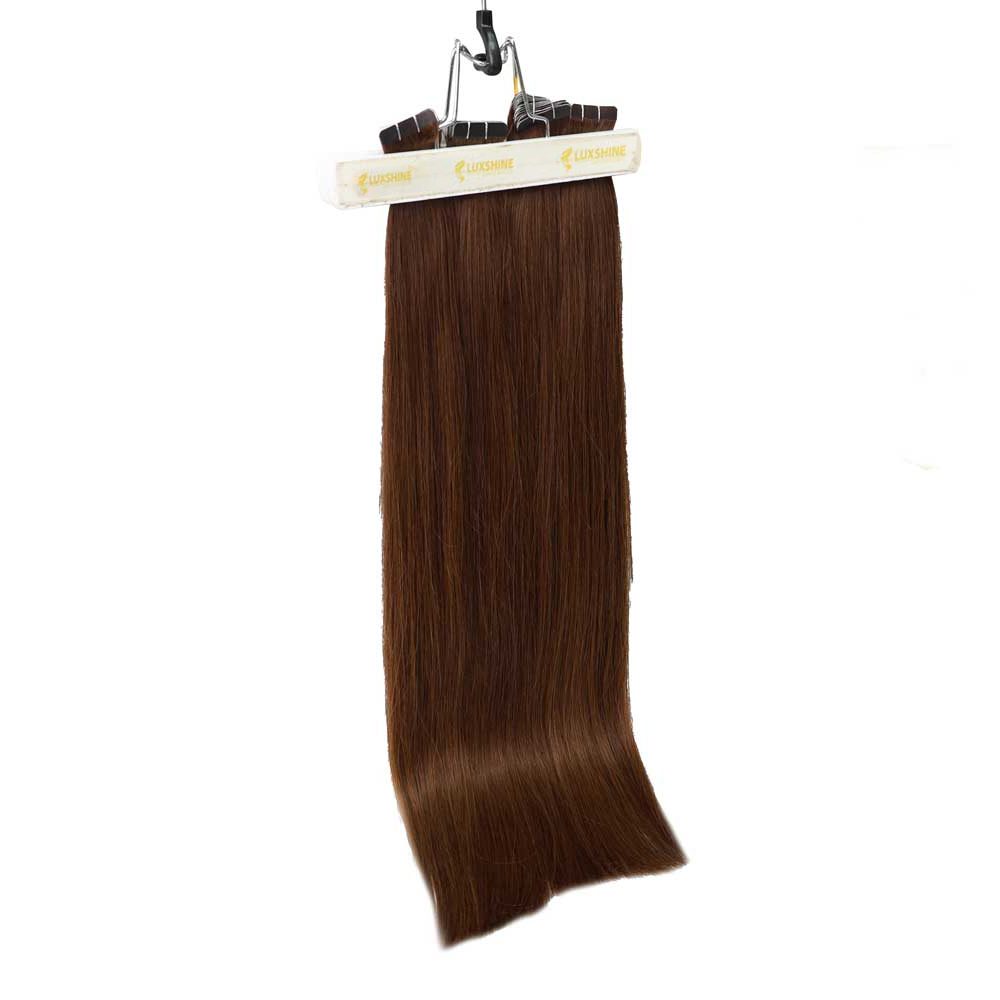
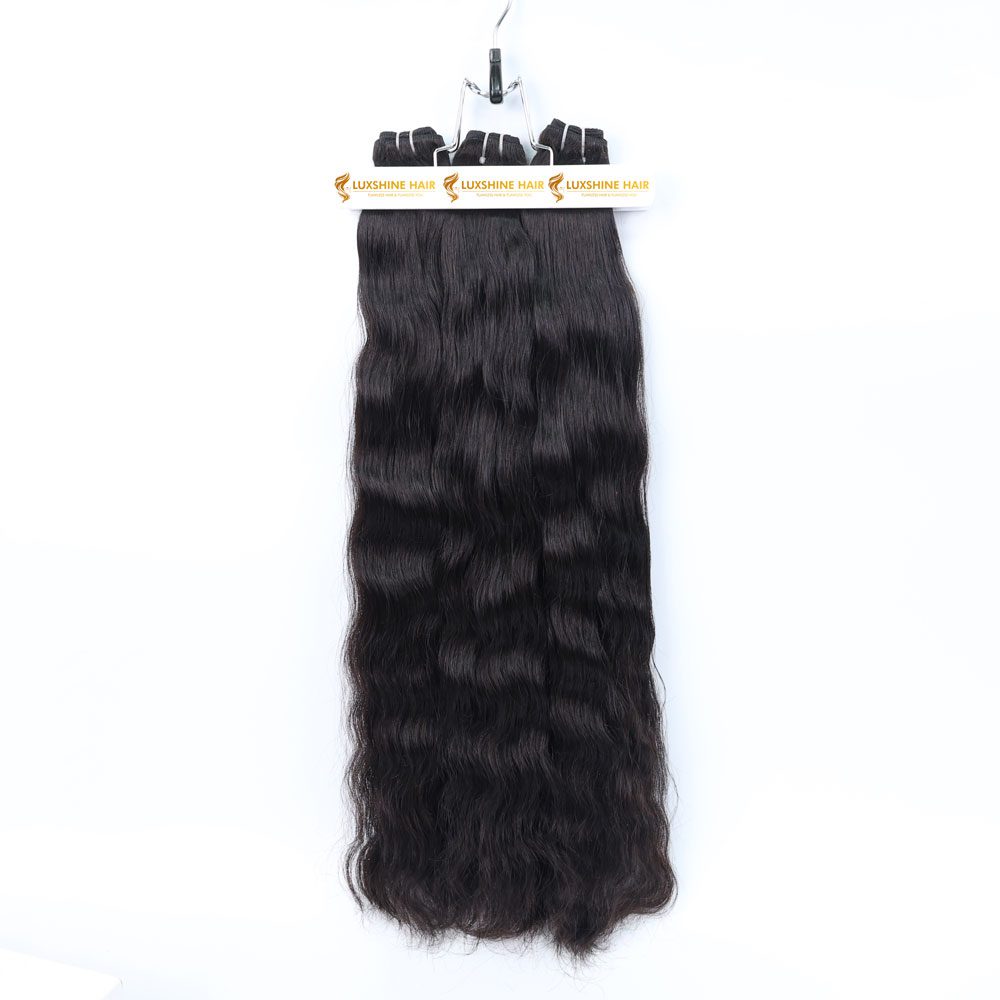
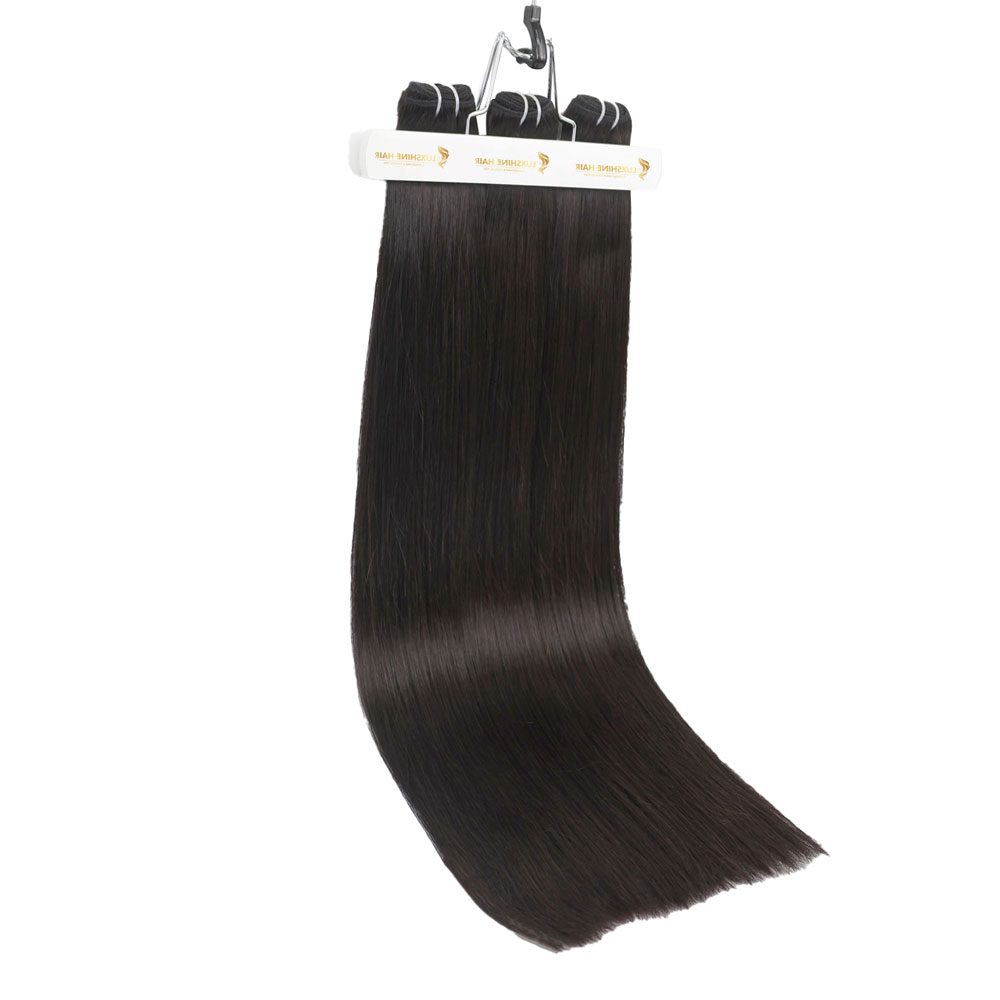
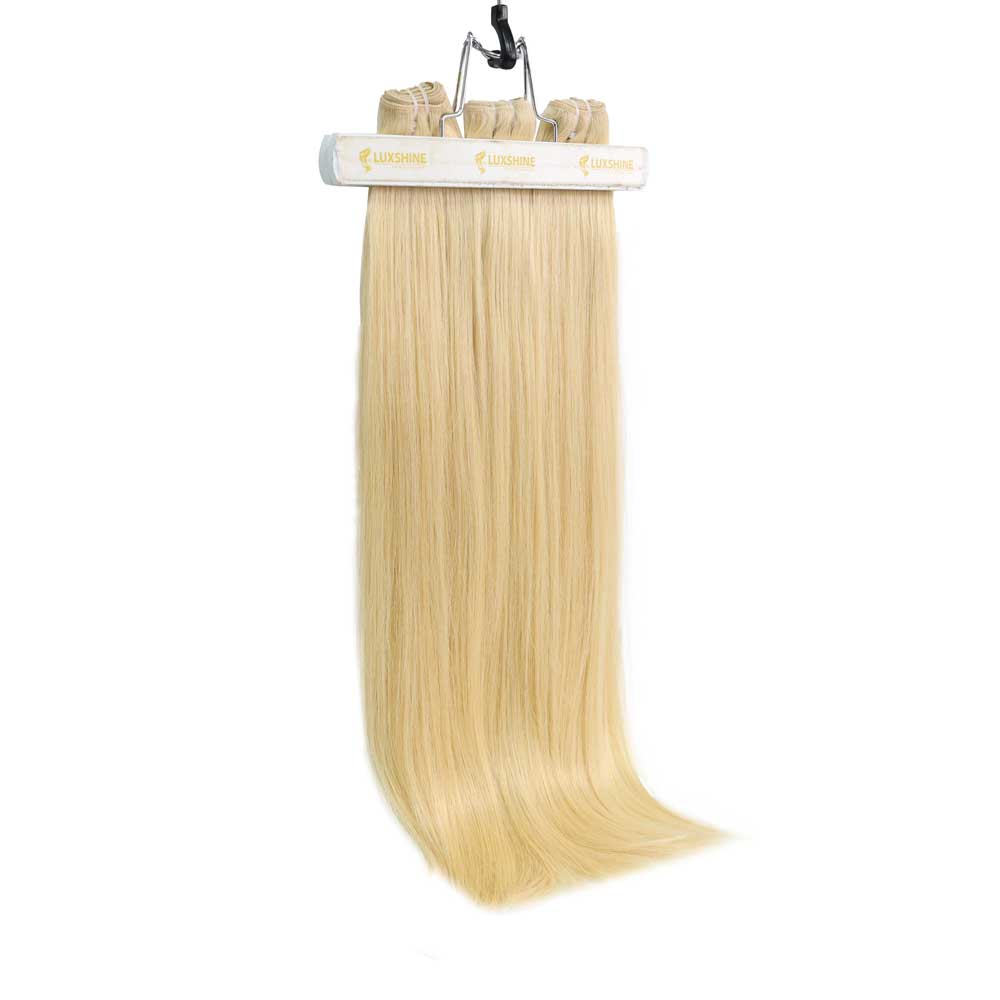
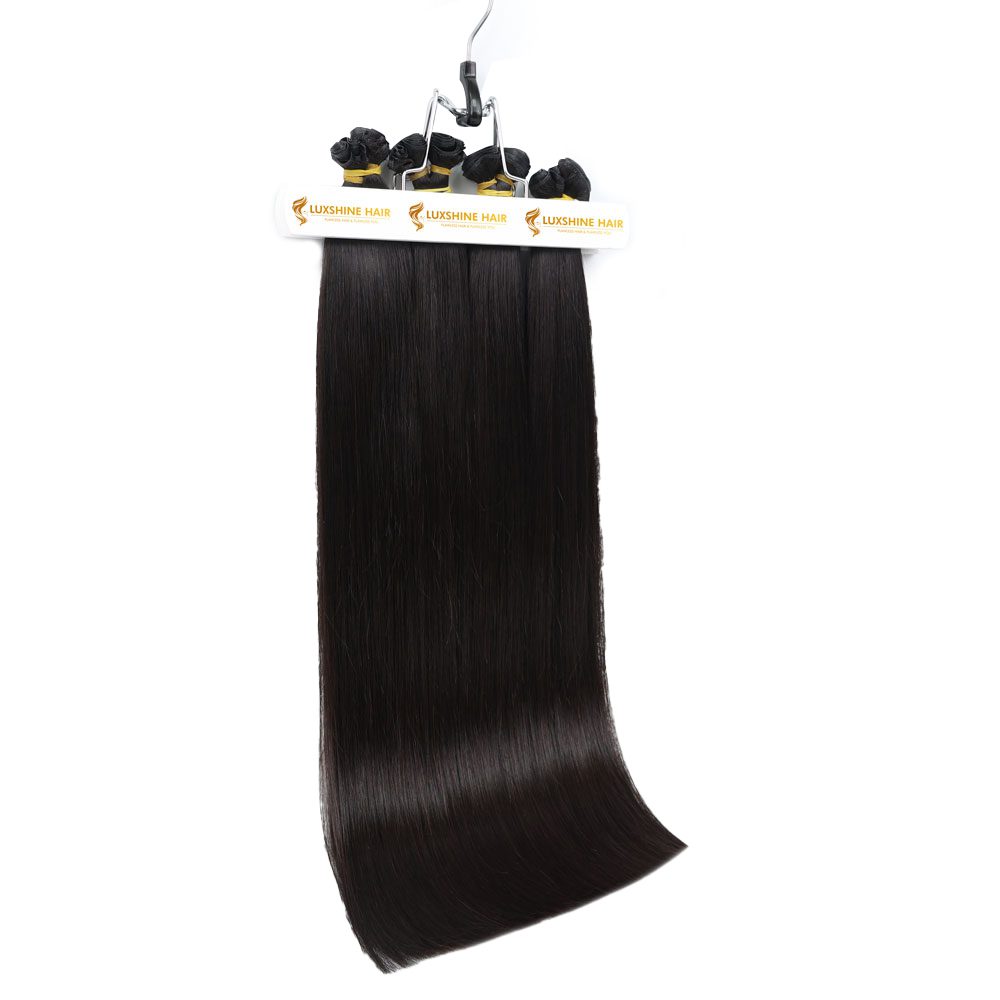
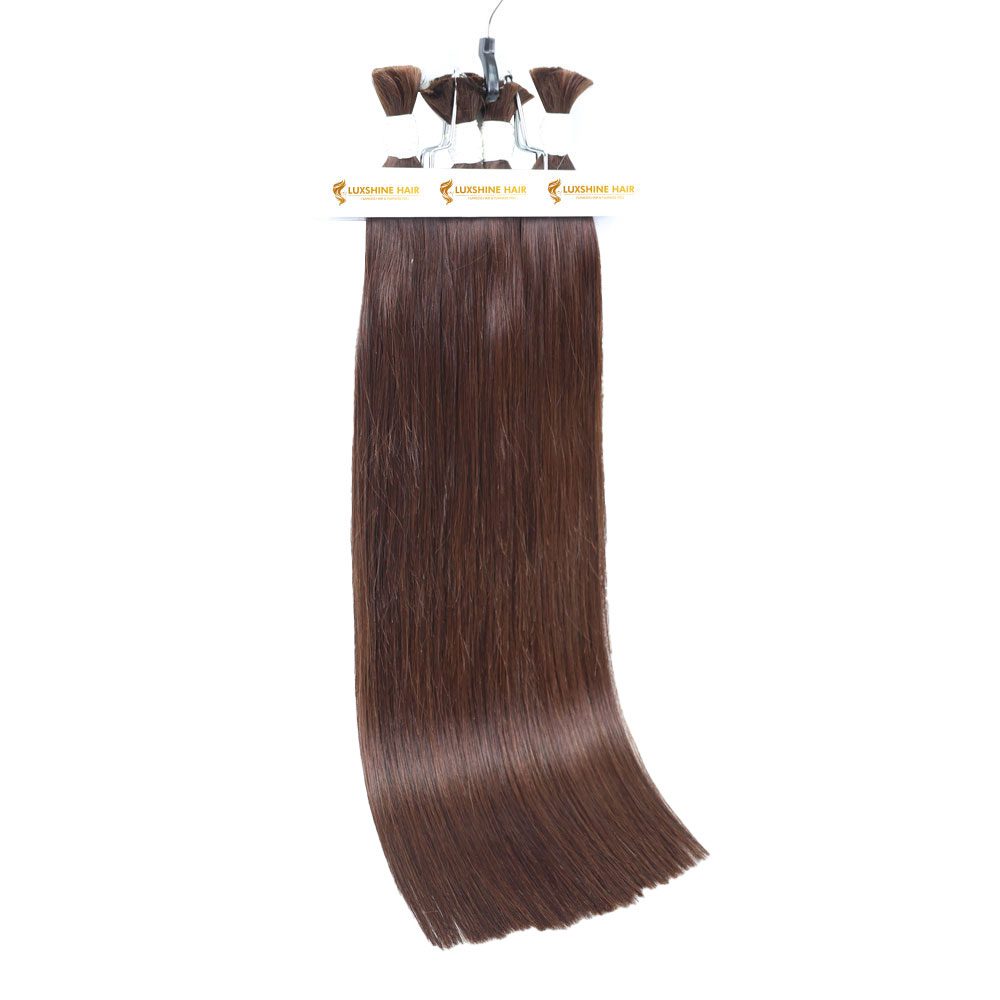
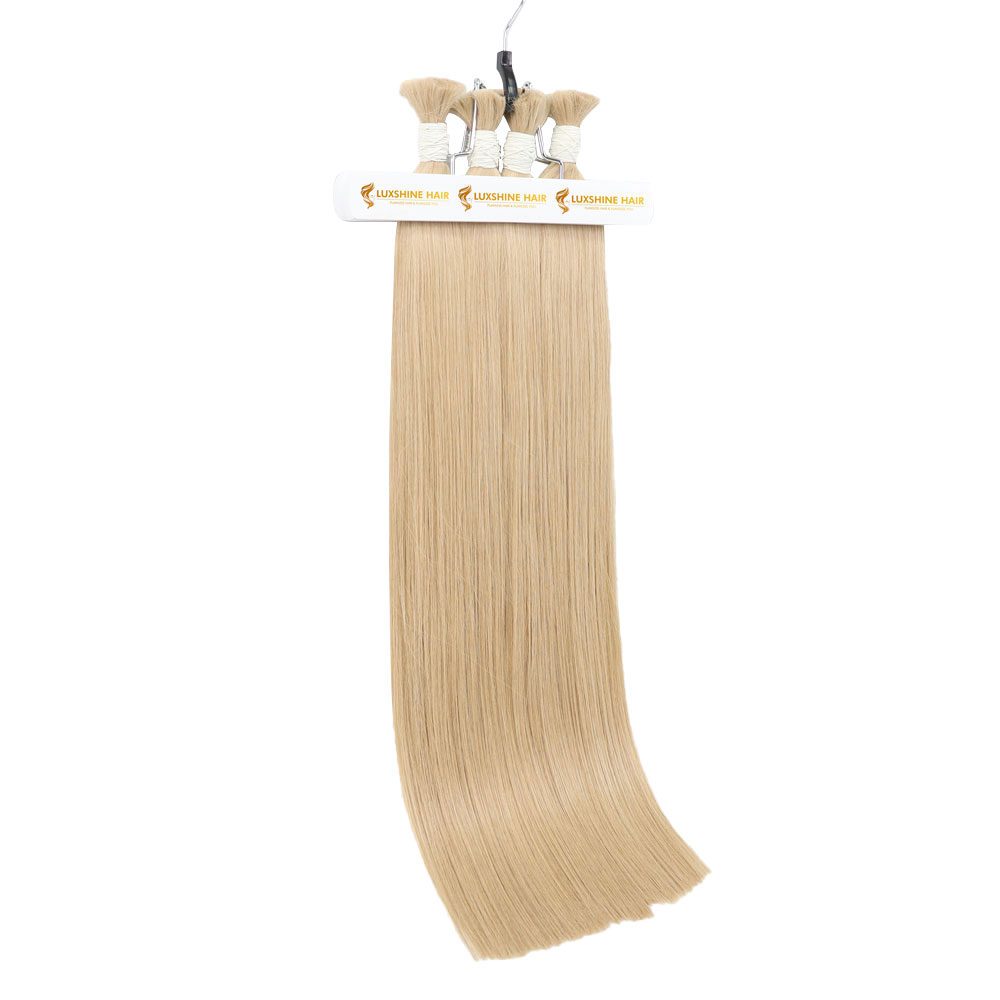
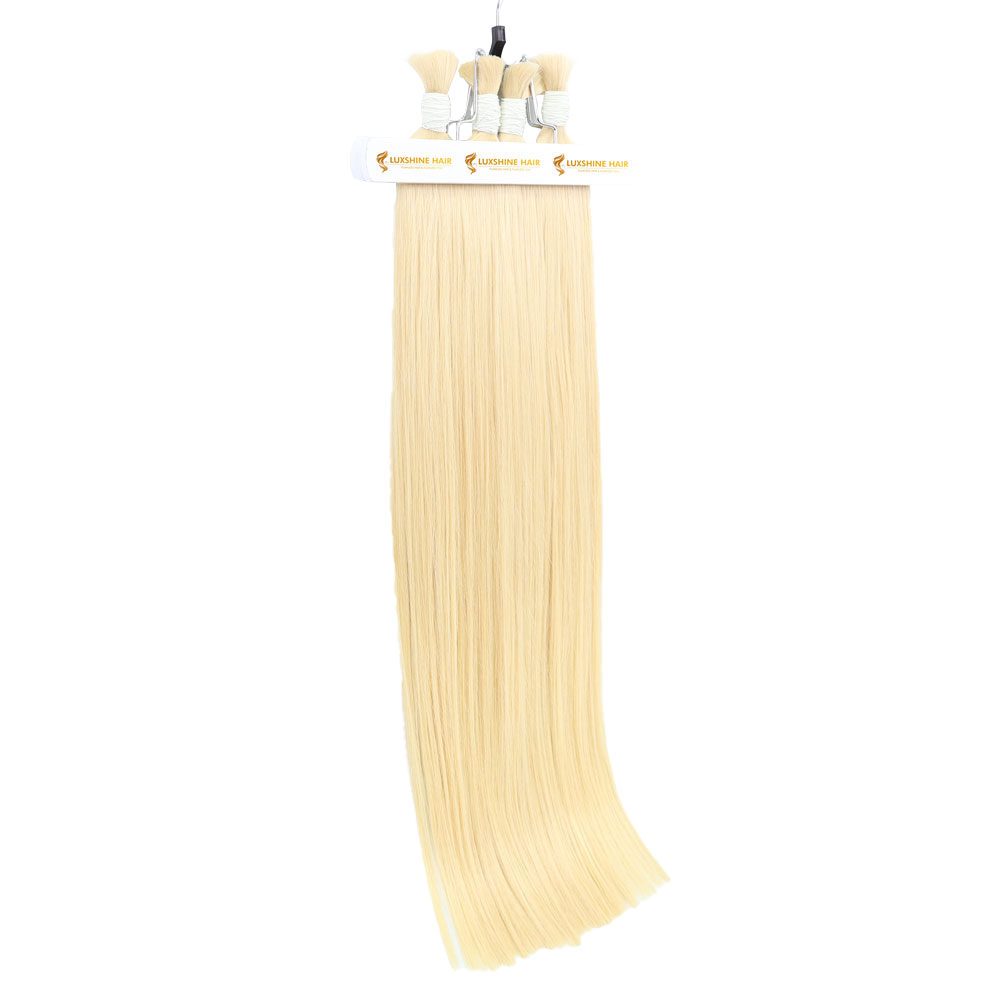
Flat tip hair extensions are quickly becoming a favorite among hair enthusiasts and stylists alike. But exactly what are flat tip hair extensions – and why are so many people choosing them over traditional options like tape-ins or i-tips? In this guide, we’ll walk you through everything you need to know about this innovative extension type, from how they’re applied to who they’re best suited for.
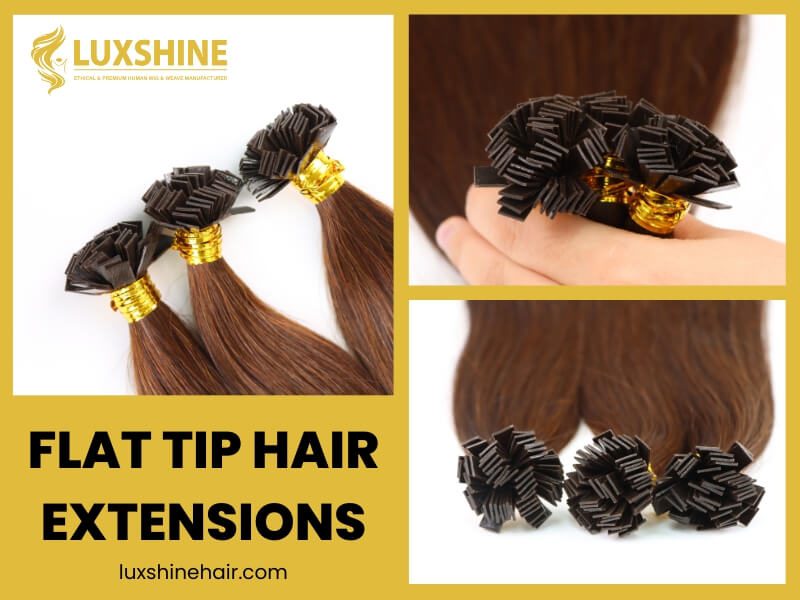
What Are Flat Tip Hair Extensions?
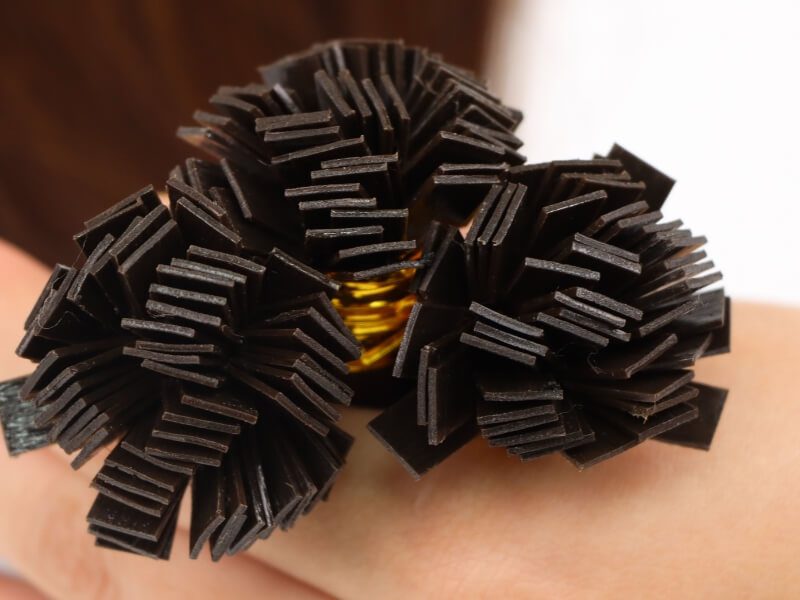
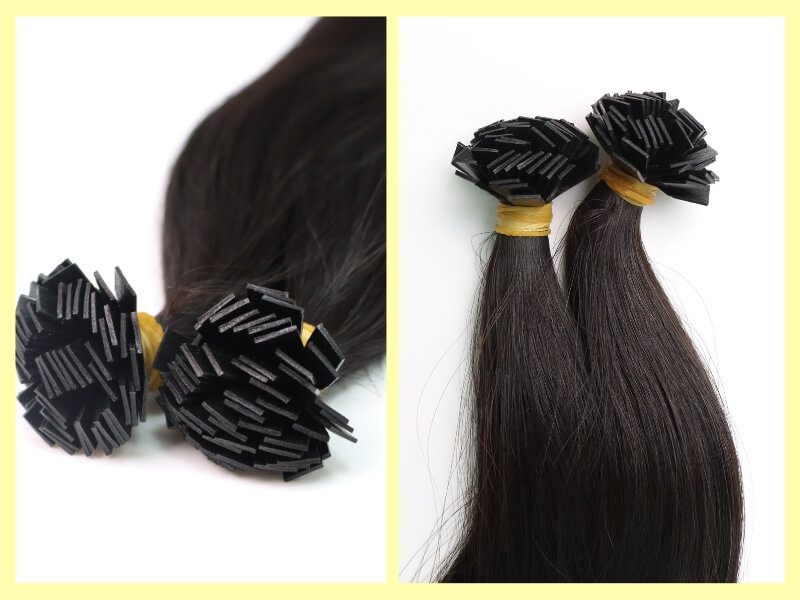
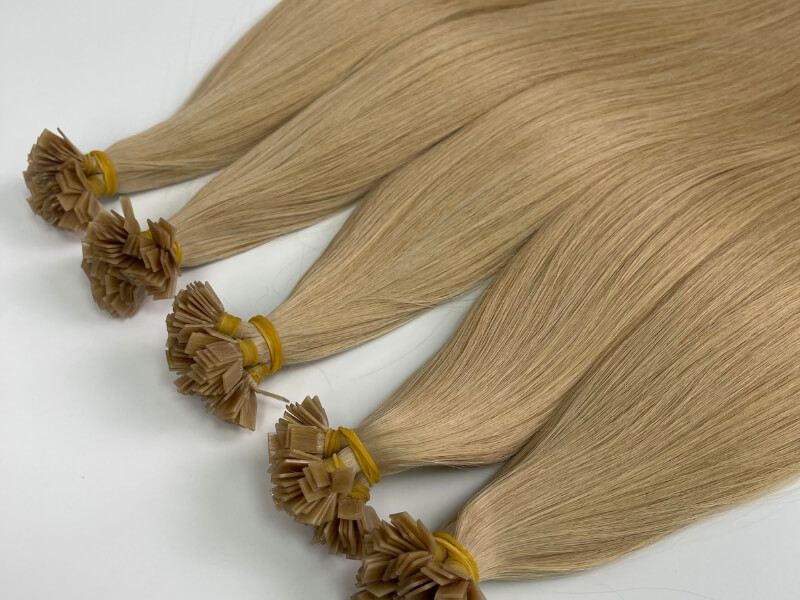
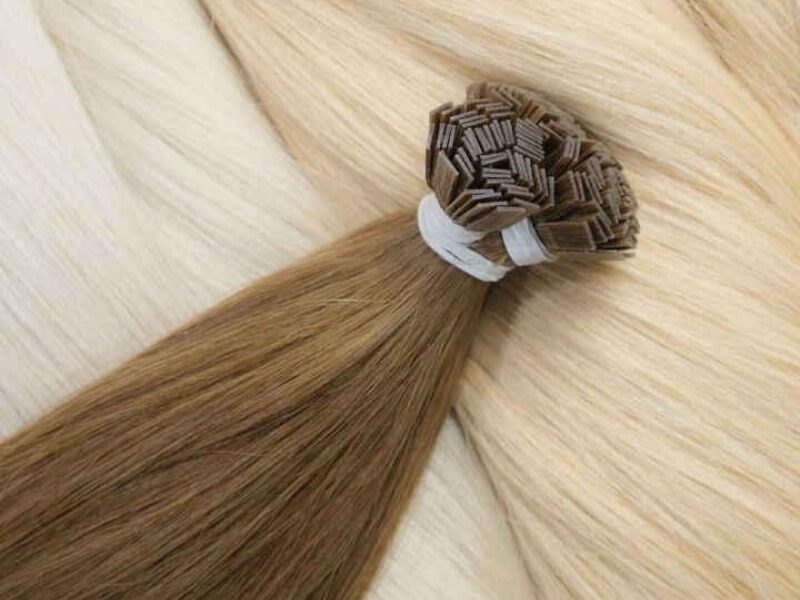
Flat tip hair extensions a type of permanent hair extension method that combines the benefits of I-tip extensions and tape-in extensions. They are called “flat tip” because the bond at the end of each strand is flat and square-shaped, resembling a tape but installed like an I-tip.
Unlike tape-ins that adhere with adhesive or I-tips that use tiny beads, flat tip extensions are attached strand by strand using a small, flat keratin bond. This design ensures an incredibly natural look, smooth feel, and excellent flexibility for various hairstyles.
Here’s a quick comparison between flat tip extensions and other popular types to help you decide which is best for your hair goals:
- Flat Tip vs. Tape-In Extensions: Tape-ins stick with adhesive and lay very flat but are bulkier when stacking. Flat tips, though also flat, offer more strand-by-strand movement and freedom without sticky adhesives.
- Flat Tip vs. I-Tip Extensions: Both use beads for installation. However, flat tip bonds provide a flatter, smoother attachment, reducing tension on natural hair.
Read more: Flat Tip vs I-Tip Extensions
Flat Tip Hair Extensions Pros and Cons
Like all hair extension types, flat tip hair extensions have their strengths and weaknesses. Let’s break them down:
Flat Tip Hair Extensions Pros
- Natural-looking finish: Flat tips sit flatter against your scalp, blending seamlessly with your hair.
- Flexible styling options: You can wear your hair up, down, or in intricate braids without the bonds showing.
- No heat or glue needed: Installation uses a bead method, avoiding damaging adhesives or high heat tools.
- Long-lasting results: With proper care, flat tip extensions can last 3 – 6 months before requiring reinstallation.
- Lightweight and comfortable: Because of their flatter shape, they cause less strain on your scalp compared to bulkier methods.
- Reusable hair: High-quality flat tip extensions can be reinstalled multiple times, saving money over time.
Flat Tip Hair Extensions Cons
- Professional installation required: Flat tip extensions are complex to install, making DIY installation risky.
- Maintenance appointments needed: You’ll need move-up appointments every 6 – 8 weeks to keep bonds neat and invisible.
- Initial installation can be pricey: The upfront cost, including professional installation, can be higher than tape-ins or clip-ins.
- Not ideal for very fine or fragile hair: Even though they’re lightweight, flat tips may still pull on extremely thin or weak hair.
How to Install Flat Tip Hair Extensions?
Flat tip hair extensions can be installed in two popular ways: keratin fusion and micro ring methods. Below is a detailed, step-by-step guide for each technique, including estimated installation time, cost, and important tips for the best results.
Keratin Fusion Installation
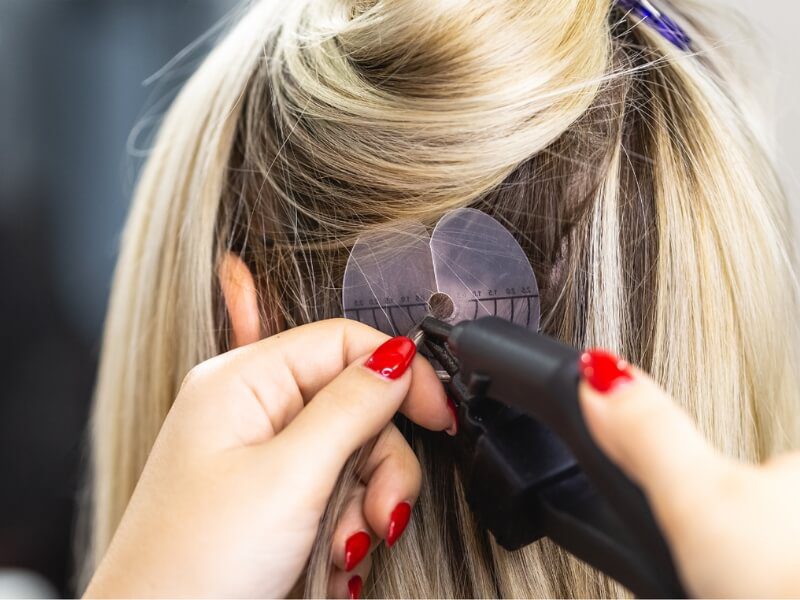
Keratin fusion involves melting a small amount of keratin adhesive to bond the extension to your natural hair.
Steps:
- Preparation: Wash and dry your hair thoroughly to remove any oils or residue.
- Sectioning: Divide your hair into neat sections starting from the nape of your neck and working upwards.
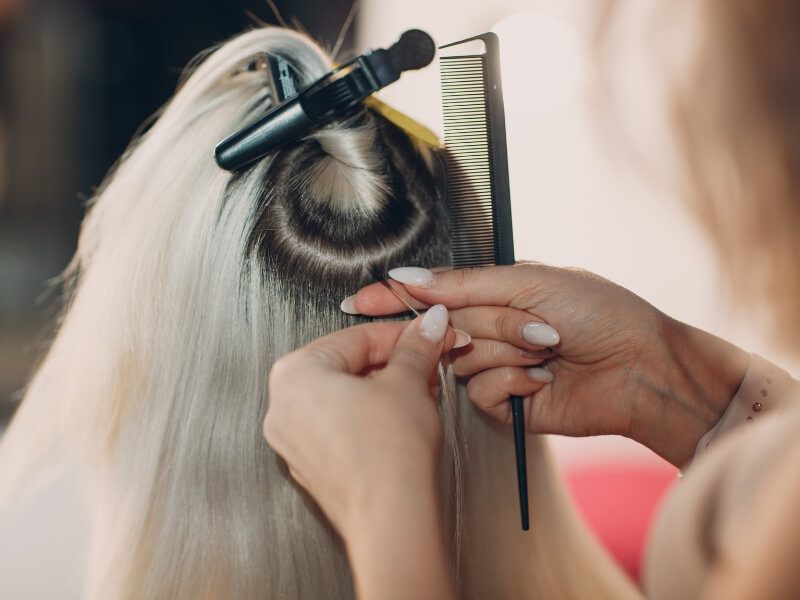
- Position the Extension: Take a small strand of natural hair and place a flat tip extension against it.
- Heat Bonding: Use a heat connector (fusion tool) to melt the keratin bond. Roll it between your fingers until it cools and hardens securely around the hair.
- Repeat: Continue section by section until the desired volume and length are achieved.
- Finishing Touches: Trim and style the hair as needed to blend the extensions seamlessly with your natural hair.
Micro Ring Installation
Micro ring installation is a heat-free method, using small metal rings to attach the extensions.
Steps:
- Preparation: Start with clean, dry hair.
- Sectioning: Part your hair into manageable layers.
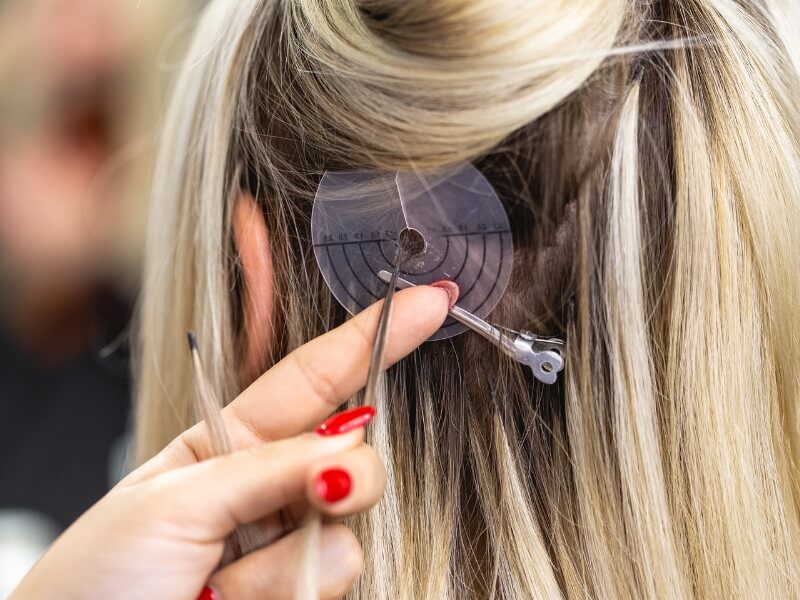
- Threading: Use a pulling needle to thread a small section of your natural hair through a micro ring.
- Insert the Extension: Place the flat tip extension into the ring alongside your natural hair.
- Clamp: Use pliers to flatten the ring, securing the extension in place.
- Continue: Work section by section until the entire head is covered as desired.
- Blend: Trim and style for a natural, blended look.

Installation Time and Estimated Cost
- Keratin Fusion:
- Time: 3–5 hours depending on the number of extensions.
- Cost: $300–$800, depending on the salon and hair quality.
- Micro Ring:
- Time: 2–4 hours.
- Cost: $200–$600.
(Prices may vary depending on location, stylist experience, and the number of strands installed).
Important Notes When Installing Flat Tip Hair Extensions
- Professional Help: It’s highly recommended to have a professional stylist install flat tip extensions to ensure correct application and avoid damage.
- Hair Health: Always check that your natural hair is strong enough to support extensions, especially with keratin fusion which involves heat.
- Maintenance: Proper aftercare, such as using sulfate-free products and gentle brushing, extends the life of your extensions.
- Removal: Never attempt to remove keratin or micro ring extensions yourself; improper removal can cause significant hair breakage.
Want a deeper breakdown on each method and expert tips? Check out our full guide here: [How to Install Flat Tip Hair Extensions]
Who Is Suitable for Flat Tip Hair Extensions?
Flat tip hair extensions aren’t a one-size-fits-all solution—but they do work beautifully for many people. Here’s how to know if they’re right for you:
Suitable Hair Types
- Medium to thick hair: Flat tips blend best with medium or thick natural hair because the keratin + micro ring combo requires a solid base for proper grip.
- Healthy hair: Your natural hair should be strong enough to support the weight of the extension strands and tolerate light heat used during application.
- Straight or slightly wavy hair: While flat tips can be styled, they tend to integrate most naturally with straight or wavy textures.
If your hair is very fine or fragile, tape-ins or hand-tied extensions may be a better option.
Level of Care Required
- Regular maintenance: You’ll need touch-ups every 6–8 weeks to reposition micro rings and ensure the bonds remain secure and invisible.
- Daily brushing: Use a loop brush to gently detangle from root to tip without pulling at the bonds.
- Heat & product awareness: Avoid applying heavy oils or direct heat near the keratin bonds, as they may weaken the attachment.
Professional Recommendations
- Great for long-term wear: Ideal for those looking for semi-permanent results (up to 3 months per install).
- Not recommended for DIY beginners: Installation requires professional tools, precision, and experience.
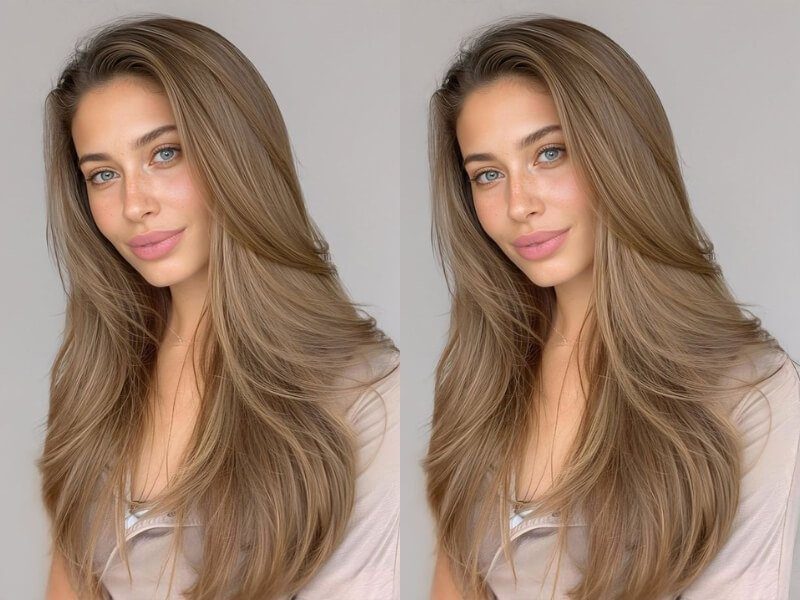
- Perfect for volume & length seekers: Whether you’re recovering from a haircut mishap or just want fuller, longer hair – flat tips deliver seamless results.
FAQs About Flat Tip Hair Extensions
How Many Packs Of Flat Tip Extensions Do I Need?
- Thin hair: 3–4 packs
- Medium hair: 4–5 packs
- Thick hair: 5–6 packs – Each pack usually contains around 20 strands.
Can I Put My Hair Up With Flat Tip Extensions In?
Absolutely! Flat tip extensions are designed for flexibility, allowing easy, discreet ponytails, buns, and braids.
Are Flat Tips Damaging To Your Natural Hair?
When installed and maintained properly, flat tips are low-damage. They don’t require glue or heat, reducing stress on your hair. However, poor installation or neglecting maintenance can cause breakage.
How Long Do Flat Tip Extensions Last?
With good care, flat tip extensions typically last 3 to 6 months. Longevity depends on hair quality, lifestyle, and maintenance habits.
Can I Reuse My Flat Tip Extensions?
Yes! High-quality flat tip hair extensions are reusable for 2–3 installs with proper care and professional removal.
Are Flat Tip Extensions Waterproof?
Yes, you can swim and shower with flat tips installed. However, always rinse your hair after swimming and avoid prolonged water exposure to maintain the bonds.
Conclusion
Below is the full answer for what are flat tip hair extensions. Flat tip hair extensions are an amazing choice if you’re looking for long-lasting, natural, and versatile hair transformations. They strike the perfect balance between flexibility, durability, and style freedom. Whether you love sleek ponytails, voluminous waves, or detailed braids, flat tips can support all your favorite looks without damaging your natural hair – if installed and maintained correctly.
Ready to experience the magic of flat tip hair extensions? Choose Luxshine Hair – the leading Vietnamese hair vendor for the highest quality Vietnamese hair extensions. Our flat tip products are designed for beauty, comfort, and longevity.


