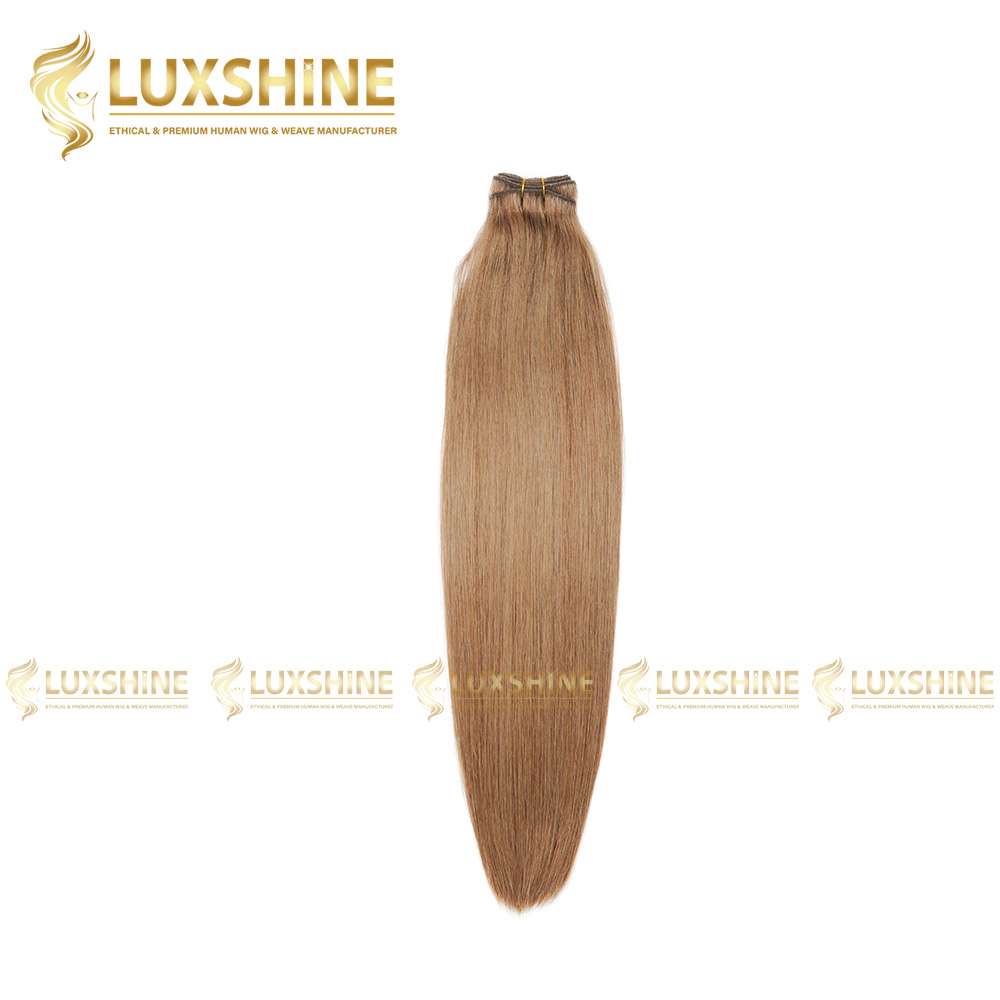
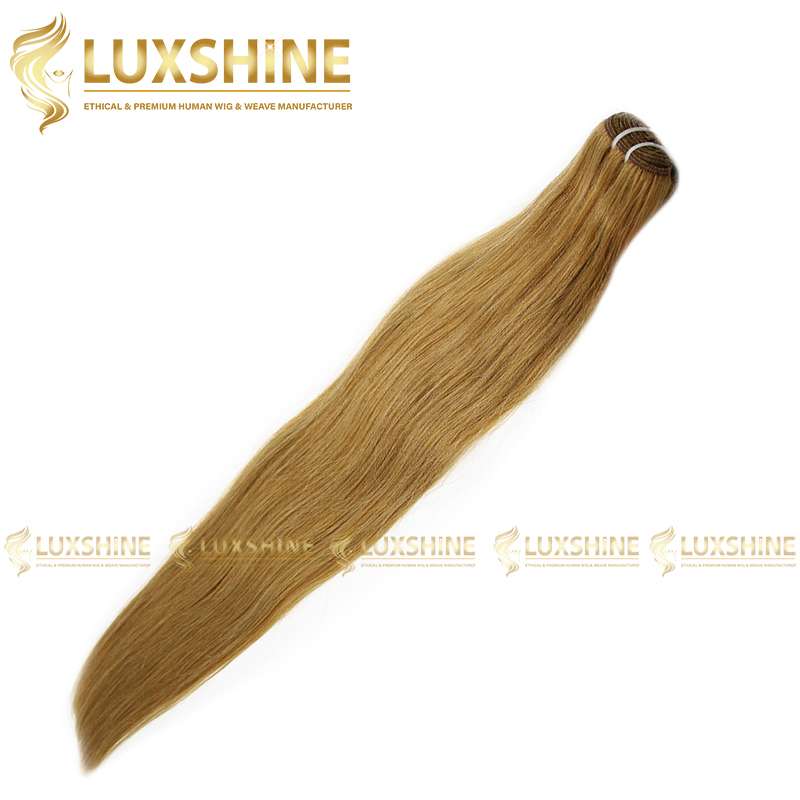
Add warmth and timeless style to your hair with this Straight Light Brown Weave Hair. The light brown shade is a popular choice for those who want a classic and elegant look that’s both sophisticated and versatile. With proper care and maintenance, the brown weave can be a durable investment, allowing you to enjoy your new look for a long time.
ESSENTIAL DETAILS
|
|
USES OF WEAVE HAIR EXTENSIONS
Add length and volume: Weaves can add length where you want it, and volume where you need it. Weaves can conceal thinning areas or areas where your hair doesn’t grow. Weaves can take your style from short to long, giving you the flexibility to change your style without waiting for your hair to grow.
Versatility: Weave hair extensions offer versatility in terms of styling options. You can experiment with different hairstyles, such as updos, braids, curls, and straight styles, without causing damage to your natural hair.
Color and highlights: Weave hair extensions can be used to add highlights or experiment with different hair colors without chemically treating your natural hair. This allows you to change your hair color temporarily or try out new shades before committing to a permanent color change.
Hair loss and thinning hair: Weave hair extensions can be an option for individuals experiencing hair loss or thinning hair. They can help to create the appearance of thicker, fuller hair and boost self-confidence.
Make wigs: Weave is one of the most important to create a wig. When making a wig, weave hair extensions are utilized to form the wig’s base and foundation. The extensions are sewn onto a wig cap or mesh netting to create a fuller, more natural looking head of hair. The weave hair extensions may be customized to fit the desired wig style, length, and thickness, making it a popular choice for anyone wishing to make a wig that fits their natural hair or desired look.
Special occasions: Weave hair extensions are often used for special occasions like weddings, parties, or events where ones want to enhance their natural hair quickly and easily. They provide an instant transformation, adding glamour and sophistication to any look.
PROS OF WEAVE EXTENSIONS
Long-lasting: Weave hair extensions are known for their durability and longevity. When properly installed and cared for, they can last for several weeks to a few months, depending on the type of hair used.
Natural-looking: Weave extensions are typically sewn or braided into the natural hair, which creates a seamless and natural look. When done correctly, they blend well with your own hair, making it difficult to distinguish between the extensions and your natural hair.
Versatility: Weave extensions allow for various styling options. You can wear your hair in different styles such as updos, ponytails, or braids without worrying about the extensions showing.
Hair protection: Weave extensions provide a protective layer for your natural hair. By braiding the extensions in, they help to distribute the weight of the added hair, reducing tension on your natural hair and minimizing damage from heat styling and chemical treatments.
Hair growth: Weave extensions can help protect your natural hair and promote growth. By keeping your hair tucked away and preventing excessive manipulation, breakage can be reduced, allowing your hair to grow longer and healthier.
INSTRUCTIONS FOR THE USE OF WEAVE HAIR EXTENSIONS
How to apply
Step 1: Prepare your natural hair
- Start by washing and conditioning your natural hair to ensure it’s clean and free from any product buildup. Detangle your hair using a wide-toothed comb or a brush specifically designed for extensions.
Step 2: Braid your natural hair
- Create cornrow braids or flat braids across your scalp. The number of braids will depend on the desired style and the amount of hair you’re adding. The braids should be small and close to the scalp, ensuring they are secure and won’t come undone easily.
Step 3: Measure and cut the weave tracks
- Take the weave hair extensions and measure them against your braided rows. Cut the weave tracks to match the length of your braids, leaving a little extra at the end for securing.
Step 4: Begin sewing
- Start by attaching the first track of hair extensions to your braids. Take a curved needle and thread it with a strong, matching thread. Insert the needle through the weft of the hair extensions and then through the braid, making sure to secure it tightly. Continue sewing along the weft, using a basic stitch pattern, until the track is securely attached to the braid. Repeat this process for each row of hair extensions.
Step 5: Blend and repeat
- Once you have completed sewing the first row, release another section of your natural hair and create a new row of braids. Ensure the braids are small and neat before attaching the next row of hair extensions. Repeat this process until you have achieved your desired volume and length.
Step 6: Cut and style
- Trim and shape the extensions to blend seamlessly with your natural hair. You may also style the hair extensions as desired using heat styling tools, but be mindful of the heat settings to prevent damage to both your natural hair and the extensions.
TIPS FOR SELECTING THE APPROPRIATE HAIR LENGTH
The hair length you choose depends on the texture you prefer. For straight hair, the length is measured when it naturally falls straight and lies flat. Curly hair, on the other hand, is measured in a straight position to account for its increased volume compared to the same weight of straight hair. Wavy hair falls somewhere in between, combining elements of both straight and curly textures.

HOW TO DYE AND BLEACH PROPERLY
Perform a strand test: Before dyeing or bleaching the entire set of extensions, it’s essential to perform a strand test to determine how the hair will react to the color or bleach. Cut a small section of the hair extension, apply the dye or bleach mixture, and follow the instructions to see how the hair responds.
Prepare the dye or bleach mixture: Follow the instructions provided with the hair dye or bleach product. Mix the dye or bleach powder with the developer according to the recommended ratios. Use a plastic or glass bowl and a color brush to ensure even application.
Protect the attachment area: To prevent the dye or bleach from coming into contact with the wefts, protect the attachment area. You can use plastic wrap or aluminum foil to cover the top part of the extensions, leaving only the hair lengths exposed.
Apply the dye or bleach: Starting from the top of the extensions, carefully apply the dye or bleach mixture to the exposed hair lengths. Use the color brush to saturate the hair evenly, ensuring that all strands are coated. Be cautious not to apply the mixture directly onto the weft area.
The process according to instructions: Follow the instructions provided with the dye or bleach product regarding the processing time. It’s essential to monitor the extensions closely during this time to prevent over-processing or damage. Keep in mind that the processing time may be shorter than for natural hair.
Rinse and shampoo: Once the desired color or lightness is achieved, rinse the extensions thoroughly with lukewarm water until the water runs clear. Gently shampoo the extensions with a color-safe, sulfate-free shampoo to remove any remaining dye or bleach residue.
Condition and hydrate: After shampooing, apply a deep conditioning treatment or a hair mask specifically formulated for colored or bleached hair extensions. Leave it on for the recommended time to restore moisture and nourishment to the hair.
Dry and style: Gently pat the extensions with a towel to remove excess water, avoiding rubbing or tugging. Allow the extensions to air dry or use a low heat setting on a blow dryer. Once dry, you can style the extensions as desired using heat styling tools, taking care to use heat-protectant products.
CARE
Brushing: Before and after each use, gently brush the extensions to remove any tangles or knots. Start from the bottom and work your way up to prevent pulling or damaging the hair.
Washing: Fill a sink or basin with lukewarm water and mix in a mild shampoo. Immerse the extensions in the water and gently swish them around for a few minutes. Avoid rubbing or twisting the hair. Rinse thoroughly with clean water.
Conditioning: Apply a small amount of conditioner to the extensions, focusing on the mid-lengths and ends. Avoid applying conditioner near the roots as it can weigh down the hair. Leave the conditioner on for a few minutes, then rinse well.
Drying: Gently squeeze out the excess water from the extensions using a towel. Avoid rubbing or twisting the hair, as this can cause damage. Lay the extensions flat on a towel and allow them to air dry. Avoid using heat tools like hair dryers or curling irons on weave hair extensions.
Styling: When styling the extensions, use heat-protectant products before applying any heat. Keep the heat setting low and avoid excessive heat exposure to prevent damage. Avoid using heavy styling products, as they can weigh down the hair and make it look greasy.
Storage: Store the weave hair extensions in a clean and dry place when not in use. You can hang them or lay them flat in a container to prevent tangling or matting. Avoid storing them in a humid environment, as it can cause the hair to become frizzy.
Maintenance: Depending on how often you wear the extensions, they may need to be reinstalled or tightened periodically. Follow the instructions provided by the stylist or manufacturer for proper maintenance and care.
LUXSHINEHAIR COMPANY


Reviews
There are no reviews yet.