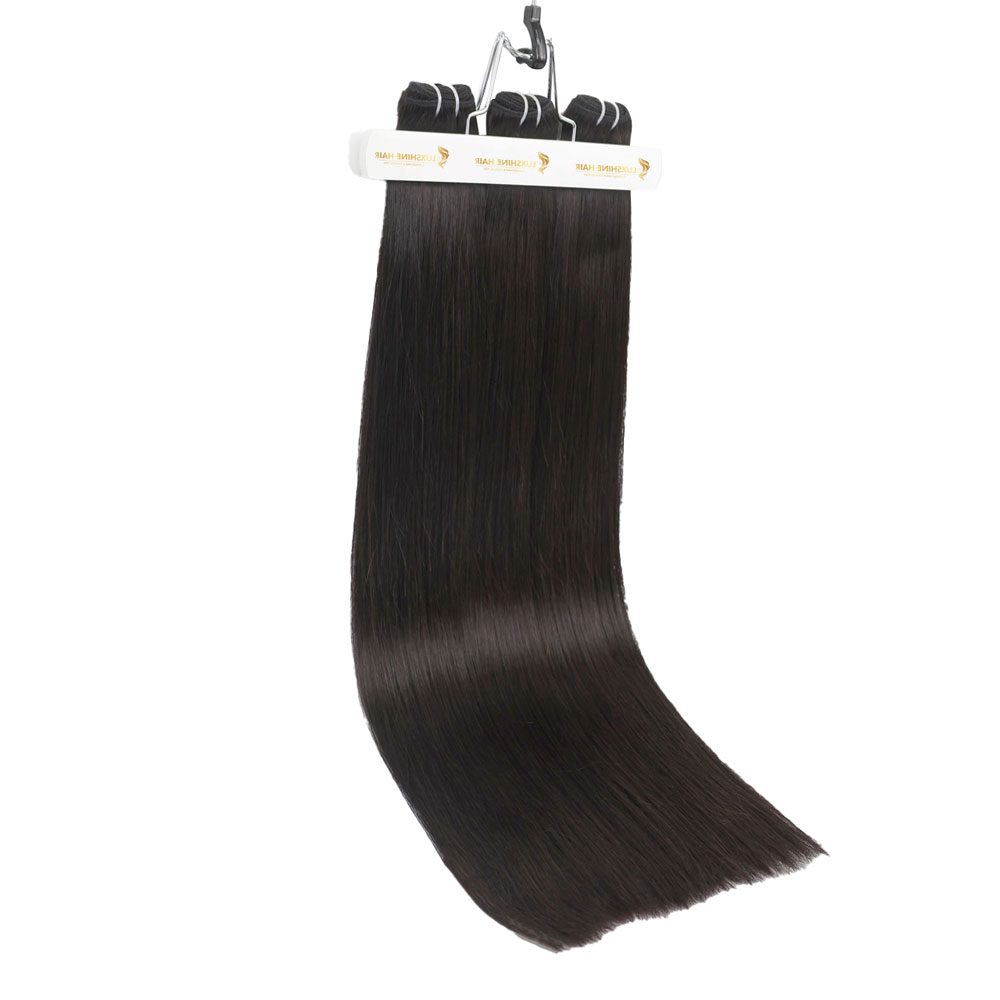
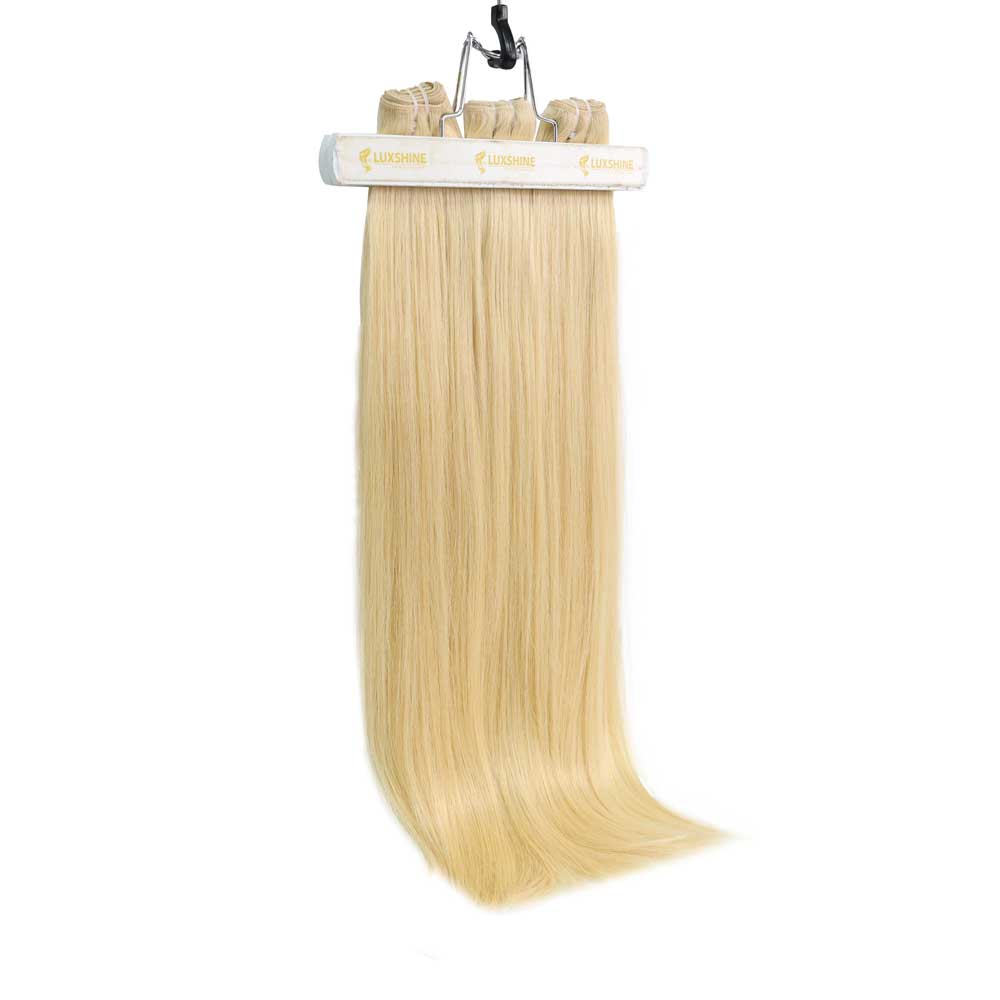
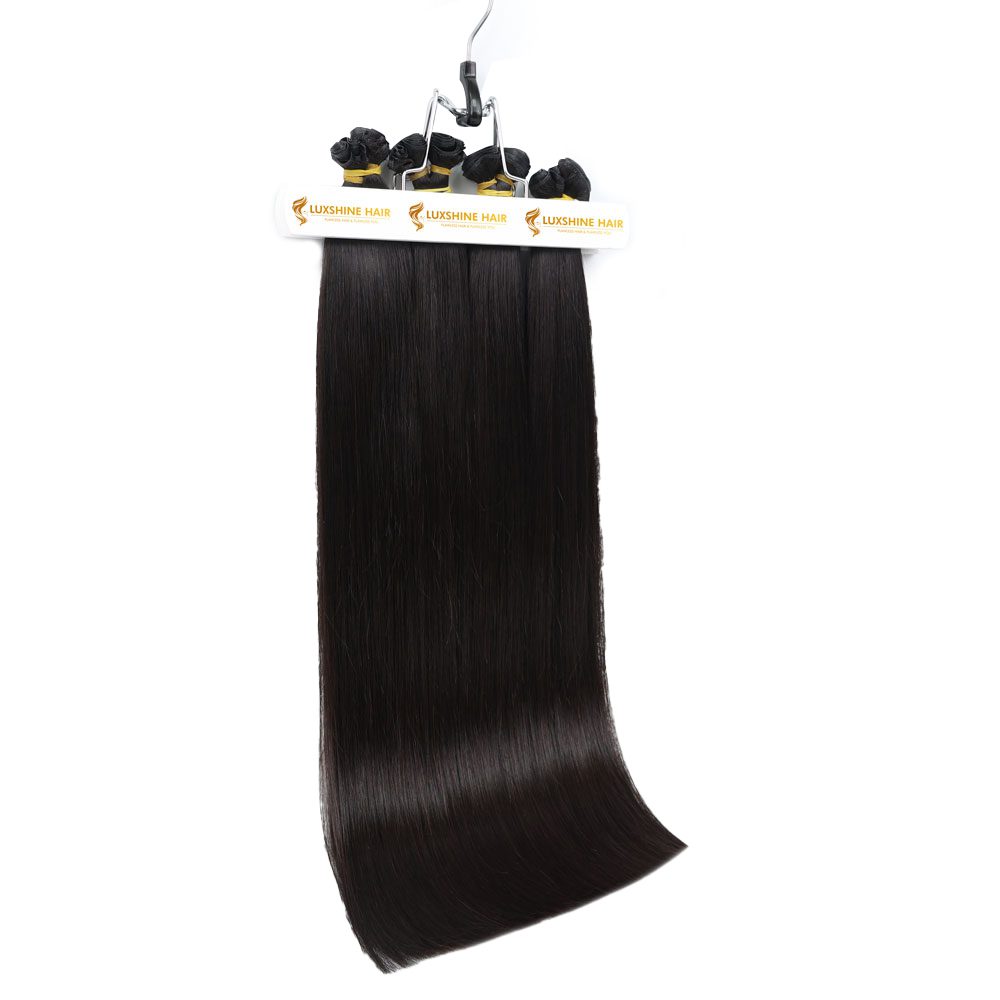
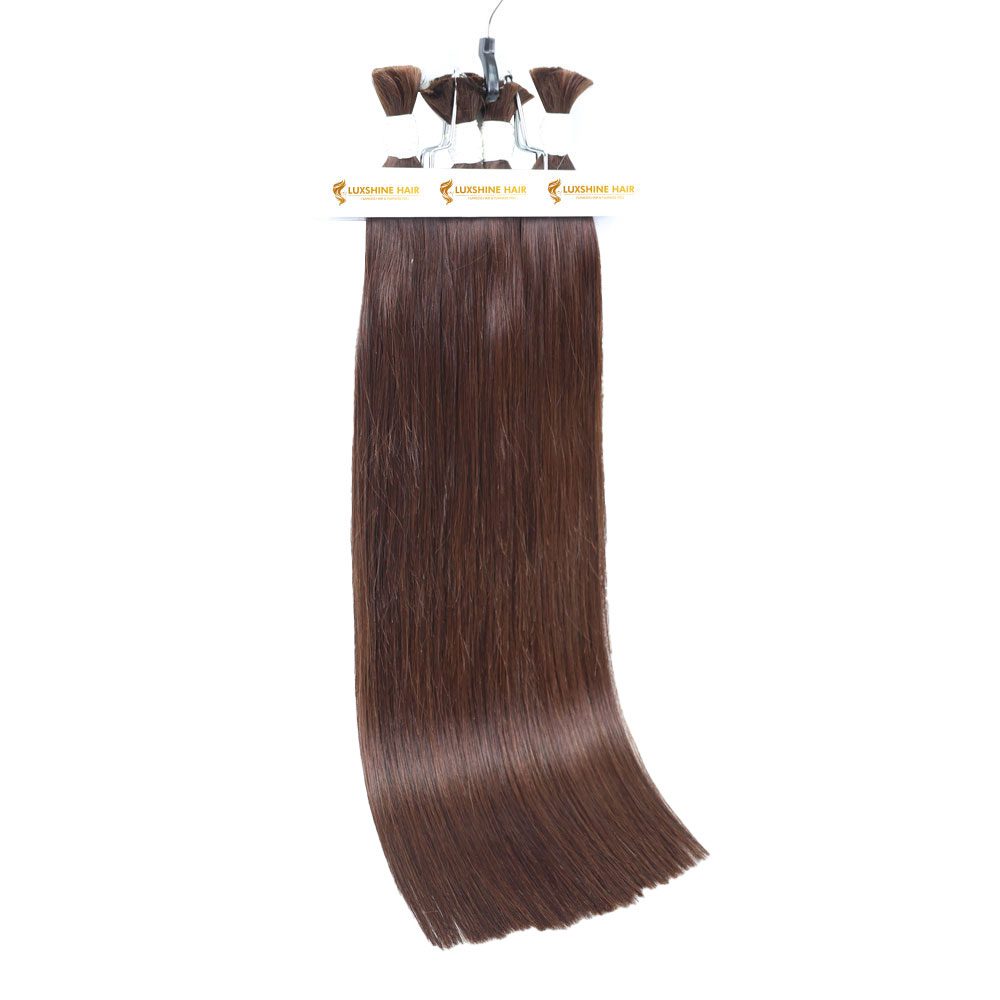
A lace closure has been a natural route for a lot of women, especially those who wish to experiment with this protective style. A lace closure sew-in setup is a beginner-friendly process, but the results will be just as stunning as some other options. Not only does it help women look good, but the DIY aspect of working with lace closure and bundle also proves to be enjoyable for many ladies.
But just as anything goes, good lace closure isn’t cheap and requires some investment of effort. Naturally, many would want to know how long can lace closure last. Additionally, you might ask how to maintain a closure sew in so that it can keep on serving the look. If you ever have thought about such a matter, keep reading. We will help you with these questions.
What Is A Lace Closure Sew-in?
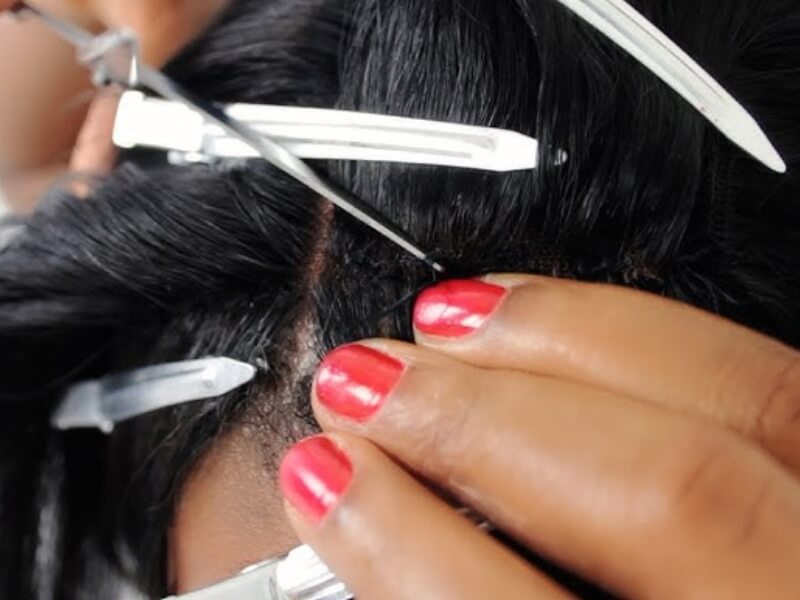
A lace closure sew-in is a setup where ladies use their bundles and closure to sewn onto their heads to form a complete, uniform look. Instead of gluing as a quick weave, a sew in with closure requires one to get the right supplies and then sew the hair onto a cap or cornrows.
Depending on where you source your materials, your lace closure might be of the size 4×4 closure or 5×5 closure. A 13×6 or 13×4 Lace frontal with ear-to-ear coverage would largely use the same technique, the only difference would be the length and number of bundles required

Main Types of Closure
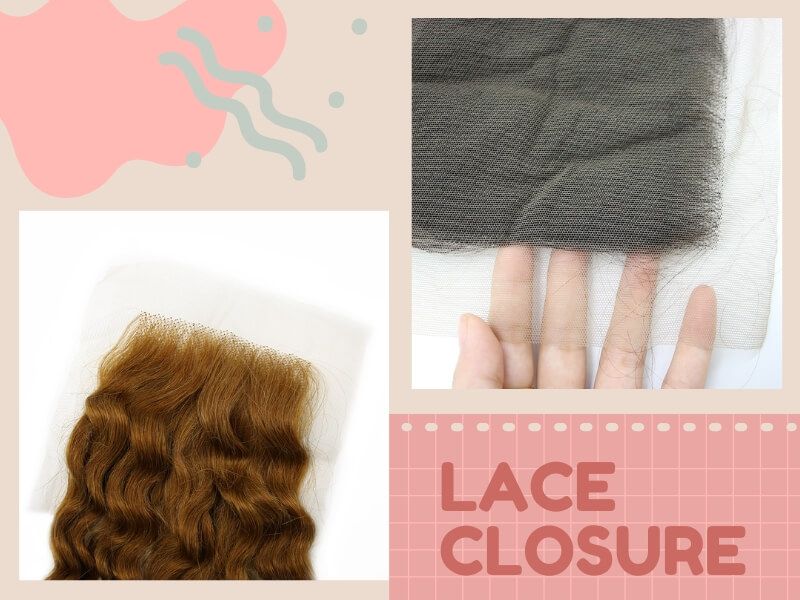
When you want to do a sew-in product, one main thing you need to nail down is what type of lace pieces you will be working with. There can be many types on the market. It could be based on lace size, lace colors, hair textures as well as the lace material itself.
Lace Base Size
The two main types of closures you will hear from sellers are lace closure and lace frontal. The dimensions of the lace can fluctuate a bit. But common amongst these two names are 13”x4”, 13”x6” and 5”x5”, and 4”x4”.
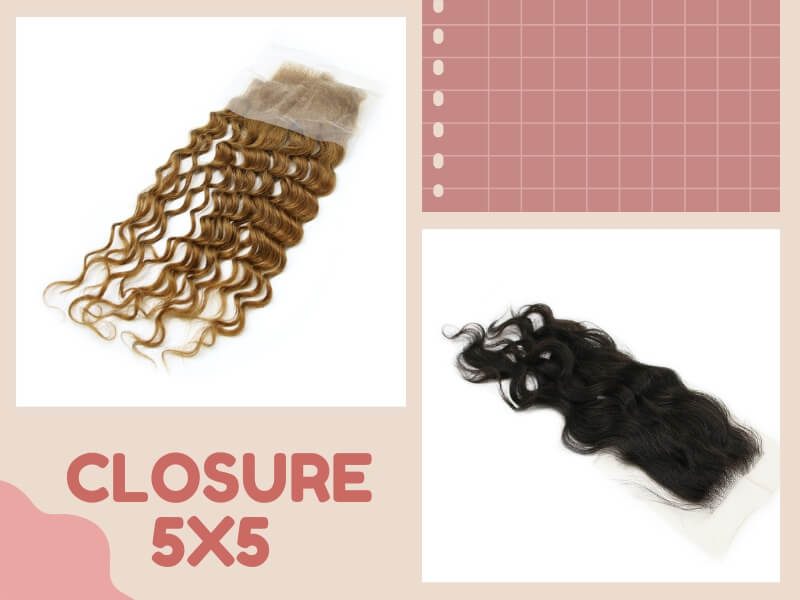
Since frontals run from temple to temple, the width usually hovers around 13” while a much smaller lace closure can be found at 5”x5” or 4”x4”. While a smaller lace closure means less maintenance time, and easier installation, it will also allow for fewer styling variations. Understanding these sizes is essential when learning how to maintain a closure sew in.
Lace Material
What lace material you choose will likely determine how you maintain your lace piece. Swiss lace, even though take more work to be fully melted, is more durable and can be subject to more “abuse” than HD lace. That being said all lace types are very fragile and always required us to handle them with care. To maintain lace closure sew in, consider using products that match the delicacy of your chosen lace material.
Types Of Parting
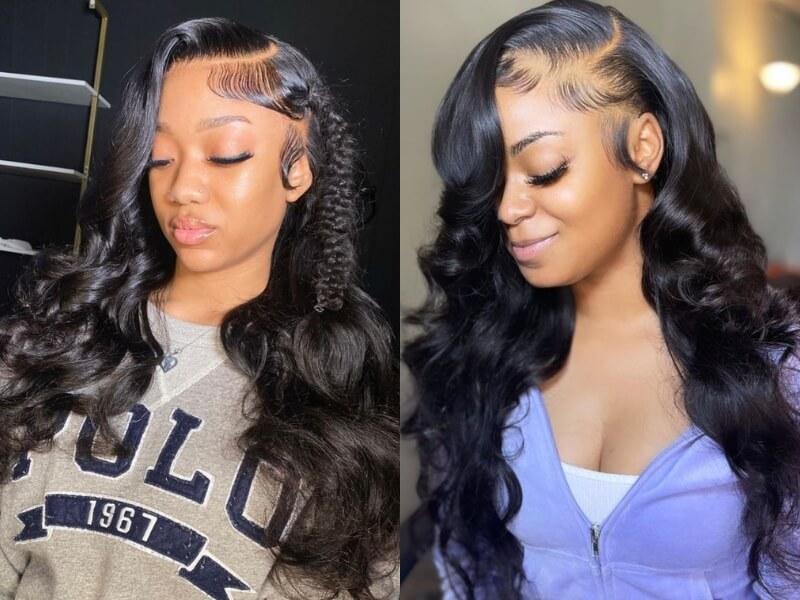
How do you plan to do your parting? Is this a simple center part or a side part? If you need to style your hair with different partings every day, then you should opt for a 3 part lace closure. However, a more fixed option like a side part or a center part is also recommended when you have pinned down the look you want. The most flexible option, of course, is a free lace option. Understanding types of parting is important when learning how to maintain a closure sew in.
How Long Does Sewn-in Closure Last?
A small square lace closure will take at least 2-3 hours to put in. However, the lace will be good for usage for up to 6 months. This duration, however, can only be achieved when you maintain your hair regularly and consistently. Ideally, you should visit a salon every 3-4 weeks for a touch-up experience and expert care.
The time you take off your lace closure and bundles would be a good chance for you to maintain both your natural hair as well as your hair wefts and lace pieces. While there can be many tips out there to prolong the use of your closure, this alone should help the hair underneath and your own weaves and bundles in the best condition possibles.
How To Revamp And Relay Your Sew-in Closure?
No closure sew-in is good forever. Part of learning about how to maintain a closure sew in involves these quick fixes. Here are a few steps we suggest you do when you found your closure starting to lift or start to look a bit run down. While of course, in a perfect world, we can just fix our problem by going to the salon, but the simple tips shown here will help you if that option is not viable immediately.
Step 1: Work On The Hair Itself
You should first tame down the hair if your hair happens to frizz up and turn into a messy lump. This will give you some peace of mind, and help make the later steps much easier.
Brush out your hair, and slowly detangle the hair so that it becomes much more manageable. Then rinse it out with your shampoo.

Step 2: Reapply The Glue
This is where you try to fix the problem. Use a dedicated glue remover or just utilize some rubbing alcohol to degrease and cut off the glue bond. Once the lace piece starts to come off, work the solution underneath the piece so you can easily and completely lift off your lace without any resistance.
Once the glue is gone, apply a few dots of strong adhesive along your fake hairline for the perfect hold. Spread the glue thinly across your forehead with a brush and then wait for it to become tacky.
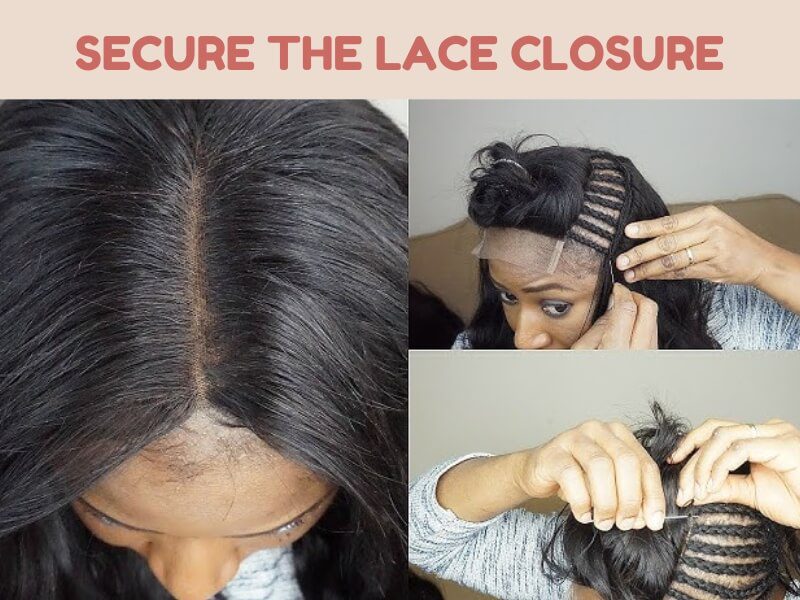
Step 3: Secure The Lace Closure
Separate the edge hair from the main hair and then use an elastic headband to hold down the lace piece. This will give your closure time to actually stick to your forehead. You can speed up this process by hovering your blow dryer over your headband to aid this process.
Step 4: Style Your Baby Hair
The main goal of this step is to make your baby hair look good but not overstyled. Gather up your edge control and brush to style your baby hair. You can check out some Pinterest tutorials to get a really realistic look.
Step 5: Wrap It Up And Then Wait
After you are done with the 4 steps above, time is your ultimate friend. Wrap a scarf around your hair and then go work on something for 30 minutes to an hour. Once this time has passed, you can now feel free to walk around the block feeling like a million-dollar bill. Here’s another tutorial for your reference.
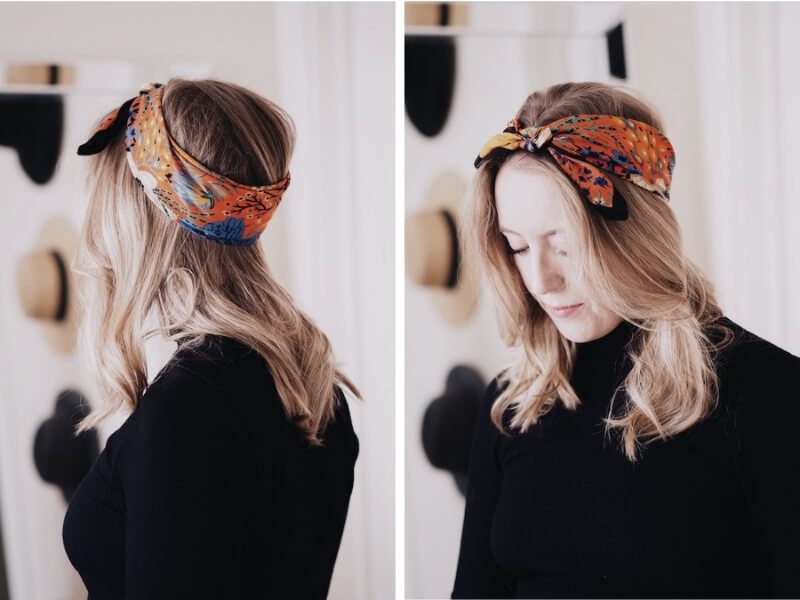
The method we laid out above will help keep your closure in its place for another week or two. Of course, eventually, you will want to see somebody tighten up your braid and give you the expert care you need.
How To Maintain Your Lace Closure Sew-in?
While your lace closure helps your new look blend in and be undetectable, it should be noted that it will require you to put in some effort to maintain its delicate beauty.
If you want to know how to maintain a closure sew in for a long time, here are a few additional steps:
Wash Before First Use
While some newbies may be excited to get to work right after they receive their order, this is not the right way. Your hair may have traveled a long way before reaching your doorsteps, it’s important that you immediately wash them before.
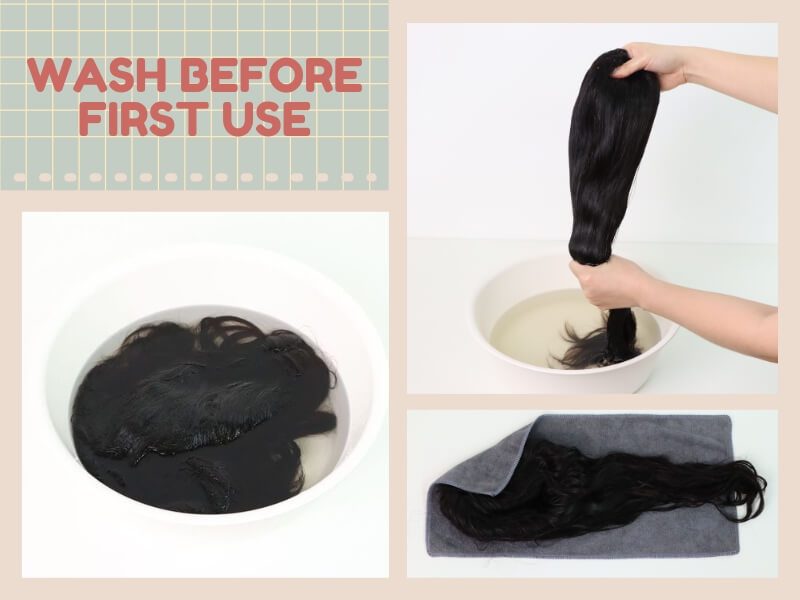
Once you received your orders, be sure that you received what sellers claimed to be in the package. This ensures you can claim a refund and stay away from complicated disputes if the hair is tampered with. Once everything is okay, washing and air drying your hair will remove dirt and pollutants, ensure a safe installation.
Wash and Then Brush
It’s a necessary step on how to maintain a closure sew in. The way you wash is the same as the way you brush. First work out any tangle or knot with a brush, slowly working from ends to roots. You will then submerge the lace piece in a bowl of cold water. Apply and work the shampoo or conditioner into the hairpiece and then bring it back to the sink and bowl. Rinse until the water is clear. Let out any excess water and then let the closure air dry.

Treat Your Closure With The Utmost Care
Your lace closure will remain to be the most delicate part of your sew-in structure. While your closure might look realistic, you can’t just casually scratch or wash like you normally would with your real scalp.
With the hair individually tied to the base material, you have to resist treating it with careless tugging, pulling, or scratching.

Use The Right Products For Your Lace
One way is to ask your hairstylists or solicit help from a knowledgeable friend. While human hairpieces usually don’t require specialized products, using the wrong products could shorten the time you enjoy your new hair.
Pick something that is free of any alcohol content so as to avoid drying out the fibers. Also, make sure to use something with a pH level close to your natural skin.

Make Sure The Closure Is In Good Hands
While washing and drying lace pieces may not need many skills, sewing your closure in is another matter.
Many things can go wrong if you don’t know how to sew hair. Matting, tangled, and shedding surely is not unheard of. If you are uncertain of your skills, be sure to ask a hairstylist who can give you some help.

Just as we mentioned above, after 3 weeks, you might need to visit a hair salon for an expert care and maintenance routine. Whether this process can be done at home by yourself or not will depend on your skill level and what works best for your situation.
What Are The Signs That I Should Take Off My Sew-in?
Hair extensions like the sew-in method are not meant to be worn for months on end without maintenance. Your hair underneath will naturally grow and will eventually push your hair extensions down of their intended positions. No matter how well you take care of your hair, you should definitely take them off after two to three months to get it installed.
The Bottom Line
Learning how to maintain a closure sew in doesn’t have to be complicated. With these practices, you can keep your style looking fresh and lasting longer. While your hairstyles might be changed up constantly, 100% human hair sew in weaves will let you enjoy that without even changing the hair product. But in order to have healthy and pretty hair, please make sure to take them out before 8 weeks. This is the optimal timeframe to keep your sew-in system healthy, to keep your hair growing, and to ace the look on point. If you need help, do not hesitate contact Luxshine Hair, a Vietnam hair factory! Please contact us via whatsapp: (+84) 862 552 088 for more information. We are always prepared to assist you!


