Tape-in hair extensions are a semi-permanent solution for adding length and volume without spending too much time or money. These hair extensions are loved due to their convenience and as they help you transform your look in a matter of minutes. That being said, they are typically recommended to be applied at hair salons. However, if you understand the proper techniques, you will know how to put in tape in hair extensions yourself while keeping your natural hair safe!
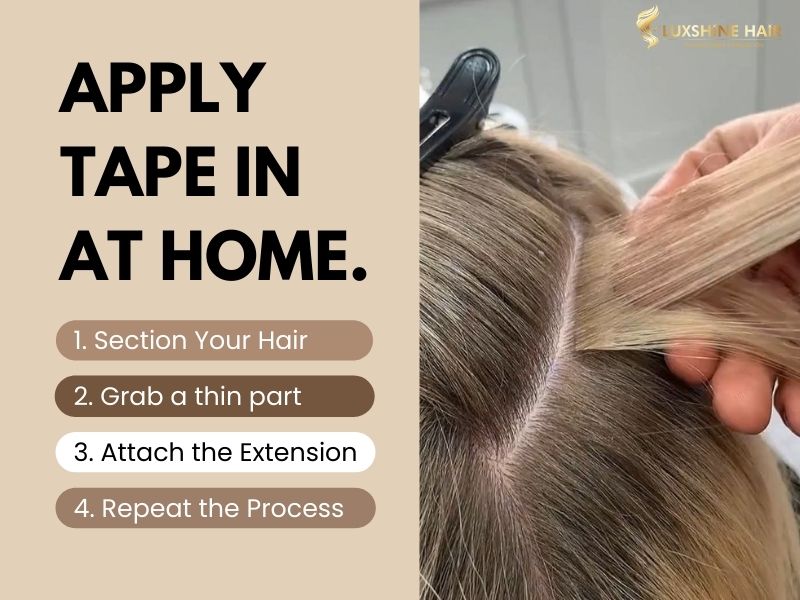
What You Need
Before starting to learn how to put in tape in hair extensions, ensure you have all the necessary tools within reach:
- Tape-in hair extensions: Use 40-60 tape-ins (double-sided) for medium-density hair. If you want a thick-density look, 60 to 80 tape-ins.
- Tail comb or rat-tail comb
- Sectioning clips: prepare 3-4 clips to secure your natural hair.
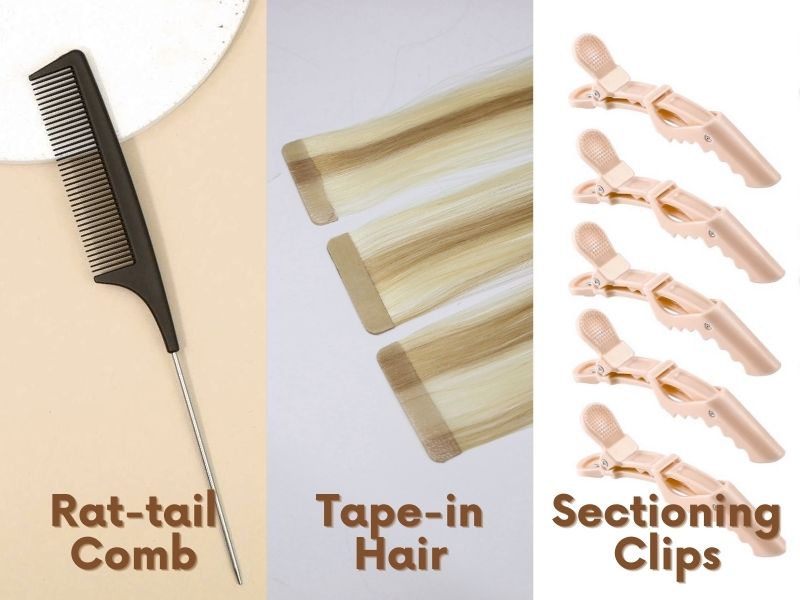
Note: We recommend you invest in high-quality human hair extensions from a reliable hair vendor. As they not only offer a natural look but also provide a secure hold.
Steps to Apply Tape-In Hair Extensions
Step 1: Prepare
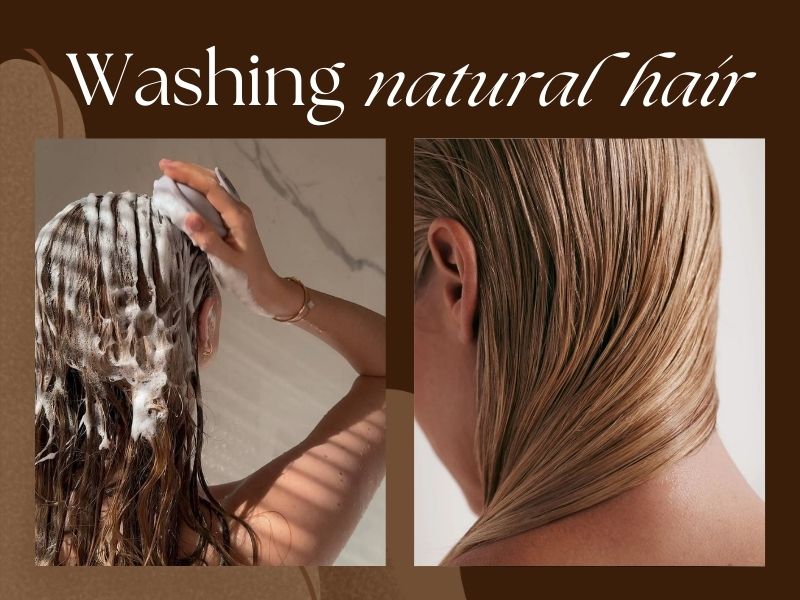
Before starting, ensure your natural hair and extensions are clean and dry. It’s best to wash and dry them before starting. As we know you do not want your tape-ins can slip out prematurely when your hair is greasy, wet, or has product buildup.
It’s time for the next step of how to put in tape in hair extensions. And now, please try to follow carefully for the best results.
Step 2: Section Your Hair
Use a rat tail comb to part your hair horizontally about an inch from the nape of your neck. Secure all the hair above the part line by sectioning clips, as you do not want any hair falling during the process of installing tape in hair extensions.

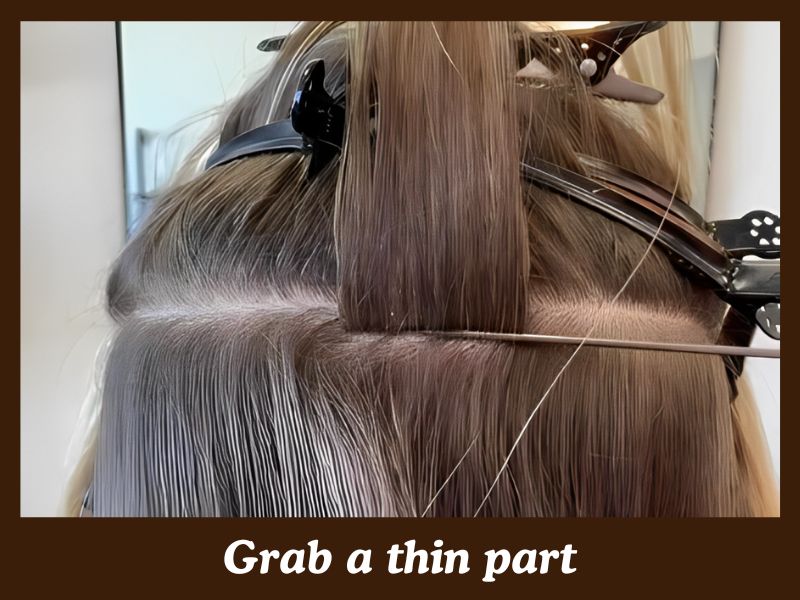
Step 3: Grab A Thin Part
Take a thin section of hair below the part line and sandwich your natural hair between two extensions. The section needs to be very thin (about 1⁄8 inch thick) so that the adhesive sides face each other through the hair. Don’t forget to press firmly to secure.
Pro Tip: If you can feel your fingers touching each other through the hair, your tape extensions are perfect to go!
Step 4: Attach the Extension
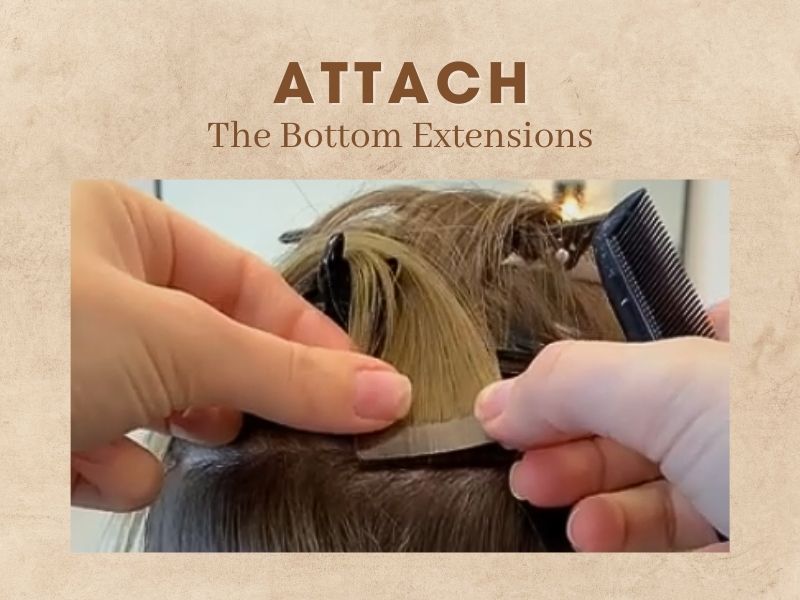
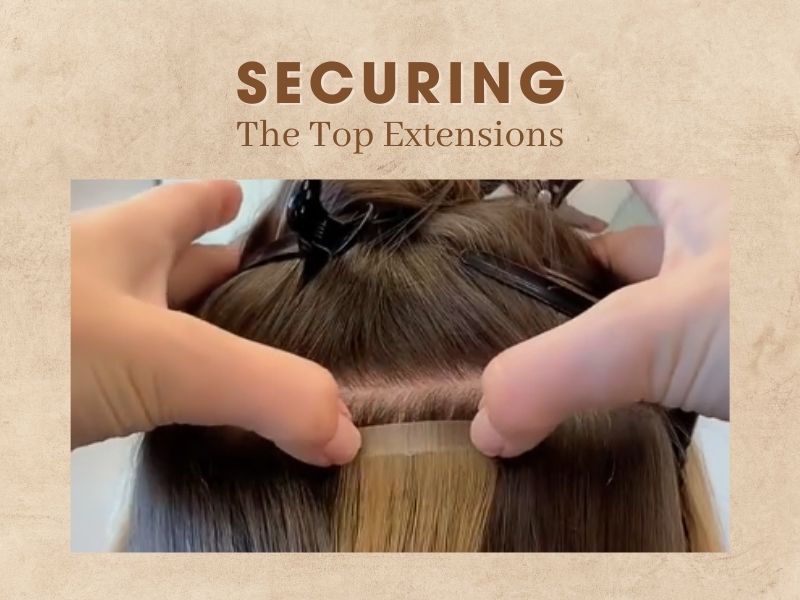
There are two key steps to focus on in How to put in hair extensions with tape: attaching the bottom extensions and securing the top extensions.
- Attach the bottom extensions:
Lift the thin sections of hair you’ve taken and place the extension underneath the natural hair strand about ½ inch away from the scalp.
Note: Don’t place the tape too close to the scalp to ensure hair movement and avoid thinning hair over time.
- Securing the top extensions:
Apply another tape-in on the top of the natural hair strand using the same techniques. Finally, press firmly to secure 2 pieces.
Step 5: Repeat the Process
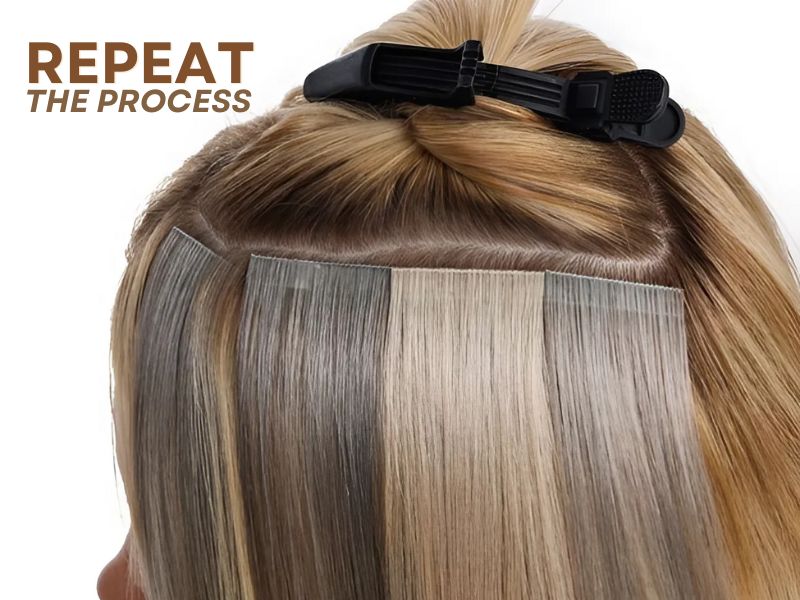
Repeat the process, working in horizontal sections up to the crown. However, avoid taping too close to the top of your head for a natural look.
Pro tip: To avoid stiffness in smaller areas like the temple line, use ½-inch tape or cut the tape in half for the strands framing your face.
Luxshine Hair also has a quick video tutorial on how to apply tape in for your reference:
Q&A: How to Put In Tape-In Extensions
How Many Tape Extensions Do I Need?
The number of extensions needed varies:
- For adding length and volume: 20-30 pieces (50-70 grams)
- For thin hair: 30-40 pieces (100 grams) for a full head
- For a full head of extensions: 40-50 pieces (100-120 grams)
Too many extensions can look unnatural, so aim for 50-150 grams.

How Long Does It Take to Install Tape-In Extensions?
The installation time varies based on the installer’s experience, the number of extensions, and hair complexity. Typically, it takes 1 to 1.5 hours for a professional stylist.

Can I Install Hair Extensions at Home?
Yes, you can install extensions at home with proper instructions. Extensions can quickly add length and volume, giving your hair a fuller look.
Can I Wash My Tape In Extensions After Applying?
Yes, but the recommendation is you should wait at least 48 hours for a secure hold and minimize the risk of tape loosening.
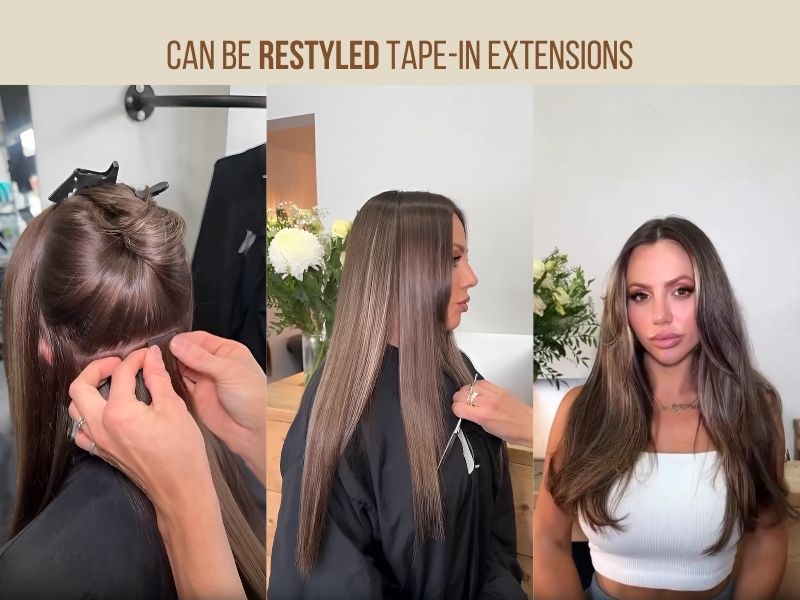
Can I Style My Hair After Applying Tape-ins?
In case, your tape-in extensions are human hair, the answer is yes. They can be curled, straightened, or styled like your natural hair, but avoid applying heat directly to the adhesive. So, we recommend you pick high-quality human hair from a Vietnam hair supplier.
Can You Put Tape Extensions In Really Short Hair?
Yes, you can use tape-in hair extensions on really short hair, but there are 3 key factors to consider: texture match, layering, and placement.
- Length and Texture Match: Choose extensions that closely match your natural hair color and texture for a seamless look.
- Layering: you can layer the extensions by cutting them to match your desired length. This helps avoid a blunt, uneven appearance.
- Placement: Focus on places where your natural hair is long enough to hold tape-ins. Avoid areas where the hair is extremely short, such as the very bottom.
View more informations here: Tape In Extensions On Short Hair
Conclusion
Learning how to put in tape in hair extensions can elevate your hair game. Follow this step-by-step guide to achieve a professional finish at home. Remember, practice makes perfect. If you have any questions or need quality tape-in hair extensions, contact Luxshine Hair – top 1 Vietnamese hair factory via WhatsApp (+84) 862 552 088 for assistance. By following this guide, you’ll be well-equipped to apply tape-in extensions like a pro!


