Are you dreaming of longer, fuller locks? Micro ring hair extensions might be the perfect solution for you. If you’re ready to transform your hair, this guide will walk you through the step-by-step process of how to install micro ring hair extensions. Do not miss anything by reading till the end.
Why Choose Micro Ring Hair Extensions?
Micro ring extensions are individual strands of hair attached to your natural hair using tiny metal rings (also called microbeads or microlinks). These rings are clamped in place, offering a secure hold without the need for heat or glue.
Benefits of Micro Ring Extensions:
- Natural look: The small rings are virtually undetectable, blending seamlessly with your own hair.
- Versatility: You can style them just like your natural hair, including ponytails and updos.
- Minimal damage: When installed and removed correctly, they are gentle on your hair.
- Longevity: With proper care, they can last for several months.

See more: What Is the Difference Between Nano Ring Vs Micro Ring Hair Extensions?
Getting Started: Tools and Materials
Before you begin, make sure you have all the necessary supplies:
- Plier: Specially designed plier for opening and closing micro rings is essential.
- Tail comb: This will help you create clean sections for precise placement.
- Hair clips or ties: To keep sections of your hair out of the way.
- Mirror: A hand-held mirror will be helpful for checking the back of your head.
- Detangling brush or comb: For gently detangling your hair before and after installation.
Pro Tip: Invest in good quality tools. They will make the installation process easier and help prevent damage to your hair and extensions.

Preparing Your Hair and Workspace
- Wash and dry your hair thoroughly: Start with freshly washed hair. Extensions adhere best to clean strands, free of oil and product buildup.
- Detangle: Begin detangling at the tips of your hair, gradually working your way up to the roots. This prevents knots from worsening and reduces breakage.
- Sectioning: Divide your hair into horizontal sections, starting at the nape of your neck. Use clips or ties to secure the upper layers.
- Workspace: Choose a well-lit area with a comfortable chair and a mirror to streamline the process.
How to Install Micro Ring Hair Extensions Step by Step
Here’s a step-by-step guide to how micro ring extensions are applied:
Step 1: Hair Sectioning
Begin by parting your hair using either your fingers or a tail comb. Create sections where the clips for the extensions will be placed, ensuring a systematic and organized approach.

Step 2: Determine Installation Points
Before attaching any extensions, visualize the desired outcome. Consider the volume and length you want to achieve. Plan the placement of the extensions to complement your face shape and natural hair growth patterns, focusing on the sides and back of your head, and gradually increasing the number of extensions as you move upwards.
Step 3: Pull Hair Through the Rings
To attach micro ring extensions, thread a short length of hair through the interior of the clear loop. Then, pull lightly on the clear bead. This will pull the hair up and through the little brown bead. It will securely clamp and hold the hair extension in place.

Step 4: Position and Secure the Ring
Gently slide the ring up the hair shaft, aiming to position it approximately 1/4 to 1/2 inch away from your scalp. This ensures comfort, a discreet appearance, and allows for natural hair growth.
Before clamping, double-check that the extension and your natural hair lie flat against your head. Firmly hold the ring and use a plier to clamp it shut, ensuring even pressure and a complete closure. After clamping, give the extension a gentle tug to confirm its secure attachment.

Step 5: Repeat and Move Upward
Release the hair portion you were holding after adding your first extension. Move the next section of hair horizontally along the row and repeat. Remember to maintain consistent spacing between each extension for a natural and evenly distributed look.
Move up, partition off a new row, and repeat the procedures. Work your way up your head row by row until all extensions are in place.

Watch this video to learn more details about how to install micro ring hair extensions correctly
Aftercare and Maintenance
To preserve the longevity and keep your micro ring hair extensions in optimal condition, adhere to the following care recommendations after discovering “How to install micro ring hair extensions”
Choose Sulfate-Free Shampoo
Choose shampoos without sulfates; they are gentler on your natural hair and the extensions. These shampoos are essential for preserving the strength of the connections and extending the life of your extensions.

Gentle Detangling
Use a wide-tooth comb or a specialized extension brush to detangle your hair. Start the detangling process from the ends and gradually work your way up to the roots. Do not pull or yank to loosen the micro links.
Minimize Heat Damage
Although using heat to style micro ring extensions is permissible, applying too much heat at once can eventually weaken the connections. Use heat-resistant products and use lower heat settings while styling to safeguard your extensions.
Regular Maintenance Appointments
Make regular appointments for maintenance with your hairdresser to keep your extensions in good overall condition and with a secure connection. They support you in evaluating connections, fixing any possible issues, and making sure that extensions are fixed firmly. Your micro ring hair extensions’ durability and health are greatly enhanced by routine care.

See more: Must-See Guide: Micro Ring Hair Extensions Pros and Cons
Conclusion
Micro ring hair extensions offer an elegant and versatile solution for those looking for a hair change. By following this comprehensive guide about how to install micro ring hair extensions, you can achieve beautiful, long-lasting results while maintaining the health and integrity of your natural hair.
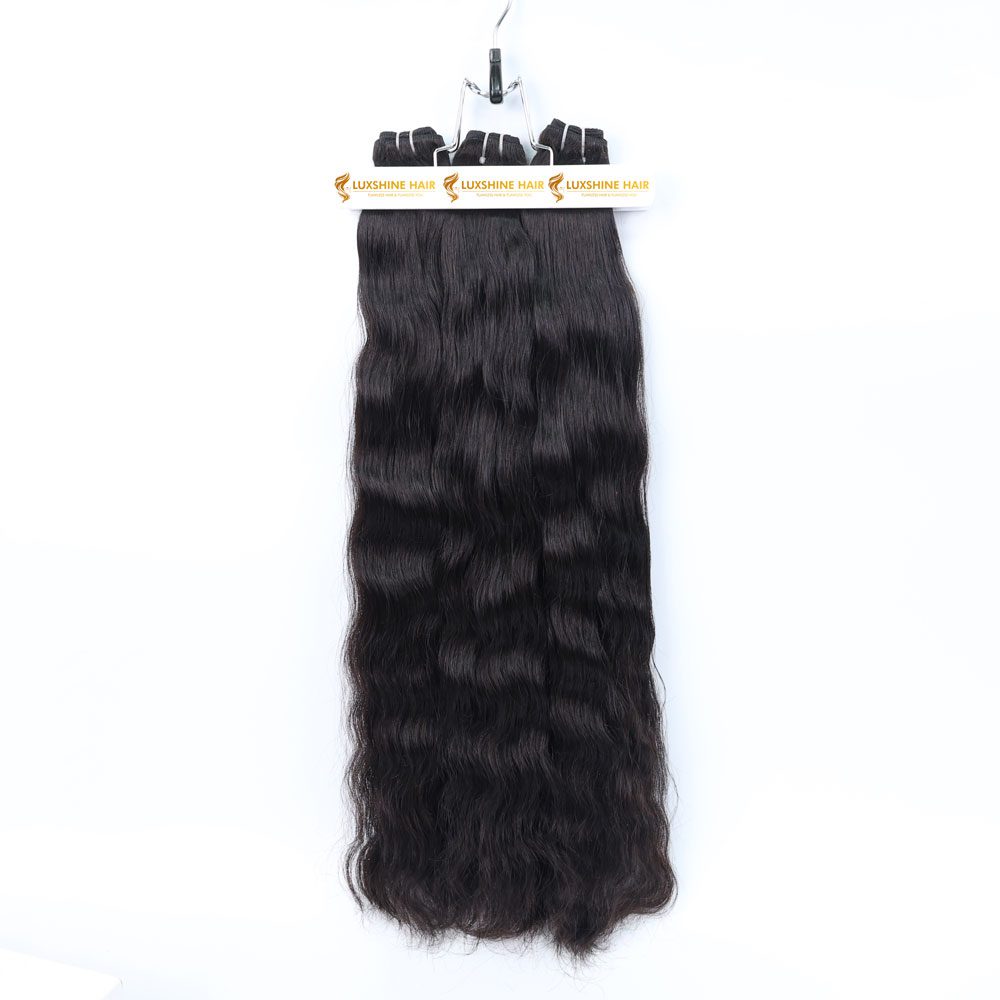
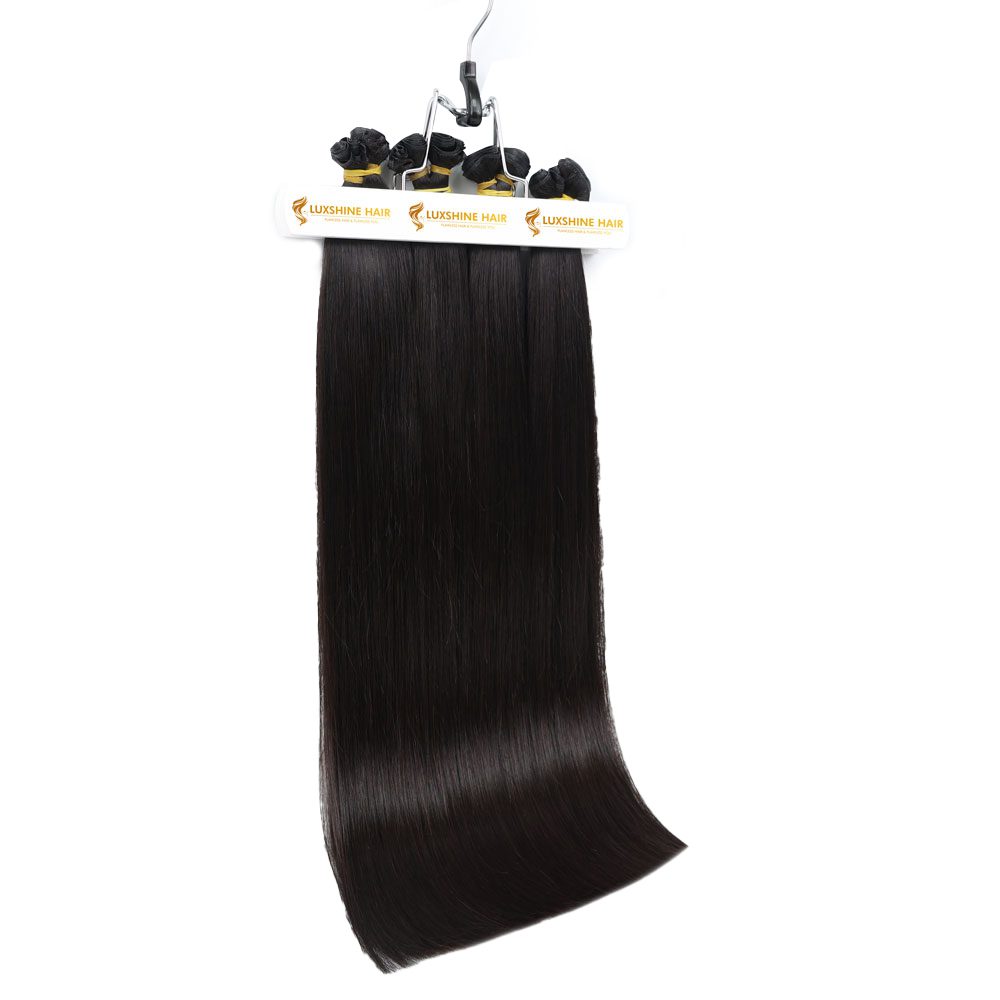
Don’t hesitate any longer, buy yourself micro ring extensions at Luxshine Hair. We will provide a free consultation on color and length to best suit you. As the best wholesale hair vendor in Vietnam, with more than 20 years of experience in the profession, you will definitely be satisfied with our different products and services.